Back to blog
Article
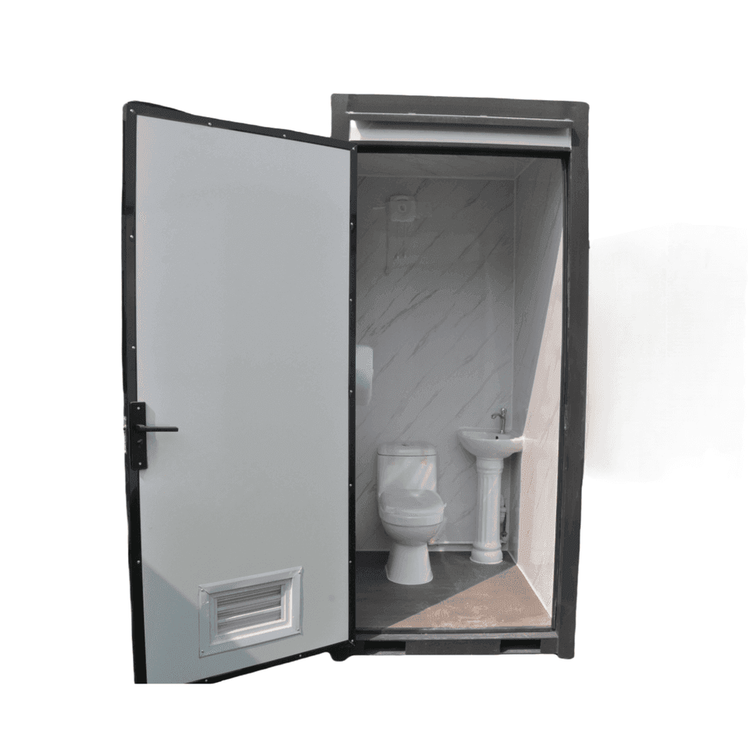
Mobile Toilet Construction Process
Admin September 23, 2026
The construction process of mobile toilets is divided into two categories depending on the scenario, as detailed below:

I. On-site Installation Process for Renting Single Mobile Toilets in Kaifeng
Pre-installation Preparation
- Site Planning: Avoid low-lying areas prone to water accumulation, high-voltage lines, and obstacle-filled zones. Measure the site dimensions and ensure the width of the access passage is ≥1.2 meters.
- Material Inspection: Verify that the toilet model and accessories (such as washbasins, flushing devices, and sewage pipes) are complete. Check that the equipment has no external damage and that internal facilities are intact.
- Tools and Personnel: Equip with tools such as wrenches, screwdrivers, and spirit levels. Arrange for 2-3 professional personnel and coordinate with a crane for lifting if necessary.
On-site Installation Execution
- Foundation Fixation: Use a spirit level to adjust the toilet body to be level (deviation ≤3mm) and secure the equipment with expansion bolts or counterweights.
- Water and Electricity Connection: Connect the sewage pipe to the sewer or sewage collection tank (with a pipe slope ≥2%). Use a water pipe with a diameter ≥DN20 for the water source. Test the flushing function and drainage sealability.
- Detail Refinement: Install door curtains and anti-slip mats. Check the flexibility of door locks and flush buttons. Clean and disinfect the interior and place consumables such as toilet paper and air fresheners.
Post-installation Acceptance
- Function Testing: Press the flush button three consecutive times to test drainage. Step on the top of the equipment to check structural stability.
- Delivery Documents: Provide an Equipment Installation Acceptance Form, indicating the installation date, warranty period, and usage instructions.
II. Construction Process for Self-made Mobile Toilets (Modified from Water Storage Tanks/Drums)
Basic Structure Construction
- Container Modification: Use an angle grinder to cut the water storage tank or drum to form an open container.
- Mobile Components: Fix universal wheels to the bottom of wooden boards or pallets for easy mobility.
- Walls and Roof: Fix wooden strips to the upper side of the container to increase height. Embed plastic soft boards as walls and invert the upper part of the water storage tank as the roof.
Functional System Installation
- Drainage System: Drill a hole at the bottom of the tank to install a drainage pipe. Connect the toilet to the drainage outlet and secure it with glass glue.
- Water Supply System: Drill a hole on the side of the plastic tank to connect to a water tank, showerhead, and three-way valve. Extend the water pipe to the doorway as the inlet pipe for the washbasin.
- Washbasin and Door: Make a washbasin from a stainless steel basin and fix it. Install door frames, door panels, and handles.
Detail Optimization
- Aesthetic Treatment: Paint the wooden strips with white waterproof paint to enhance indoor aesthetics.
- Stability Reinforcement: Secure the connections between components with self-tapping screws to ensure structural stability.
Precautions: Avoid open flames during installation; smoking or the use of open flames is prohibited. For self-made toilets, ensure a drainage slope ≥2% to prevent blockages. Pipe modifications should reserve a slope according to the drainage method.