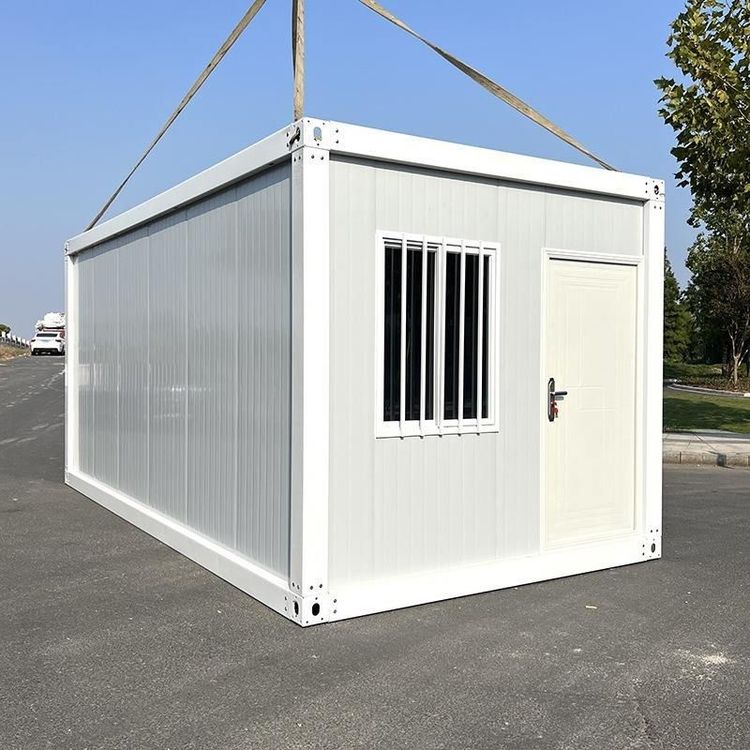
Mobile Toilet Base Replacement
Replacing the base of a mobile toilet requires careful operation, typically involving a combination of installation skills and disassembly procedures. The core steps include preparing tools, removing the old base, installing the new base, and testing stability.

1. Preparing Tools and Checking Components
Before replacement, prepare tools such as wrenches, screwdrivers, rubber mallets, and spirit levels. Verify that all components of the new base are complete, including mounting brackets, shock absorbers, screws, and clips. For smart mobile toilets, also check that electrical connectors are compatible. Missing or damaged components may lead to installation failure or operational hazards. For example, the absence of shock absorbers can reduce toilet stability, and incorrect electrical connections can cause equipment malfunctions.
2. Removing the Old Base
- Power Off and Drain: If the mobile toilet is equipped with electrical circuits or a water tank, cut off the power supply and drain the tank to avoid electric shock or water leakage during operation.
- Removing Fasteners: Use a wrench to unscrew the mounting screws securing the base to the ground or bracket. If the screws are rusted, apply lubricant to assist in removal. Be sure to retain small components such as screws for subsequent installation.
- Detaching the Base: Gently tap the edges of the base to loosen the clips (refer to the clip handling method for toilet seat base replacement), and slowly lift the base to avoid damaging connecting pipes or circuits.
3. Installing the New Base
- Positioning and Leveling: Place the new base in the predetermined position and adjust it to a level state using a spirit level to ensure no wobbling during use. Leveling is a critical step; otherwise, it may affect toilet sealing or cause structural damage.
- Securing the Bracket: Align the bracket with the base as per mobile toilet installation techniques, and tighten it with screws. If necessary, add shock-absorbing devices (such as rubber pads) to reduce vibration noise.
- Connecting Circuits and Pipes: For smart mobile toilets, connect the circuits according to the instructions, paying attention to the positive and negative terminals. For regular mobile toilets, check that the sewage pipes are aligned and sealed. Incorrect circuit connections can burn out the equipment, and poorly sealed pipes can lead to odor leakage.
4. Testing and Acceptance
After installation, power on to test smart functions (such as flushing and drying) and check the stability of the base. Gently shake the toilet to observe for any looseness, and pour a small amount of water to test sewage flow. If water leakage or wobbling is detected, recheck the fasteners or seals to ensure safety before putting the toilet into use.
Tip: If you lack experience, it is advisable to contact a professional for operation to avoid equipment damage or safety hazards due to improper handling.