
How to Install a Mobile Home Toilet
The installation of a mobile home toilet involves multiple stages, including preliminary planning and preparation, as well as specific installation steps. Here are the detailed procedures:
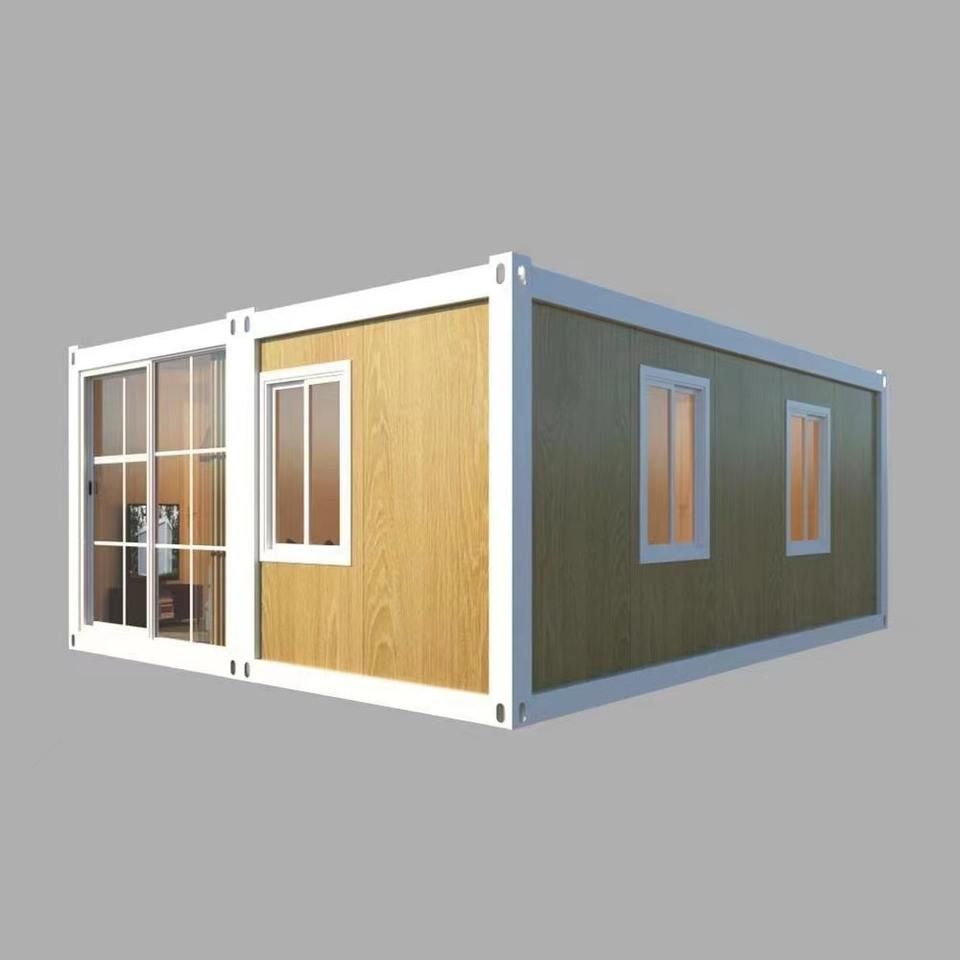
I. Planning and Preparation Before Installation
Determine the Type and Specifications
Select the appropriate toilet type based on the usage scenario: If the usage frequency is low and cost-effectiveness is a priority, a dry composting toilet is a good choice; if quick disposal of waste is required, a packing toilet is more suitable; if space is limited and biodegradation functionality is needed, a micro-biological treatment toilet is preferable. Also, determine the specific specifications based on the budget and the available installation space.Location Considerations
Choose a location with good ventilation and strong privacy to avoid odor accumulation or interference with daily activities. The ground should be sturdy and level to prevent the toilet from tilting, which could cause structural damage or inconvenience during use. If installing outdoors, avoid low-lying areas prone to water accumulation.Space and Dimension Measurement
Use a tape measure to accurately measure the net space dimensions of the installation location. Ensure that there is at least a 30-centimeter gap between the toilet body and surrounding objects (such as walls and furniture) to facilitate later maintenance and ventilation. If the toilet comes with storage cabinets or extended functions, additional operating space should be reserved.Preparation of Supporting Facilities
Prepare necessary accessories according to the toilet type: A dry composting toilet requires covering materials (such as wood shavings or coconut coir) to absorb odors; a biological treatment toilet needs to be connected to a power outlet to drive the degradation system; a packing toilet requires spare garbage bags; all types should be equipped with cleaning brushes, disinfectants, and other tools. If the toilet has an exhaust fan, plan the power supply line in advance.
II. Installation Steps
Unpacking and Inspection
After unpacking, take out all components (such as the base, tank body, toilet seat, screws, etc.) and check them one by one against the instruction manual list to ensure there are no damages or missing parts caused by transportation. If any issues are found, contact the supplier immediately for replacement.Assembly of the Main Frame
Follow the instructions in the manual and use the provided wrench or screwdriver to connect the toilet base and the tank body (or treatment chamber), ensuring that the screws are tightened securely. If it is a dual-purpose toilet that can be used for both squatting and sitting, install the toilet flange additionally. Align the center of the flange with the center of the sewer pipe and then place the toilet correctly.Placement and Leveling
Move the assembled toilet to the predetermined location and use a level to adjust the height of the four corners of the base to ensure overall levelness. If the ground is uneven, solve the problem by adding rubber pads or adjusting the support feet.Connection of Supporting Facilities
Connect the exhaust fan, power supply, etc., according to the toilet type: For a biological treatment toilet, extend the exhaust pipe outdoors; for electric models, plug them into the power outlet and test their operation; if it is a smart toilet, connect the water inlet (install a triangular valve and a three-way joint) and assemble the spray nozzle, ensuring that the spray nozzle holder is firmly clamped on the top of the three-way joint.Water Testing and Sealing
Some models require water testing: Fill the water tank with water and flush to check if the drainage is smooth and if there are any leaks. After confirmation, apply waterproof sealant at the contact area between the base and the ground to enhance stability and prevent odor leakage.



