Back to blog
Article
How to Choose Tiles for Mobile Environmental Toilets
Admin October 03, 2026
The selection, installation, and removal of tiles for mobile environmental toilets must adhere to specific standards to ensure slip resistance, ease of cleaning, and structural stability.
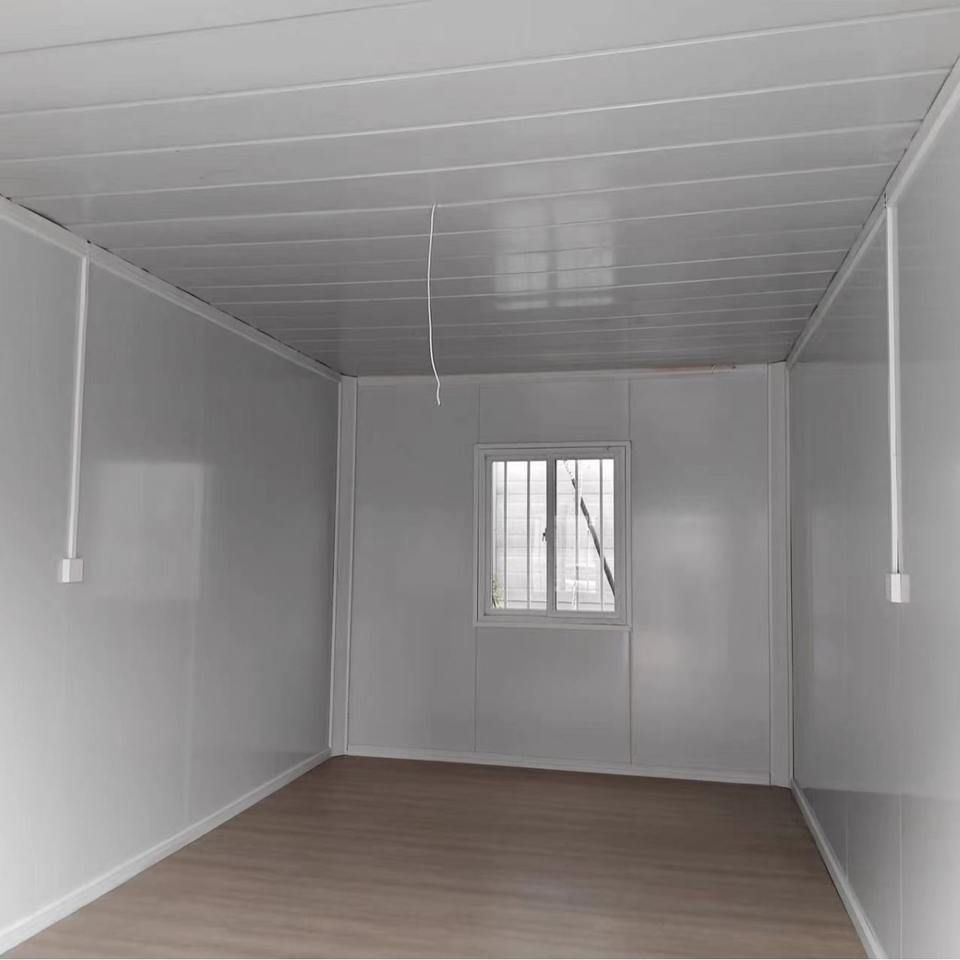
I. Floor Material Selection
Floor materials for mobile environmental toilets must balance slip resistance and durability. Common types include:
- Vitrified Tiles: These have a smooth surface and low water absorption, making them easy to clean with water and suitable for high-frequency cleaning scenarios. Their aesthetic appeal can enhance the overall visual effect of the toilet, but it is important to choose models with a high slip resistance coefficient.
- Flamed Granite: Formed through high-temperature burning, it has a rough surface that provides excellent slip resistance, making it suitable for humid environments. Its natural stone texture is wear-resistant, but regular cleaning of the gaps is necessary to prevent dirt buildup.
- Marble Slip-Resistant Flooring: Enhanced friction is achieved through the creation of slip-resistant grooves or channels. It is essential to select marble varieties with a water absorption rate below 0.5% to prevent cracking due to water vapor penetration.
- Pebble Flooring: The natural uneven texture provides effective slip resistance, but cleaning is more challenging, making it suitable for low-frequency use scenarios. It is important to ensure that the pebbles are securely embedded to prevent detachment from prolonged foot traffic.
- Steel Plate Slip-Resistant Flooring: The overall laying must ensure flatness, with increased friction achieved through embossing or sandblasting processes. It is suitable for temporary or frequently moved toilets, but the cold touch in winter necessitates the use of underfloor heating or anti-freezing coatings.
II. Installation Precautions
- Material Compatibility: Floor tiles should have a water absorption rate below 0.5% to prevent water vapor erosion and hollow sounds. Wall tiles and floor tiles should not be mixed, as wall tiles have a higher water absorption rate, making them prone to stain penetration and insufficient adhesion strength, leading to detachment.
- Waterproofing: Waterproof coating should be applied at the junction of the floor and walls to a height of at least 30 cm. Before tile installation, the dryness of the substrate should be checked to prevent tile detachment due to moisture.
- Slope Design: The floor should have a drainage slope of 1%-2% to ensure rapid flow of wastewater to the floor drain. The floor drain should be positioned 5 mm below the floor level to prevent water accumulation.
III. Removal and Replacement Process
- Removal Stage: First, disconnect the water and power supplies and remove fixed fixtures such as toilets and sinks. Use an electric hammer or angle grinder to carefully break the tile surface layer, avoiding damage to the substrate. After cleaning the substrate, check for flatness and repair any cracks or unevenness.
- Installation Stage: Measure the space dimensions and plan the layout, reserving expansion joints. Use the "thin-set method" for laying new tiles, which involves using tile adhesive instead of cement mortar to reduce the risk of hollow sounds. Avoid walking on the tiles for 24 hours after installation to allow the adhesive to fully cure before reinstalling sanitary fixtures.