Back to blog
Article
Mobile Dry Toilet Installation
Admin September 23, 2026
The installation of mobile dry toilets must follow standardized procedures to ensure safety and proper functionality. The specific steps are as follows:
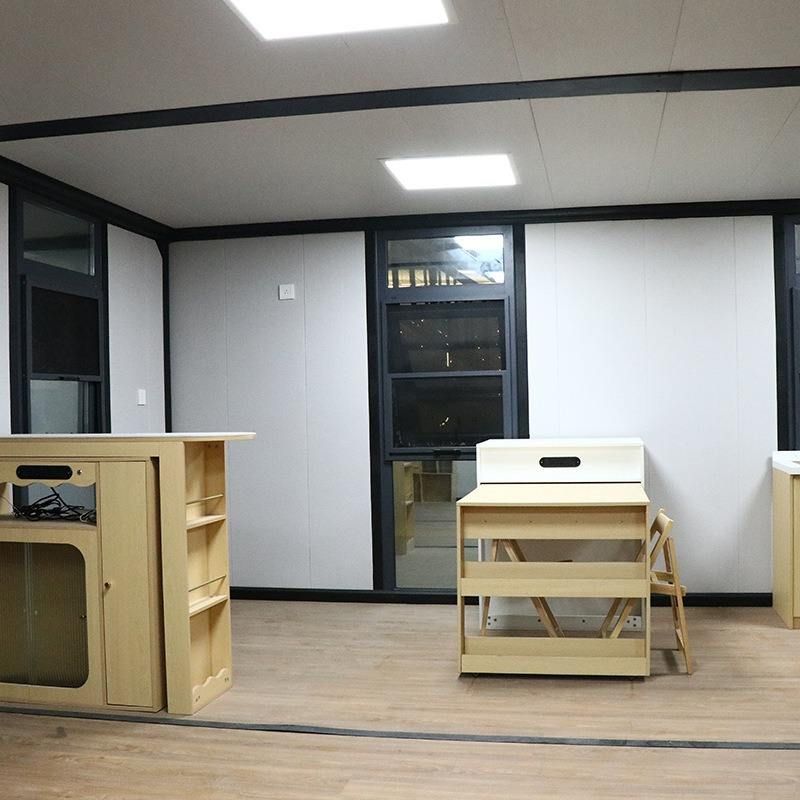
I. Pre-installation Preparations
- Site Survey and Planning
- Confirm the installation location, avoiding low-lying areas prone to water accumulation, high-voltage power lines, and obstacles. Ensure the site is dry and well-ventilated.
- Measure the site dimensions to ensure the toilet access passage is at least 1.2 meters wide, with sufficient operating space for installation and maintenance.
- Material Inventory and Inspection
- Verify the quantity, model, and accessory list of the mobile toilets. Check for any damage or cracks on the equipment exterior and ensure internal components (such as the sewage collection tank and door locks) are intact.
- If any accessories are missing or damaged, promptly contact the supplier for replacements or reissues.
- Tool and Personnel Preparation
- Equip with basic tools such as wrenches, screwdrivers, and spirit levels. If the toilet unit is heavy, coordinate with a crane for assistance in handling.
- Assign 2-3 professional installers with clear division of labor (e.g., one responsible for securing the unit and another for water and electrical connections).
II. On-site Installation Procedures
- Foundation Fixing
- Use a crane to lift the toilet unit to the designated location. Adjust the unit's levelness using a spirit level, ensuring a deviation of no more than 3mm.
- In areas with strong winds, secure the unit's base with expansion bolts or place counterweights (such as sandbags) to prevent tipping.
- Water and Electrical Connection and Commissioning (Simplified for Dry Toilets)
- Dry toilets do not require connection to sewage pipes. However, ensure the sewage collection tank is placed stably and sealed properly with the toilet's discharge outlet to prevent leakage.
- If equipped with a flushing function (e.g., some improved dry toilets), connect to a water source (using a pipe with a diameter of at least DN20) and test the flushing pressure and drainage seal.
- Detail Inspection and Cleaning
- Install accessories such as door curtains and anti-slip mats. Check that components like door locks and ventilation openings function properly.
- Clean and disinfect the toilet interior, and place consumables such as air fresheners and toilet paper to enhance the user experience.
III. Post-installation Inspection and Handover
- Function Testing Checklist
- Load Test: Evenly step on the top of the unit to check for structural stability, ensuring no abnormal sounds or deformation.
- Drainage Test (if equipped with flushing): Press the flush button three times consecutively to confirm smooth drainage without blockages.
- Handover Document Confirmation
- Provide the customer with an Equipment Installation Acceptance Form, specifying the installation date, warranty period (typically 1-2 years), and usage precautions (e.g., regular cleaning of the sewage collection tank).
IV. Precautions and Safety Regulations
- Installation Safety: Wear safety harnesses during high-altitude work. Installation is prohibited in windy conditions (≥ force 5) or rainy weather. Smoking or open flames are strictly prohibited inside the toilet.
- Construction Management: Demarcate the construction area and set up warning signs. For nighttime work, provide adequate lighting and install reflective strips for enhanced visibility.
Related