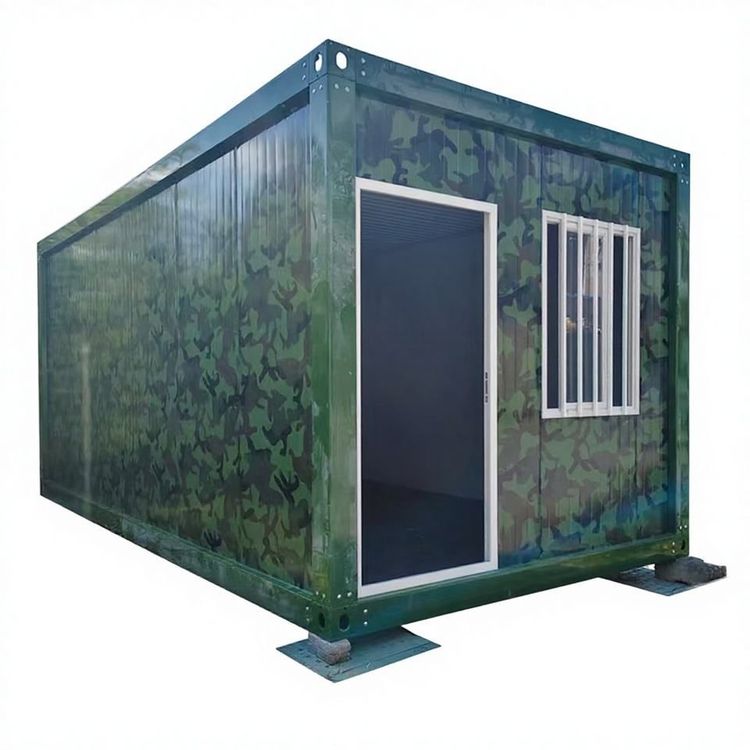
Lixin Mobile Toilet Installation
The installation process of mobile toilets in Lixin is divided into two types: split-type and integrated, with the core steps revolving around 'positioning - assembly - connection'. The details are as follows:

I. Installation Process for Split-Type Mobile Toilets
Split-type mobile toilets require on-site assembly and are suitable for long-term fixed use scenarios. The installation steps are as follows:
- Positioning the Chassis and Frame Use a forklift or manual labor to place the prefabricated steel structure chassis steadily at the predetermined location. Adjust the chassis to a level state using a level gauge to ensure the stability of subsequent wall installations. The chassis usually has reserved slots and fixing holes to provide positioning bases for subsequent steps.
- Installing Walls and Roof Panels Insert the sandwich panel wallboards into the chassis slots one by one and secure them with bolts or buckles to form a closed space. Pay attention to the perpendicularity of wallboard installation to avoid excessive gaps. Then install the roof panels, using sealant or waterproof strips to seal the joints and prevent rainwater leakage. This step usually takes 1-2 hours to complete.
- Connecting Internal Facilities Install internal partitions, toilets, flushing systems, sinks (optional), lighting, and ventilation equipment. The connection of water and electricity pipelines is a critical step and should be operated by professionals. However, modular design (such as quick connectors) can simplify the process and shorten the time. For example, the flushing system needs to be connected to the water source and sewage pipeline, and the electrical circuit must ensure grounding safety.
- Functional Inspection and Debugging Conduct a flushing test to check if the water flow is smooth and the sewage is thoroughly discharged; test the electrical circuit to ensure the normal operation of lighting and ventilation equipment; inspect the sealing performance, focusing on observing whether there are water leaks at the joints of wallboards and the edges of the roof. The toilet can be put into use after debugging is completed.
II. Installation Process for Integrated Mobile Toilets
Integrated mobile toilets (such as container-type toilets) have their internal decoration and equipment integration completed in the factory, making on-site installation more convenient. The steps are as follows:
- Lifting and Positioning Use a crane to lift the prefabricated integrated toilet to the predetermined location and adjust the support feet or shims to ensure levelness. Pay attention to the ground bearing capacity in this step to avoid toilet tilting due to unstable foundations.
- Connecting Water, Electricity, and Sewage Pipelines Connect the water and electricity interfaces of the toilet to the external water supply pipes, power sources, and sewage pipelines. Integrated toilets usually adopt standardized interfaces, making the connection process fast. However, it is necessary to ensure sealing performance to prevent water leakage or electric leakage.
- Functional Testing After powering on and supplying water, test whether the flushing, lighting, ventilation, and other functions are normal, and check if the sewage pipeline is unobstructed. The overall installation time can be shortened to 2-4 hours, making it suitable for temporary events or emergency needs.
Lixin County provides mobile toilet rental and sales services. The products adopt high-strength lightweight materials, support customization of capacity and configuration, and offer one-stop services including installation, maintenance, and consumable replacement. Users can choose the appropriate type according to their needs.