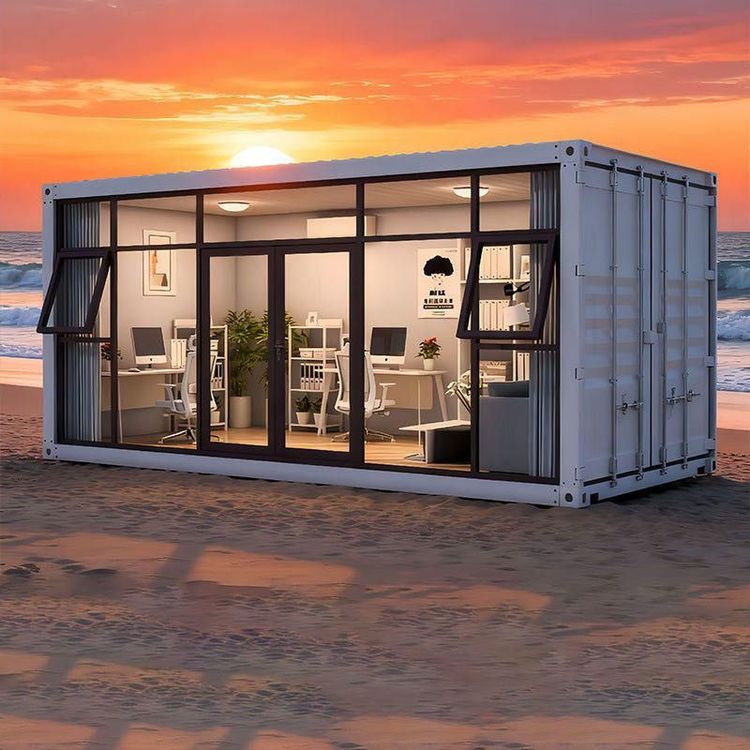
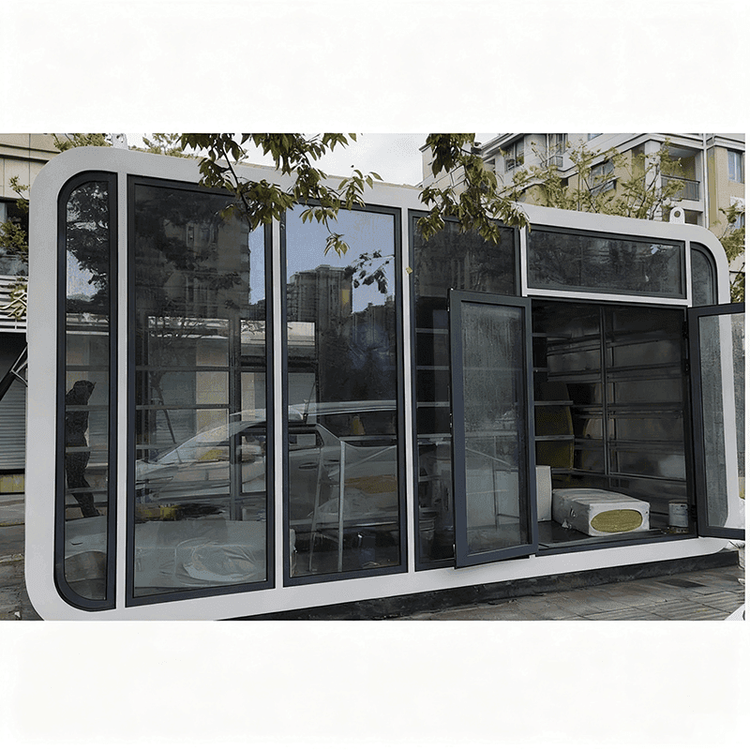
How to Make a Light Steel Mobile Toilet
The production of a light steel mobile toilet involves six core steps: design and planning, material procurement and preparation, fabrication and assembly, facility installation and commissioning, quality inspection and acceptance, and on-site installation and maintenance. The specific process is as follows:

1. Design and Planning
Determine the toilet's dimensions, structural form (single or multi-unit), and functional layout based on the usage scenario (such as scenic spots, construction sites, or temporary event venues) and user requirements. The design must meet basic requirements for waterproofing, moisture resistance, ventilation, and fire prevention, such as using a sloped roof design to prevent water accumulation and installing independent ventilation ducts to ensure air circulation. Additionally, plan the width of evacuation routes (usually ≥0.9 meters) and emergency exits to ensure safety compliance. After design completion, prepare floor plans, elevation drawings, and 3D renderings to clarify the connection methods of various components.
2. Material Procurement and Preparation
The main frame is made of galvanized light steel keels (thickness ≥1.5mm), which are corrosion-resistant and strong. The outer layer is covered with high-density sandwich panels (rock wool or polyurethane material), typically 50-100mm thick, providing both thermal insulation and soundproofing. Internal configurations should include non-slip floors (PVC or rubber material), stainless steel squat/sit toilets, exhaust systems (axial fan power ≥100W), LED lighting fixtures (brightness ≥300lux), and sewage collection tanks (capacity designed according to the number of users, generally ≥500L). Optional additions include solar panels (power ≥200W) for off-grid power supply or microbial degradation units to reduce sewage discharge.
3. Fabrication and Assembly
Process the light steel keels in a factory according to the design drawings, connecting them with bolts to form a stable frame (node spacing ≤600mm), ensuring a wind resistance rating of ≥8. The outer sandwich panels are fixed with concealed screws to prevent water leakage. Internal equipment installation should follow the principle of "pipelines first, then circuits": first lay the water supply and drainage pipes (PPR pipes, slope ≥2%), then install the electrical system (wire diameter ≥2.5mm²), and finally secure the sanitary fixtures. All connections should be sealed with glue to prevent odor leakage.
4. Facility Installation and Commissioning
When installing the exhaust system, a rain cover should be placed on top to prevent water ingress; the lighting system should be equipped with emergency lights (battery life ≥30 minutes). The sewage collection tank should have a预留清掏口 (cleanout port with a diameter ≥400mm) and be fitted with a sealed cover. For smart models, commission devices such as sensor faucets (response time ≤0.5 seconds) and automatic flushing units (flush volume ≤3L/time). Microbial degradation toilets require the addition of specialized bacteria and testing of degradation efficiency (≥90%).
5. Quality Inspection and Acceptance
Conduct inspections according to the "Urban Public Toilet Design Standard" (CJJ14-2016): structural strength must pass a load test (bearing capacity ≥200kg/m²), airtightness testing should be at a pressure ≥500Pa with a leakage rate ≤2%, and electrical safety must comply with the GB4706.1 standard. For environmental indicators, sewage discharge should meet the third-level standard of the "Integrated Wastewater Discharge Standard" (GB8978-1996), and noise control should be ≤55dB(A). After passing the inspection, issue a test report with a CMA certification seal.
6. On-site Installation and Maintenance
Transport using a modular design (single module weight ≤2 tons), using forklifts or cranes for loading and unloading. During on-site assembly, lay shock-absorbing pads on a flat surface and connect the modules with M12 high-strength bolts, controlling the joint gaps to ≤3mm. After installation, conduct a 48-hour operational test, focusing on checking the smoothness of water supply and drainage and the stability of the electrical system. For long-term maintenance, inspect the keel's anti-corrosion coating quarterly, clean the sewage tank semi-annually, and replace the sealing strips annually to ensure a service life of over 15 years.