Installation of Portable Toilets at Light Steel Construction Sites
The installation of portable toilets at light steel construction sites requires following steps such as site selection, foundation treatment, transportation and placement, module assembly, pipeline connection, ventilation and lighting, lightning protection and grounding, and signage and safety, combined with modular design and technical highlights to achieve efficient construction.

1. Site Selection and Evaluation
Prioritize areas that are flat and slightly elevated above the surrounding ground, avoiding open-flame work areas, material storage areas, and power distribution facilities to ensure a safe distance. Consider the prevailing wind direction to prevent toilet odors from affecting the construction area, and reserve space for a septic tank or sewage outlet for subsequent pipeline connections.
2. Foundation Treatment
Take different measures based on the ground type: For muddy ground, compact the soil and lay a 10-15 cm gravel bed; for soft soil or backfilled areas, pour a concrete foundation or set up prefabricated cement piers; for hardened ground, check the flatness and adjust the pads if the slope exceeds 1%. Foundation treatment directly affects structural stability and must be carried out strictly according to specifications.
3. Transportation and Placement
Use professional vehicles for transportation, securing the box with ropes or straps to prevent bumps during transit. Use lifting straps for hoisting to avoid scratching the exterior. When placing, use a level to check the box's levelness and adjust the pads if the slope exceeds 0.5%. The door should face away from the prevailing wind direction and avoid major traffic lanes to reduce usage interference.
4. Module Assembly
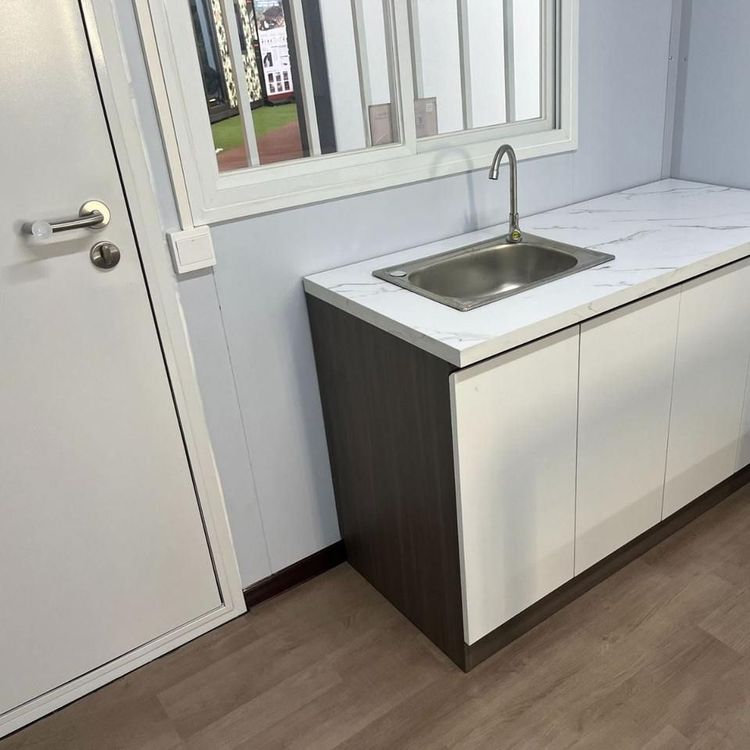
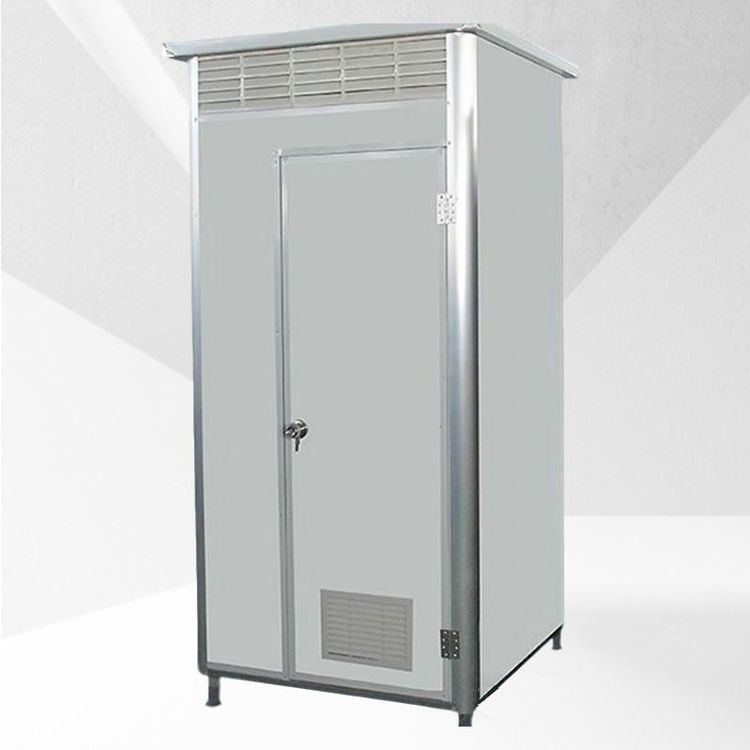
The main frame of light steel studs or sandwich panels is connected with bolts to form a modular structure, with a typical single-room size of 1.1×1.1×2.3 meters (length×width×height). Modular design supports free combination, and modules can be fixed with bolts after the ground is leveled, with a single room assembly taking 2-4 hours. If additional functions (such as barrier-free facilities or baby changing stations) are required, module layouts can be planned in advance.
5. Pipeline Connection
Flush toilets require connection to water supply pipelines (recommended PPR or PE materials) and drainage pipelines (with a slope of no less than 2%) to ensure smooth drainage; non-flush toilets require checking the seal of the fecal collection container to prevent leakage. Pipeline connections should be reinforced with sealant or clamps to avoid future repairs.
6. Ventilation and Lighting
Maintain natural ventilation in the toilet, and install exhaust fans or ventilation ducts if necessary (with a wind speed of no less than 0.3 m/s). If lighting is insufficient, connect temporary lighting circuits and use waterproof and explosion-proof lamps to avoid short circuits and safety hazards.
7. Lightning Protection and Grounding
In areas prone to thunderstorms or open construction sites, install independent lightning rods and ground the metal frame (with a grounding resistance of no more than 10 ohms) to prevent lightning damage to equipment or endanger personnel safety.
8. Signage and Safety
After installation, hang signs (such as gender-specific toilet identification and usage instructions). Set up warning posts or reflective stickers near vehicle traffic areas, and install warning lights at night to ensure usage safety.