
Back to blog
Article
Large Mobile Toilet Installation
Admin September 22, 2026
The installation of large mobile toilets should be carried out according to the specific model and type. There are differences in the installation steps between the standard model and the elevated model, so tools need to be prepared in advance and the process should be strictly followed. Here are the specific installation steps and precautions:
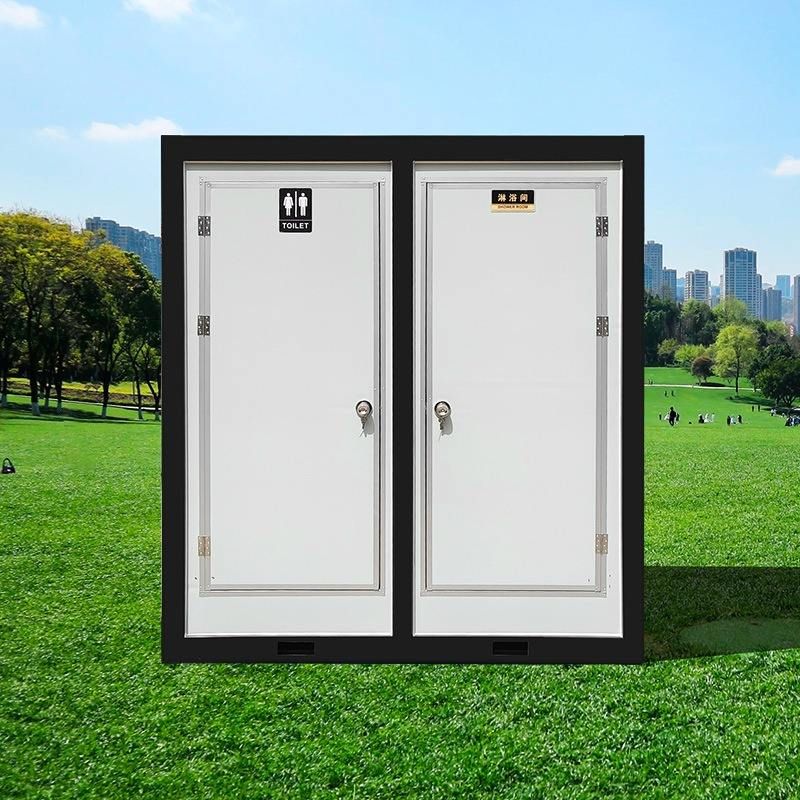
I. Installation Steps for Standard Large Mobile Toilets
- Tool Preparation: After receiving the goods, prepare tools such as an electric drill, a 4.2-millimeter drill bit, and a rivet gun in advance. These tools are crucial for fixing the panels and connecting the structure to ensure installation stability.
- Corner Installation: First, install the corner components in place one by one. The corners are the core structure supporting the toilet frame, so they must be installed firmly to avoid looseness during subsequent assembly.
- Panel Assembly: Insert the panels into the slots and align them, paying special attention to the alignment of the upper and lower panels. If the panels are not aligned, it may cause the structure to tilt or have excessive gaps, affecting the user experience.
- Panel Fixing: After confirming that the panels are aligned, use a 4.2-millimeter drill bit to drill holes at the joints, then insert rivets and fix them with a rivet gun. The rivets should be evenly distributed to ensure tight panel connections and prevent loosening after long-term use.
II. Installation Points for Elevated Mobile Toilets (e.g., Model 738)
- Accessory Inspection: Elevated toilets usually come with accessories such as elephant legs (support legs), handrails, and anti-slip mats. Before installation, check the accessory list to ensure all parts are complete and avoid work stoppages.
- Support Structure Installation: Prioritize the installation of support components such as elephant legs, adjust them to the appropriate height, and fix them. The stability of the support legs directly affects the overall safety of the toilet, so ensure the ground is level before fixing.
- Handrails and Anti-slip Mats: Install the handrails according to the model instructions to ensure user safety; the anti-slip mats should be pasted at designated positions (such as steps or the floor) to prevent slipping accidents.
- Main Body Assembly: After completing the support structure, assemble the panels according to the steps for the standard model, but additionally check whether the connections of the elevated parts are tight to avoid insufficient structural strength due to increased height.
III. General Precautions
- Safety First: Wear protective gloves during installation to avoid cuts or impacts; keep the electric drill stable when using it to prevent drill bit deviation.
- Environmental Requirements: Choose a flat and dry ground for installation to avoid toilet tilting or water leakage due to uneven ground.
- Detail Inspection: After installation, check whether all rivets are firm, whether the panel gaps are even, and whether accessories such as door locks can function properly to ensure there are no safety hazards.



