Back to blog
Article
How to Install Mobile Toilets in Keelung
Admin October 06, 2026
The installation of mobile toilets in Keelung requires selecting the appropriate steps based on the sewage discharge method and type, as detailed below:
1. Confirm the Sewage Discharge Method and Type
- Packaged or Microbial Degradation Type: No need to connect to sewage pipes; can be directly moved to the designated location, suitable for areas without a sewage network.
- Flush Type: Requires advance planning of sewage pipe layout to ensure sewage discharge meets environmental protection requirements and avoids environmental pollution.
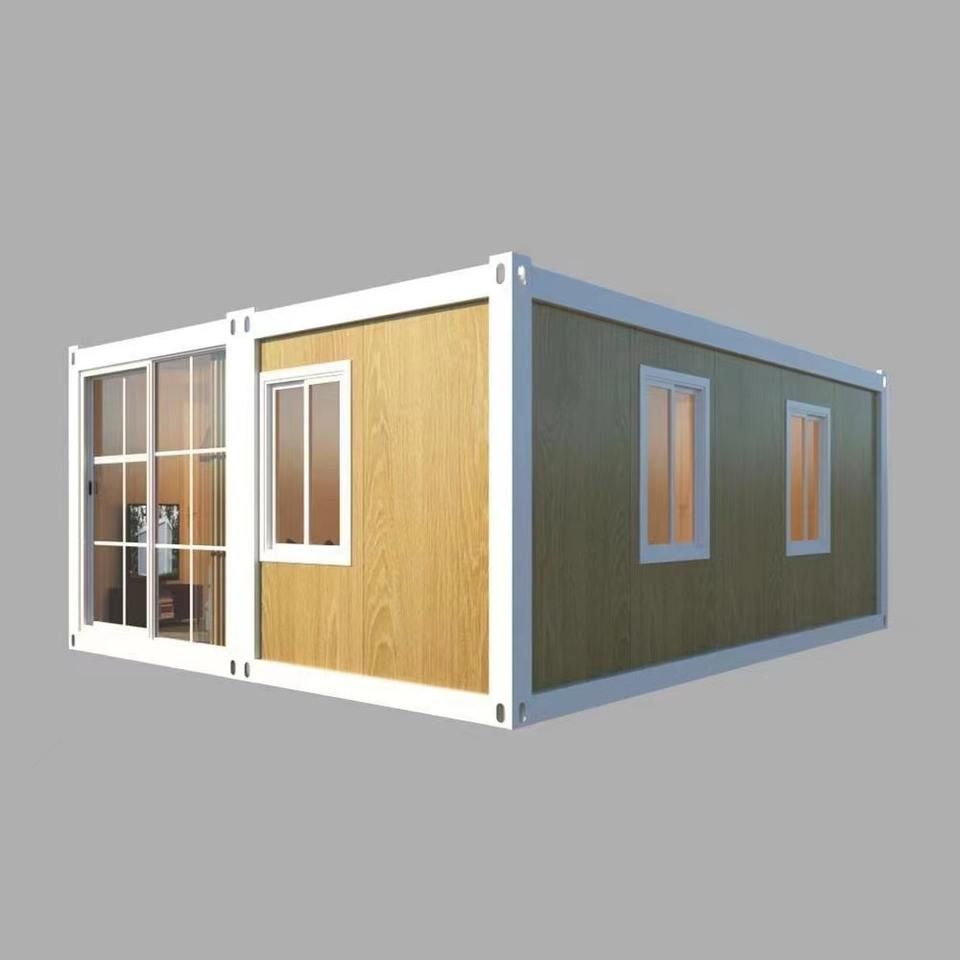
- Integrated Mobile Toilet (e.g., Box-type Toilet): The factory has completed interior decoration and equipment integration, simplifying the installation process and suitable for rapid deployment scenarios.
2. Preparation Stage
- Site Selection Requirements: Choose a flat area with strong load-bearing capacity to avoid toilet tilting or damage due to unstable foundations.
- Environmental Inspection: Confirm that sewage pipes are unobstructed and the ground levelness error does not exceed ±5mm; if it is a flush type, reserve positions for water and electricity interfaces.
- Tools and Materials: Prepare tools such as screwdrivers, wrenches, and spirit levels, as well as consumables like sealant and bolts, according to the toilet model.
3. Assemble the Frame (Taking a split type as an example)
- Base Fixation: Place the base at the predetermined position and fix it with expansion bolts or chemical anchors to ensure tight contact with the ground.
- Wall Installation: Connect the right, left, and front wall panels in sequence, using dedicated screws to lock them tightly; ensure the gaps between panels are uniform and less than 2mm.
- Top Support: Install upper slots to fix the top components, ensuring the slot spacing complies with design specifications (usually ≤500mm) to prevent deformation.
- Ventilation System: Install ventilation louvers at the designated positions to ensure air circulation and reduce odor accumulation; the louver angle should be adjustable to adapt to different wind directions.
- Cover Installation: Finally, cover the top, check the edge sealability, and apply waterproof glue if necessary to prevent rainwater leakage.
4. Detail Handling and Finalization
- Cleaning and Organization: Remove debris generated during assembly, wipe the interior and exterior surfaces of the toilet, and keep it clean.
- Fastening Inspection: Recheck all bolts and nuts to ensure they are tightened to avoid structural instability or water leakage due to looseness.
- Function Testing: If it is a flush type, test the flushing system, lighting equipment, etc., by supplying water and electricity to ensure they work properly.
- Maintenance Instructions: Provide the user with daily maintenance guidelines, such as regularly cleaning the sewage tank and checking seals, to extend the toilet's service life.
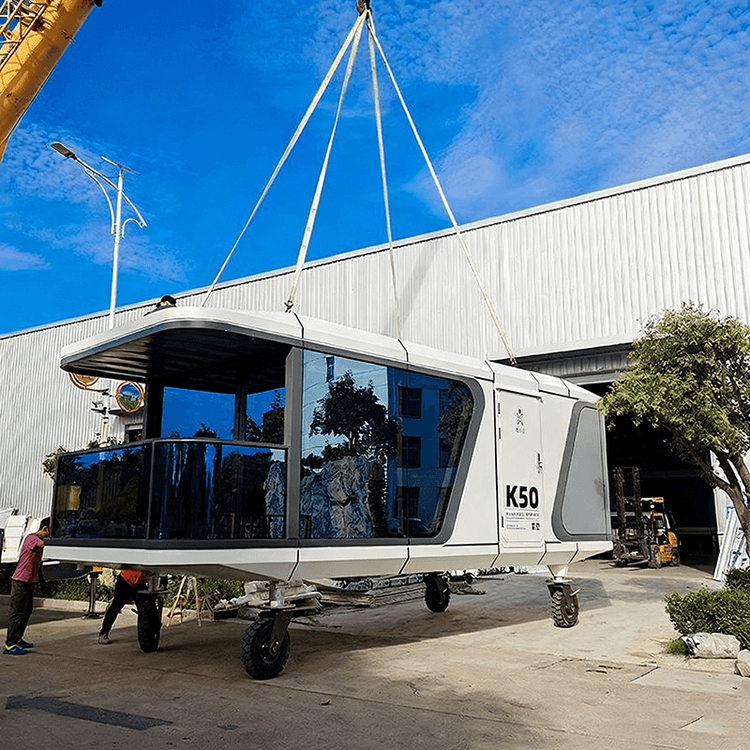
Simplified Installation of Integrated Mobile Toilets: Simply use a crane to hoist the pre-assembled box to the designated position and connect the water, electricity, and sewage pipes; the entire process takes about 2-4 hours and is suitable for emergency or temporary use scenarios.