
Back to blog
Article
Jiuquan Outdoor Portable Toilet Installation
Admin September 27, 2026
The installation of outdoor portable toilets in Jiuquan is generally straightforward, with specific steps depending on the product model and design. However, it typically involves two main methods: basic installation procedures and special tool assembly. Here are the details:
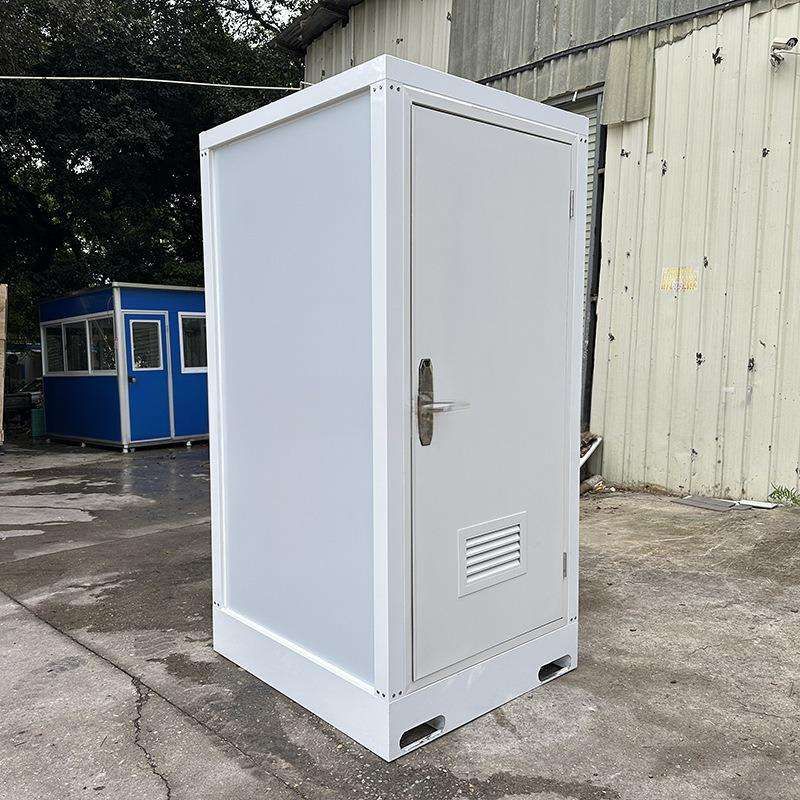
Basic Installation Procedures are suitable for most portable toilets that do not require complex structures, with four core steps:
- Select the Installation Location: Ensure the ground is level and solid, avoiding sloped or soft areas to maintain toilet stability. If installing on outdoor grass or sand, it is recommended to lay a concrete foundation or moisture-proof pad in advance to prevent ground subsidence from long-term use.
- Place the Portable Toilet: Move the toilet body to the designated location, handling it gently to avoid structural damage. Some large toilets may require lifting equipment for positioning, while smaller ones can be manually moved and adjusted.
- Connect Necessary Facilities: Depending on the toilet's functional requirements, connect sewage pipes (such as septic tanks or municipal sewage networks), water supply pipes (if equipped with a flushing function), and power sources (such as lighting or automatic flushing systems). Use dedicated seals during connection to prevent leaks or short circuits.
- Check Functionality: After installation, test all functional modules, including flushing, sewage discharge, ventilation, and lighting systems, to ensure there are no blockages, leaks, or electrical faults. If abnormalities are found, recheck the connection points or adjust equipment parameters.
Special Tool Assembly Procedures are suitable for modular portable toilets that require on-site assembly, requiring tools such as an electric drill, 4.2mm drill bit, and rivet gun. The steps are as follows:
- Install Inner Corner Structures: Locate the inner corner connection points of the toilet frame according to the instructions, use an electric drill to make holes, and insert rivets for fixation.
- Assemble Panels: Align the wall and roof panels by number and initially connect them using clips or bolts, ensuring even gaps.
- Drill Holes and Rivet: Use a drill bit to make holes at the panel joints, insert rivets, and secure them to enhance structural stability.
- Overall Adjustment: Check that all assembled parts are level and adjust the flexibility of movable components such as doors and windows to ensure there is no jamming or abnormal noise.
Precautions:
- Before installation, carefully read the product instructions to confirm whether professional installation services are included. Some manufacturers offer one-stop integrated procurement to avoid the risks of self-installation.
- If electrical or plumbing connections are involved, it is recommended to have them operated by certified electricians or plumbers to ensure compliance with safety regulations.
- For outdoor installations, consider wind and rain protection measures, such as reinforcing the foundation or adding rain covers, to extend the equipment's service life.
Related



