Back to blog
Article
Is There Installation of Portable Toilets?
Admin October 12, 2026
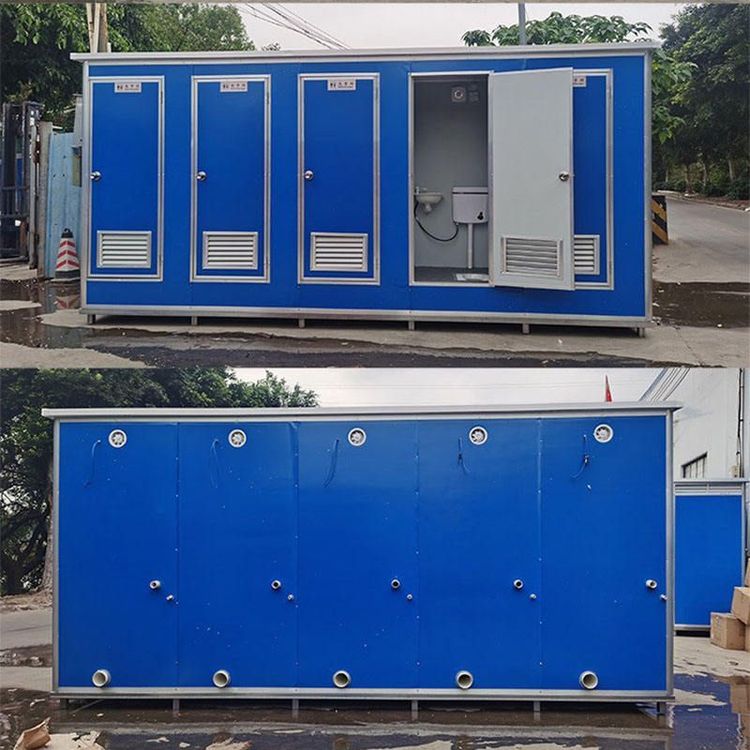
Portable toilets can be installed, and the specific installation process varies depending on the type and design of the toilet. The following introduces common installation steps using a portable toilet as an example:

Preparation Before Installation
Before installing a portable toilet (taking a portable toilet as an example), ensure that the installation location has a flat, dry, and clean ground. Also, prepare the required tools, such as wrenches, screwdrivers, and Teflon tape, as well as relevant accessories, such as toilet flanges, angle valves, water inlet hoses, and sprinklers.
Specific Installation Steps
- Install the toilet flange: Place the toilet flange between the toilet drain and the ground drain pipe. Ensure that the center of the flange is aligned with the center of the drain pipe. Then, use screws to fix the flange to the ground, ensuring that the flange is firmly installed to prevent water leakage.
- Install the angle valve: The angle valve is a key component for controlling water flow. First, turn off the main water valve. Install the angle valve on the reserved water inlet, and tighten it with a wrench. Be careful not to use excessive force to avoid damaging the angle valve or the water pipe interface. Wrap an appropriate amount of Teflon tape around the connection to enhance the sealing and prevent water leakage.
- Connect the tee for the water inlet and the sprinkler: Install the tee on the outlet of the angle valve. Then, connect the water inlet hose of the toilet and the water inlet pipe of the sprinkler to the other two interfaces of the tee respectively. Similarly, wrap Teflon tape around the connections to ensure a tight fit and prevent water leakage.
- Screw on the toilet water inlet hose: Connect the other end of the toilet water inlet hose to the water inlet of the toilet. Tighten it appropriately with a wrench, but not too tightly to avoid damaging the hose or the toilet interface.
- Assemble the toilet sprinkler: Assemble the various components of the toilet sprinkler according to the instructions to ensure correct and firm assembly.
- Connect the sprinkler bracket: Install the assembled sprinkler onto the sprinkler bracket, and then fix the sprinkler bracket in a suitable position, such as on the wall beside the toilet, to ensure that the sprinkler is easy to use and stable.
- Test the water and apply sealant: After completing the above installation steps, turn on the main water valve and conduct a water test. Check each connection for water leakage. If there is any leakage, turn off the water valve in time, recheck, and tighten the connections. After confirming that there is no leakage, apply glass glue around the edge where the bottom of the toilet contacts the ground to serve as a seal and fixation.
Related