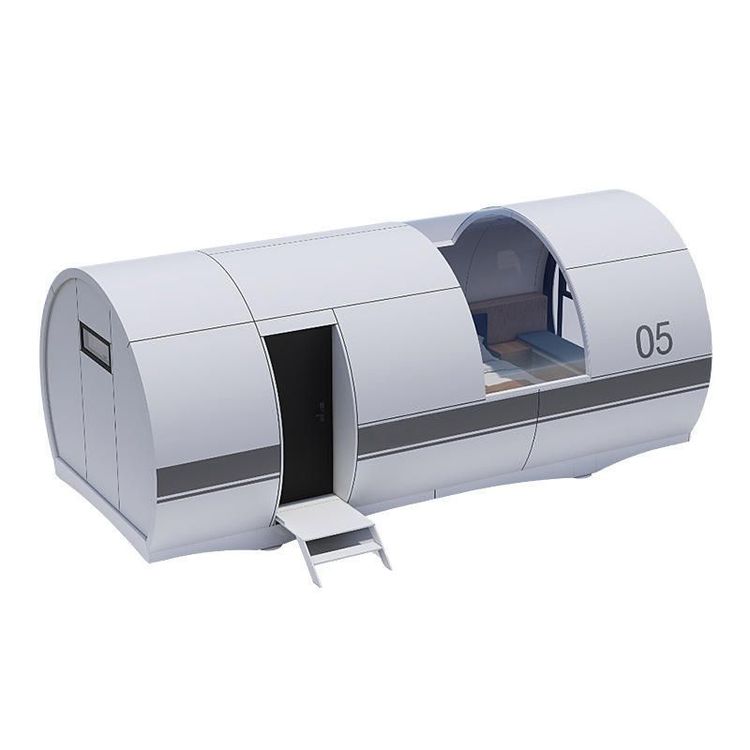
Installation of Internet Celebrity Mobile Toilets
The installation of internet celebrity mobile toilets requires selecting the appropriate method based on the specific product type. Common installation steps and precautions are as follows:

I. Installation Steps for General-Purpose Mobile Toilets
Tool Preparation Prepare tools such as an electric drill, a 4.2-millimeter drill bit, a rivet gun, and screwdrivers in advance to ensure all necessary tools are available during installation. Some products may require additional tools like a spirit level or rubber mallet for positioning.
Main Structure Assembly
- Install the inner corner pieces (such as frame connectors) according to the design drawings, ensuring that the angles are perpendicular and firmly fixed.
- Insert the prefabricated panels into the slots, aligning the edges during assembly to avoid excessive gaps that may affect sealing.
- Use an electric drill to make holes at the panel connections (the depth should conform to the rivet specifications), insert the rivets, and then secure them with a rivet gun, focusing on reinforcing load-bearing parts.
- Functional Module Installation
- When installing the toilet body, check if the sewage pipe connections are aligned. The sealing ring should completely cover the connections to prevent leakage.
- If equipped with a water tank or flushing system, connect the water pipes and test the water pressure to ensure normal flushing function.
II. Special Installation for the Elevated 738 Mobile Toilet (Internet Celebrity Model)
Accessory Inventory and Classification Upon receiving the package, immediately check the accessory list, including "elephant legs" (support legs), handrails, anti-slip mats, and soft-close dampers, to confirm that there are no missing or damaged items.
Support Structure Installation
- Fix the "elephant legs" to the bottom of the toilet with screws, adjusting the height to keep the toilet level (a spirit level can be used for verification).
- Install anti-slip mats at the bottom of the support legs to enhance stability and prevent floor scratches.
- Auxiliary Function Assembly
- Install the handrails symmetrically on both sides of the toilet, tightening the screws until there is no wobbling.
- Install the soft-close damper at the connection between the toilet lid and the seat ring, testing for smooth opening and closing without noise.
III. Operation Suggestions for Simplified Installation Products If the product is labeled "6-step installation" or comes with an instruction manual, follow the steps below:
- Unfold the main frame and secure the base;
- Install the side and top panels;
- Connect the sewage pipes;
- Secure the door locks or hinges;
- Install internal accessories (such as tissue holders and trash bins);
- Conduct a power-on test (if equipped with electric functions). If encountering complex steps, it is recommended to contact customer service for video tutorials first to avoid damage caused by disassembly.
Precautions: Before installation, ensure that the ground is level to avoid structural instability due to tilting. All screws and rivets should be tightly fastened, and the connections should be regularly checked for looseness. If the product contains electronic components, ground them according to the instructions.