Intelligent Mobile Toilet Installation
Although there is no complete public information on the installation process of intelligent mobile toilets, based on the material and structural characteristics of mobile toilets (with dual toilet compartments), it can be inferred that their installation roughly includes the following key steps:

I. Foundation Preparation and Site Treatment
Before installation, ensure that the site is level and solid. If the ground is soft or sloped, hardening treatment (such as pouring a concrete foundation) is required to ensure the stability of the toilet after placement. At the same time, reserve drainage pipe connections (for flush toilets) or septic tank locations (for non-flush toilets) to ensure smooth connection between the waste disposal system and external facilities. Additionally, check for obstacles around the site to avoid affecting the opening of the toilet door or the operation of the ventilation system.
II. Main Structure Assembly
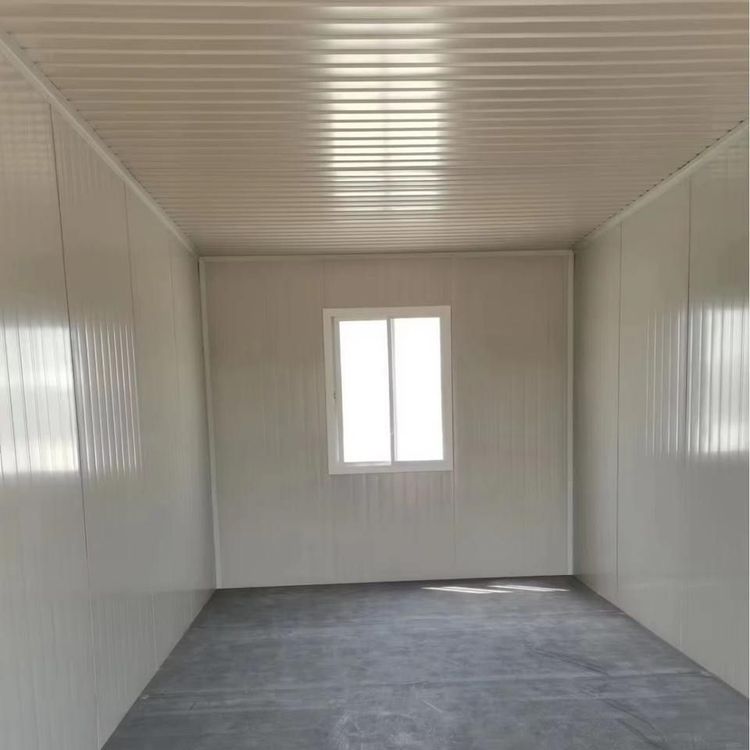
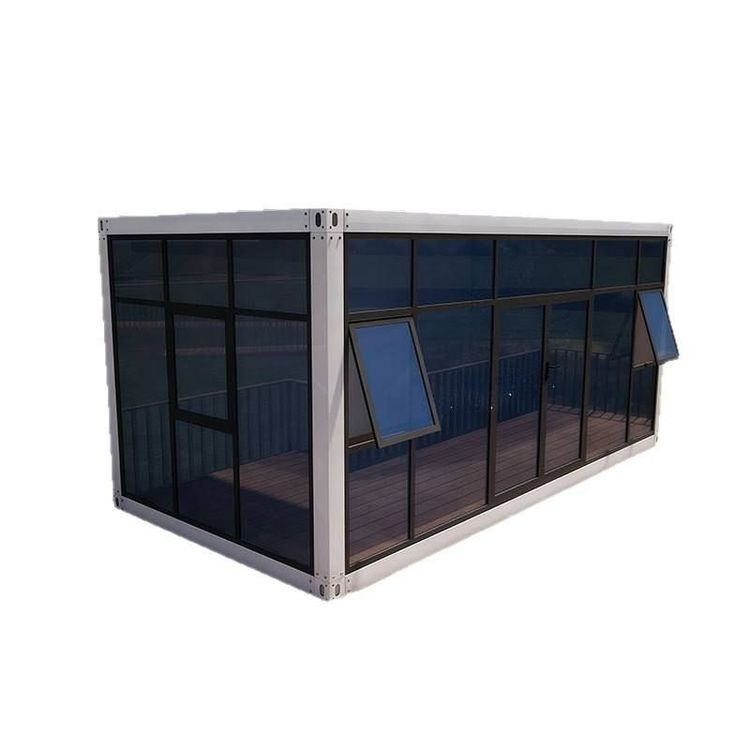
The main body of the mobile toilet usually adopts a modular design. During installation, first fix the bottom frame (which may include the support structure for marble steps) to ensure that the frame is level and stable. Then, install the wall panels (metal carved panels), ceiling (PVC ceiling), and toilet door (aluminum alloy material) in sequence. The metal carved panels need to be fixed to the frame with special clips or screws, paying attention to the sealing treatment of the joints between panels to prevent rainwater leakage; the PVC ceiling needs to be tightly connected to the top of the wall panels to avoid gaps; the aluminum alloy door needs to adjust the hinge position to ensure smooth opening and closing and good sealing performance.
III. Internal Facility Installation and Debugging
Install corresponding facilities according to the type of toilet (flush or non-flush):
- Flush Toilets: Connect the water inlet and outlet pipes, install the water tank, flush button, and toilet (such as ceramic squat toilet or sit toilet), and test the water pressure and flushing effect to ensure no water leakage.
- Non-Flush Toilets: Install a packaged toilet or a microbial degradation device, connect the exhaust pipe (if ventilation is required), and check the sealing and operational stability of the waste disposal system.
In addition, install auxiliary facilities such as lighting fixtures, ventilation fans (or natural ventilation windows), and handrails, and test whether the circuit is normal.
IV. Appearance and Detail Handling
After installation is complete, check whether the appearance of the toilet is clean and tidy, and clean any stains or scratches on the wall panels, doors, and windows. Perform anti-slip treatment on the marble steps (such as pasting anti-slip strips) and set up warning signs (such as "Caution: Slippery") around the toilet. If the toilet needs to be moved or fixed, install wheels or ground anchors at the bottom to ensure safety during use.