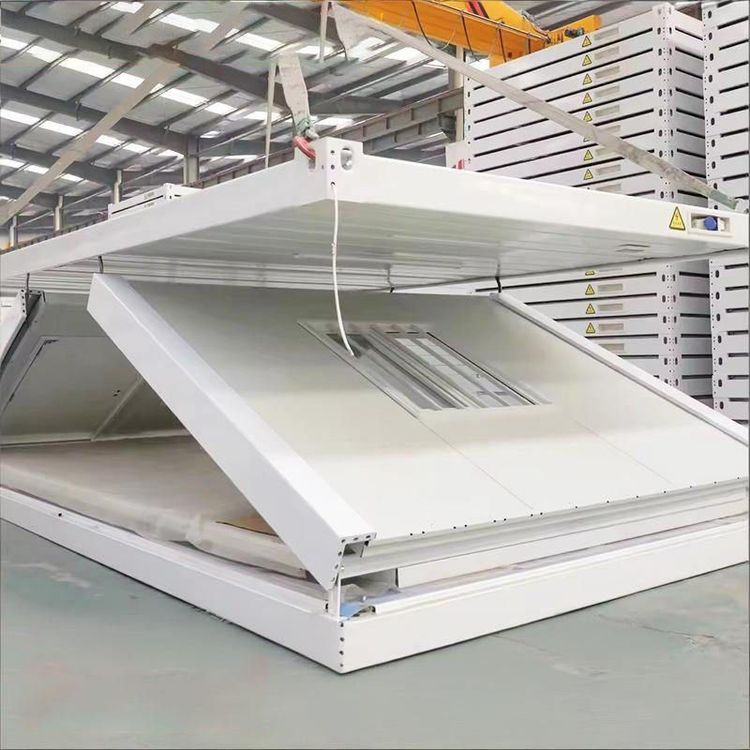
Installation of Small Indoor Portable Toilets
The installation of small indoor portable toilets requires adjusting steps according to the specific type (such as dry composting, bagging, or micro-biological treatment toilets) and the product manual. The core process includes planning and preparation, main body assembly, and leveling and fixation, with some simplified models allowing for streamlined operations.
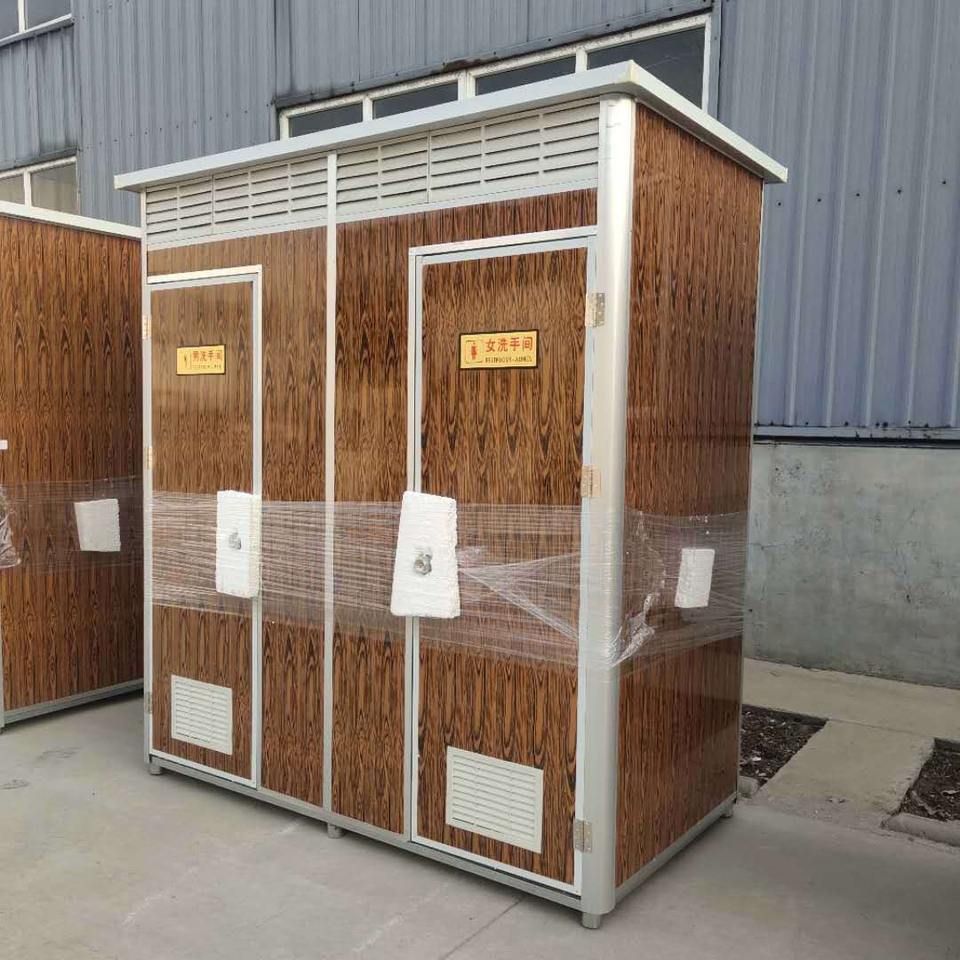
I. Planning and Preparation Before Installation
- Determine Type and Specifications Choose the toilet type based on the usage scenario:
- Dry Composting Toilets: Suitable for low-frequency use, relying on natural decomposition, and requiring regular addition of covering material (such as sawdust) to control odors;
- Bagging Toilets: Collecting excreta through replaceable garbage bags, suitable for temporary or high-frequency use scenarios;
- Micro-Biological Treatment Toilets: Utilizing microorganisms to decompose excreta, requiring connection to a power source to drive the treatment system, suitable for long-term fixed use. Decisions should also consider budget, space size (such as a corner of the bathroom or an independent room), and subsequent maintenance convenience.
- Site Selection and Space Measurement
- Ventilation and Privacy: Choose a well-ventilated location (to avoid odor accumulation) that is private, away from sensitive areas such as bedrooms or living rooms;
- Ground Conditions: Ensure the ground is sturdy and level to avoid structural instability or excreta leakage due to tilting;
- Operating Space: Measure the net space dimensions of the placement location, reserving at least 30-50 centimeters of maintenance access (such as for replacing garbage bags or cleaning the treatment chamber).
- Preparation of Supporting Facilities Prepare the following items according to the toilet type:
- Covering Material (for dry composting toilets): Sawdust, coconut coir, etc., used to cover excreta and reduce odors;
- Exhaust Fan (when natural ventilation is unavailable): To accelerate air circulation and reduce humidity;
- Power Outlet (for biological treatment toilets): To supply power to the treatment system;
- Cleaning Tools: Disinfectant, brushes, garbage bags, etc., for daily maintenance.
II. Installation Implementation Steps
Unpacking Inspection and Verification After opening the package, check each component (such as the toilet base, body, seat, screws, etc.) against the manual to ensure there are no damages or missing parts. If any issues are found, contact the supplier immediately for replacement.
Main Frame Assembly
- General Steps: Use the provided tools (such as wrenches, screwdrivers) to connect the toilet base, body (or treatment chamber), and upper seat and lid according to the manual instructions, ensuring all screws are tightened to avoid looseness causing noise or leakage;
- Simplified Models (such as portable toilets): Some products do not require complex assembly; simply install silicone anti-slip pads into the four corners of the bottom, align the upper and lower bodies, and press the buckles to fix.
- Placement and Leveling Move the assembled toilet to the predetermined location and use a level to adjust it to a completely horizontal state. If the ground is uneven, level it by adding anti-slip pads or adjusting the height of the base feet.
Tip: Before installation, be sure to read the product manual carefully. Different brands or models may have detail differences (such as biological treatment toilets requiring connection to a drainage pipe). If unsure about the steps, it is recommended to contact a professional for assistance with installation.