Installation of Mobile Toilets
The installation steps for mobile toilets should be selected according to the type (domestic simple type or outdoor public type), as detailed below:
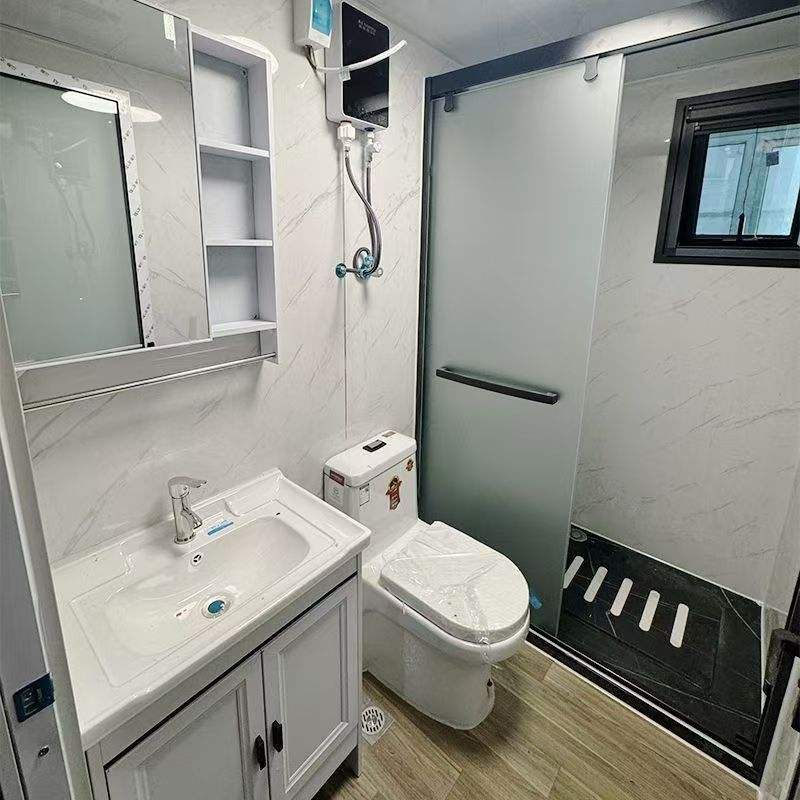
I. Installation Steps for Domestic Simple Mobile Toilets
Unpacking Inspection and Tool Preparation
Upon receiving the goods, immediately unpack and check the parts list to ensure that components such as corner pieces, panels, rivets, toilet flanges, angle valves, tees, water inlet hoses, and spray head brackets are complete. Also, prepare tools such as an electric drill (with a 4.2-millimeter drill bit), rivet gun, wrench, and sealant. If any parts are missing or damaged, contact the manufacturer for replacement to avoid interruption during subsequent installation.Main Structure Assembly
Insert the panels into the slots as designed and align them before securing them with corner pieces. Use an electric drill to make holes at the marked positions, insert rivets, and rivet them tightly to ensure the frame is stable. Pay attention to the direction of the panels in this step to avoid reverse installation causing misalignment of the connectors.Water Inlet System Connection
- Install the toilet flange: Align it with the center of the drain pipe and tighten the fixing ring with a wrench to prevent leakage.
- Connect the angle valve and tee: Connect one end of the angle valve to the water source and the other end to branch out the water inlet hose and spray head pipe through the tee.
- Fix the spray head bracket: Insert the bracket into the top of the tee, adjust the angle, and tighten the screws.
- Sealing treatment: Wrap Teflon tape around the connections of the water inlet hose and spray head, and tighten the sealing rings to prevent leakage.
Water Testing and Finalization
Turn on the water source, check for leaks at all connections, confirm that the spray head is discharging water normally, and then apply sealant at the frame joints to complete the installation.
II. Installation Steps for Outdoor Mobile Toilets
Basic Condition Confirmation
- Select an installation location based on the structural form (single or composite) and movement method (hoisting or towing), ensuring that the ground is flat and hard to meet the load-bearing requirements.
- For hoisting types, check the load-bearing components such as hooks and steel cables in advance; for towing types, confirm that the wheels and brake devices are stable.
- Wind-resistant design: In windy areas, add ground anchors or counterweights to prevent the toilet from tipping over.
Modular Assembly
- Install modules such as the fecal sewage storage tank, walls, and roof in sequence, and fix the connections with bolts or buckles.
- For flush toilets, connect the sewage discharge pipe to the septic tank or municipal sewer network; for dry-packing types, install the fecal collection bucket and ensure it is sealed.
Functional Debugging
- Check whether equipment such as door locks, lighting, and ventilation is working properly.
- For flush toilets, test the flushing pressure to ensure smooth sewage discharge; for dry-packing types, confirm that the fecal bag replacement is convenient.
Precautions:
- Be sure to read the product manual before installation or contact the manufacturer for installation video guidance.
- Outdoor toilets require regular maintenance, such as cleaning the storage tank and checking wheel wear, to extend their service life.