
Back to blog
Article
Installation of Mobile Toilet Flushing Bucket
Admin September 28, 2026
You can refer to the following steps and precautions for installing a mobile toilet flushing bucket:
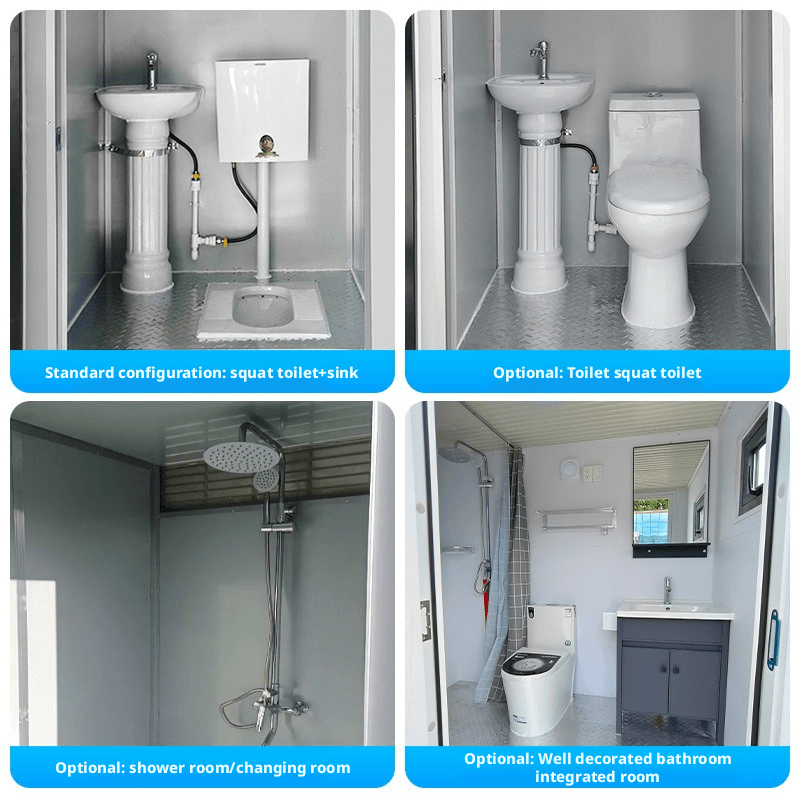
I. Basic Installation Steps
Turn Off the Water Supply and Empty the Water Tank
- Close the angle valve (usually located at the water inlet of the flushing bucket) to cut off the water supply and prevent leaks during installation.
- Press the flush button to empty the residual water in the tank and prevent overflow during disassembly.
Remove the Old Water Tank and Drain Pipe
- Loosen the bolts or clips securing the flush tank and carefully remove the old tank to avoid damaging the connecting components.
- Remove the drain pipe (such as a hose or rigid pipe) connected to the tank, and mark the interface positions for subsequent installation.
Clean the Drain Outlet and Installation Area
- Check the drain outlet for debris or scale, and clean it thoroughly with cleaning tools (such as a brush) to ensure a tight seal.
- Clean the floor or wall of the installation area to keep it flat and dry, providing a stable foundation for the new tank installation.
II. Key Points for Installation in Special Scenarios
Modular Flush Buckets (e.g., Products from Datong and Yangquan, Shanxi)
- These products usually adopt a modular design and need to be installed in coordination with components such as septic tanks and squat toilets.
- Sealing Treatment: Apply waterproof glue or install rubber sealing rings at the connections to prevent leaks.
- Anti-freezing Measures: If used in cold regions, wrap the tank and pipes with insulation materials (such as foam cotton) to prevent freezing and cracking.
Three-compartment Toilet Flush Buckets
- Adjust the height of the tank according to the compartment structure of the septic tank to ensure matching flush pressure.
- Pay attention to the horizontal alignment of the tank and the squat toilet during installation to avoid poor drainage due to tilting.
III. Post-installation Inspection and Debugging
Check for Leaks
- Reopen the angle valve and observe whether the tank and its connections are leaking. If there is a leak, retighten or replace the sealing parts.
Test the Flush Function
- Press the flush button multiple times to check the flush strength, drainage speed, and whether the tank refills properly.
- If the flush is weak, it may be due to a clogged inlet valve or insufficient water pressure, and the inlet valve needs to be cleaned or adjusted.
IV. Technical Support and Precautions
- Product Differences: The installation methods of different models of flush buckets may vary. Be sure to refer to the product manual or contact the supplier (e.g., Hebei Huizhe Environmental Protection Technology Co., Ltd., phone: 18403300703) for targeted guidance.
- Safe Operation: Avoid using excessive force when removing the old tank to prevent component damage. When installing the new tank, ensure that the bolts are tightened properly to prevent loosening and falling off.
- Regular Maintenance: After installation, it is recommended to regularly inspect the tank and pipes, clean scale and debris, and extend their service life.
Related



