How to Disassemble an Indoor Portable Toilet
The disassembly of an indoor portable toilet should be carried out according to its specific type and design, generally following the steps below:
1. Prepare Tools and Protective Gear
Before disassembly, prepare tools such as wrenches, screwdrivers, and hammers for removing connectors and fixed structures. Wear protective gear like gloves and goggles to prevent scratches or foreign objects from entering your eyes during the process. If the toilet involves electrical circuits or water sources, turn off the main power and water valve in advance to ensure a safe working environment.
2. Disconnect External Connections
- Water Supply and Drain Pipes: Use a wrench or adjustable wrench to loosen the water pipe connectors and slowly separate the pipes from the toilet body to avoid splashing residual water. If the drain pipe has a snap-fit design, press the snap to release the connection.
- Power Cords: If the toilet is equipped with lighting or ventilation systems, disconnect the power cords first. Use a screwdriver to remove the power outlet cover plate and carefully pull out the plug, avoiding pulling on the wires to prevent internal breakage.
- Check Fasteners: For household plastic portable toilets, check the bottom or surrounding areas for screws, snaps, or other fasteners. Use the corresponding tool (such as a Phillips screwdriver) to remove all fasteners and ensure the toilet is completely separated from the floor.
3. Remove Internal Components
- Removable Parts: Carefully remove movable parts such as the toilet seat cover, seat ring, and tank accessories, and store them separately to avoid loss. If the parts are fixed by slots, gently lift or rotate to unlock them.
- Partitions or Decorative Panels: If the toilet has internal partitions or decorative panels, use a screwdriver to remove the fixing screws and take down the panels in order, marking their positions for easy reassembly later.
4. Disassemble the Main Structure
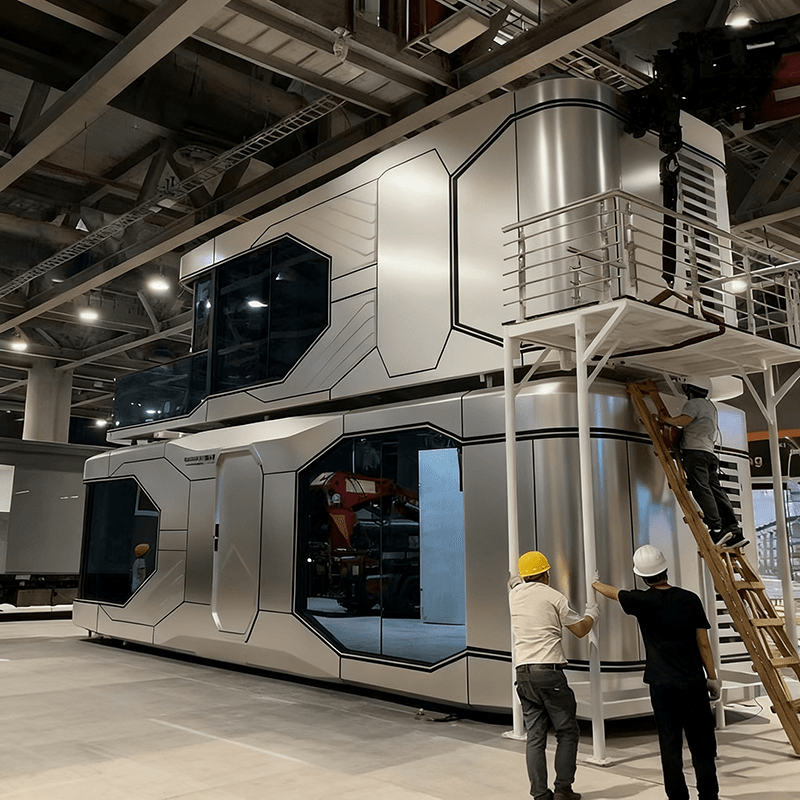
- Top Panel Removal: If the toilet has a modular design, the top panel is usually fixed by screws or snaps. Remove the screws around the edges first, then gently lift the top panel to detach it from the wall panel connections.
- Wall Panel Removal: Wall panels may be fixed by metal brackets or adhesive. Use a screwdriver to remove the bracket screws or gently tap the edges of the wall panels with a hammer to loosen them, taking care not to damage the panels.
- Base Separation: The base is the core structure of the toilet and should be removed last. If the base is fixed to the floor with bolts, use a wrench to loosen the bolts; if it is adhesively connected, use a utility knife to cut the adhesive layer and then gently lift the base.
5. Clean and Inspect
- Site Cleaning: Use a broom or vacuum cleaner to remove debris and dust left from the disassembly, ensuring the floor is clean.
- Component Inspection: Check all removed components for cracks, wear, or corrosion. If any damage is found, record it and contact the manufacturer for replacement to avoid affecting subsequent use.
6. Store and Transport Components
Stack the removed components by type, such as metal parts, plastic parts, and electronic components, and wrap fragile components (such as glass panels and ceramic toilets) with bubble wrap or old towels. For long-distance transportation, it is recommended to use wooden crates or cardboard boxes for fixation to prevent component shifting or collision.
If you encounter complex structures or unidentifiable components during the disassembly process, it is recommended to stop the operation immediately, consult the product manual, or contact the manufacturer for professional guidance to avoid equipment damage or personal injury caused by misoperation.