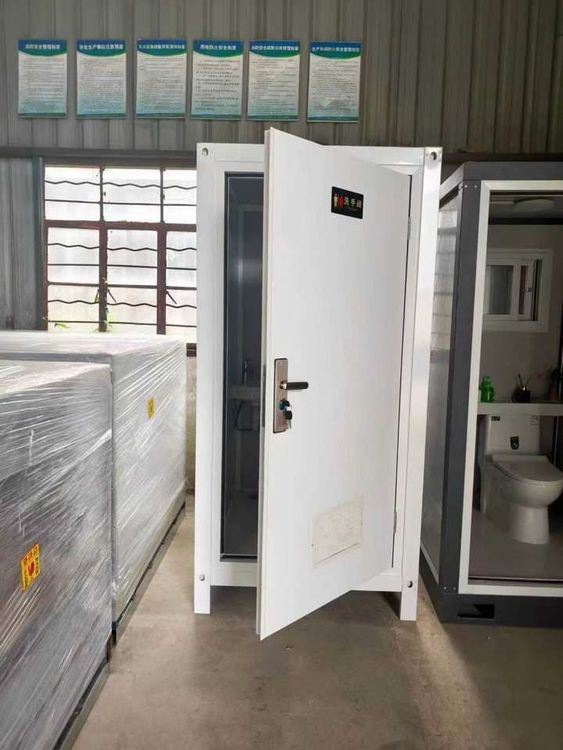
Indoor Portable Toilet Assembly
The assembly of indoor portable toilets mainly refers to the installation process of portable toilets, combined with the characteristics of different structures. The core steps include checking accessories, installing anti-slip pads, and securing the toilet body. Some finished toilets can be directly assembled by splicing.

I. Basic Assembly Process (Taking a single-structure portable toilet as an example)
Check the completeness of accessories
Open the package immediately upon receipt and verify that the accessory list is complete. Common accessories include upper and lower toilet bodies, silicone anti-slip pads, buckles, and connecting pipes (if it is a flushing type). If any accessories are missing or damaged, contact the supplier promptly for replacements to avoid affecting subsequent installation.Install anti-slip devices
Insert the silicone anti-slip pads into the dedicated grooves at the four corners of the bottom, ensuring a tight fit between the pads and the toilet body. The function of the anti-slip pads is to enhance the stability of the toilet, preventing displacement during use due to wet floors or external forces, especially suitable for tiled or smooth floor environments.Secure the upper and lower toilet bodies
Align the connecting parts of the upper and lower toilet bodies and press down evenly with both hands to allow the buckles to lock automatically. Pay attention to applying even force during this step to avoid deformation or breakage of the buckles due to excessive local pressure. Some models may require the use of a screwdriver to assist in securing the side buckles, following the instructions provided.
II. Installation Differences for Different Structural Types
Composite-structure portable toilets
For composite structures (such as those including a fecal storage tank, flushing system, etc.), assemble the main frame first, then install each functional module sequentially. For example, a flushing toilet requires connecting the water inlet and outlet pipes and testing the water flow for smoothness; a non-flushing suction-type toilet requires checking the sealing of the negative pressure device to prevent odor leakage.Finished splicing-type toilets
Some overall finished toilets adopt a "building block" design. During installation, simply insert the columns into the base slots, secure them with bolts or pins, and then assemble the walls and roof panels. These toilets do not require complex tools, but ensure that the splicing surfaces are flat to avoid excessive gaps affecting sealing.
III. Key Precautions
- Level calibration: After installation, use a level to check if the toilet is placed evenly to prevent structural deformation from long-term use.
- Ventilation treatment: Non-flushing toilets require预留 (reserved) ventilation openings at the top or sides, or the installation of exhaust fans, to reduce odor accumulation.
- Safety testing: Flush-type toilets require flushing tests to confirm smooth drainage and no leaks; powered towed toilets require checking the firmness of the towing device.
By following standardized operations, indoor portable toilets can be assembled within 1-2 hours, meeting the needs of temporary or long-term use.