Back to blog
Article
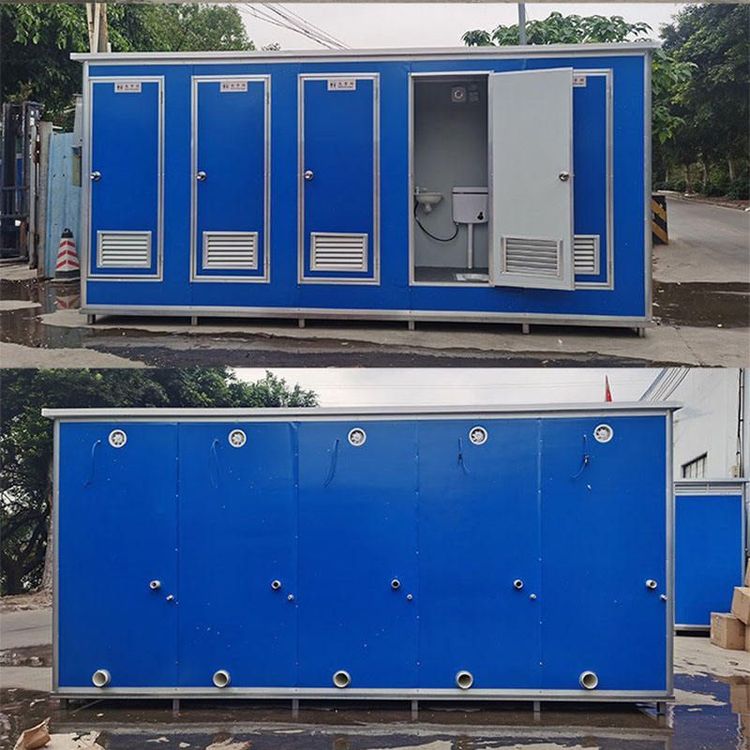
Installation of Mobile Toilets in Hua'an County
Admin October 11, 2026
The installation of mobile toilets in Hua'an County should follow a standardized process, with specific steps outlined as follows:
I. Preliminary Preparation
- Site Selection: The installation location must meet requirements for flatness and ventilation, and should be far from water source pollution areas (such as rivers and drinking water wells) to avoid secondary pollution to the environment.
- Site Clearance: Remove obstacles such as debris and stones from the site to ensure a flat and stable ground without pits or bumps, providing a solid foundation for subsequent installation.
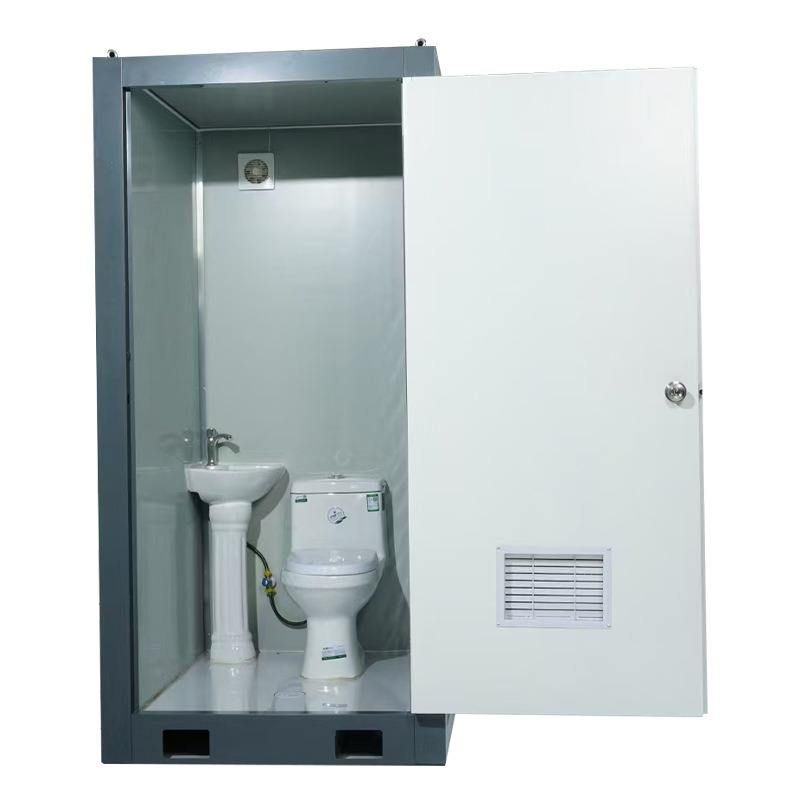
- Equipment Inspection: Check the equipment parts list to confirm that components such as the main frame, toilet bowl, fecal storage tank, connecting parts (such as screws and seals), and water supply/drainage components (water tank, water pipes) are complete, to avoid installation interruptions due to missing parts.
II. Foundation Fixation
- Main Body Positioning: Transport the mobile toilet main body to the designated location and adjust its orientation to align with the planned layout.
- Fixation Methods:
- Expansion Screw Fixation: Suitable for hard ground (such as concrete floors), drill holes to install expansion screws, and firmly connect the bottom of the main body to the ground to prevent shaking.
- Counterweight Block Fixation: If the ground is soft (such as soil), place counterweight blocks (such as concrete blocks) at the bottom of the main body to enhance stability by increasing weight.
III. Installation of Core Components
- Connection of Toilet Bowl and Fecal Storage Tank:
- Align the sewage outlet of the toilet bowl with the inlet of the fecal storage tank, and use special seals or silicone to fill gaps, ensuring no leakage at the connection.
- For dry toilets, fix the position of the fecal storage tank to prevent displacement; for water-flush toilets, connect the water tank and water pipes, and test whether the water pressure meets flushing requirements.
- Water Supply/Drainage System Debugging:
- For water-flush toilets, connect to the water source and check that water pipe connections are tight without leakage.
- For dry toilets, confirm that the capacity of the fecal storage tank matches the usage frequency to avoid frequent cleaning.
IV. Assembly of Auxiliary Facilities
- Door and Window Installation: Install doors and windows and adjust their switches to ensure tight closure and prevent odor leakage.
- Additional Accessories Installation: Install handrails, hooks, etc. as needed, and lay anti-slip mats on the ground to enhance safety during use.
- Circuit Connection: Connect circuits for lighting, exhaust fans, etc., and test whether the power supply is normal to ensure convenience for nighttime use.
V. Sealing and Debugging
- Sealing Treatment: Check the sealing of connections between the main frame, toilet bowl, fecal storage tank, etc., and use silicone strips to seal gaps to prevent odor diffusion.
- Function Testing:
- Flush Testing: Flush multiple times to confirm no blockage or leakage.
- Sewage Discharge Testing: Check whether the connection between the fecal storage tank and the sewage outlet is smooth to avoid residue.
- Cleaning and Organization: Clean up installation residues and place toilet paper, deodorizers, etc. to enhance the user experience.
VI. Safety Inspection and Acceptance
- Structural Stability Inspection: Confirm that there are no loose parts on the main body, that doors and windows open and close smoothly, and that there is no risk of electric leakage in the circuit.
- Signage Setting: Post emergency contact information inside the toilet for maintenance or handling of emergencies.
- Final Acceptance: The installer and the user jointly check the completeness of functions, and sign the acceptance form after confirming no issues.
Note: Integrated box-type toilets, due to their high degree of pre-assembly in the factory, only require lifting into place, connecting water and electricity, and sewage pipes on site, with installation time shortened to 2-4 hours; for split-type toilets, installation of the chassis, walls, roof panels, and connection of internal facilities need to be completed sequentially, usually taking several hours.