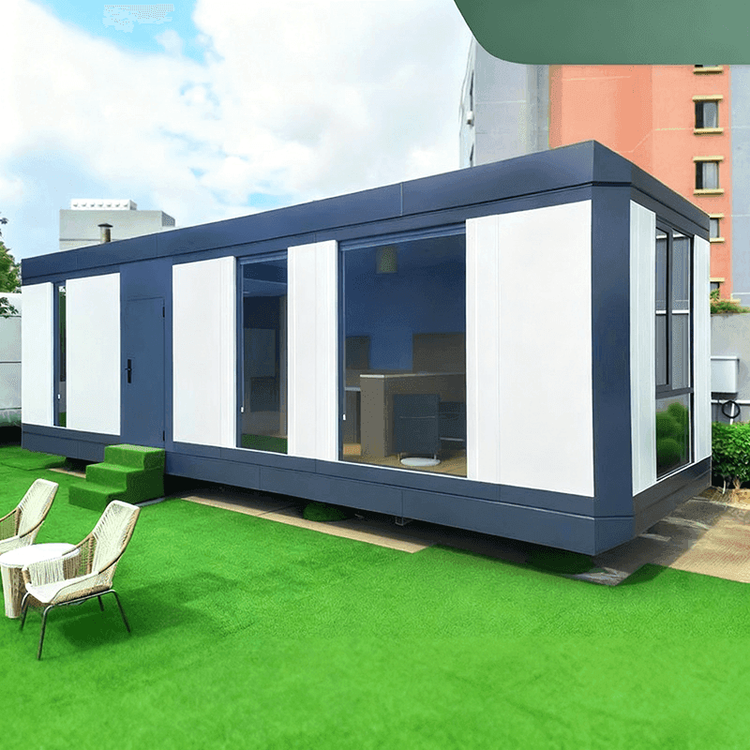
How to Waterproof a Container House Roof
Waterproofing the roof of a container house requires comprehensive treatment from design, materials, construction, and maintenance aspects, with core steps including base treatment, node reinforcement, waterproof layer construction, and drainage optimization.
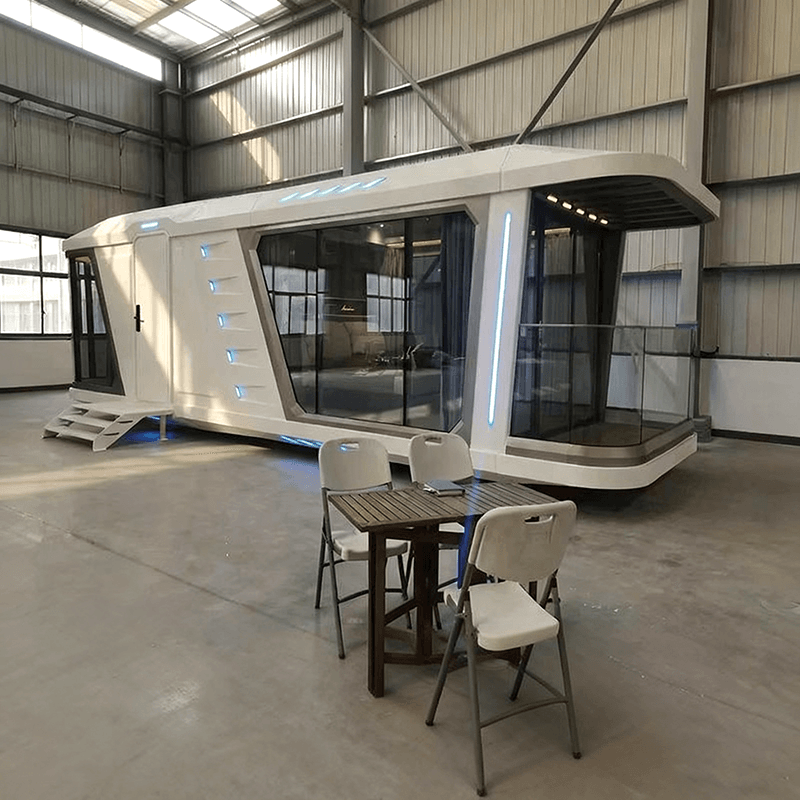
1. Waterproof Design During Customization
Leakage on the roof of a container house often results from inadequate waterproofing processes during production. It is essential to focus on treating easily leaking areas such as roof panel welds, container body joints, and around doors and windows during customization. Employ multi-layer waterproofing techniques, such as combining weather-resistant waterproof sealant with waterproof membranes, to enhance resistance to rainwater erosion. For example, Zhongye Zhichuang uses structural sealant at container body joints and covers them with waterproof membranes to create a dual barrier.
2. Base Treatment and Node Reinforcement
Before construction, thoroughly clean the base to ensure no loose cement or debris remains, and level it with concrete mortar, maintaining a slope of no less than 2% to prevent water accumulation. Critical nodes such as internal and external corners, pipe roots, and parapet walls should be rounded (radius ≥ 50mm) with leak-stopping compound and reinforced with additional layers (e.g., polyester fabric). For instance, Nanjing Changyou Packing Container Houses use structural sealant at roof panel joints and tightly bond moisture-proof membranes to prevent leakage.
3. Waterproof Layer Construction and Material Selection
Waterproof layer construction should be selected based on material characteristics:
- Membrane Type: Such as SBS modified bitumen membranes, applied using hot-melt methods with an overlap width of ≥ 100mm, and secured with metal strips at the edges.
- Coating Type: Such as polyurethane waterproof coatings, applied in 2-3 coats using a cross-hatch method, with a total thickness of 1.5-2mm, allowing each coat to dry before applying the next.
- Composite Process: Base cleaning + high-elastic waterproof coating + reinforcing layer + protective layer, forming a multi-layer barrier that meets industry standards (GB 55030—2022 requires at least three layers for first-class flat roof waterproofing).
4. Drainage System Optimization
The roof of a container house should be designed with a reasonable drainage slope (≥ 2%) to reduce the risk of water accumulation. For example, box-type movable packing container houses are equipped with drainage channels on the roof and downspouts inside the columns to direct rainwater underground. Additionally, avoid stacking debris on the roof to prevent drainage outlet blockages.
5. Post-Construction Maintenance and Inspection
Regularly inspect the structural sealant and moisture-proof membranes at joints for aging or cracking, and repair them promptly. Before leaving the factory, conduct a water spray test (continuous spraying for over 6 hours) or a closed water test (water storage for 24 hours) to verify the waterproofing effectiveness.