
How to Make a Container House
Making a container house involves steps such as design, material preparation, structural processing, enclosure system installation, interior decoration, and on-site assembly. The specific process is as follows:
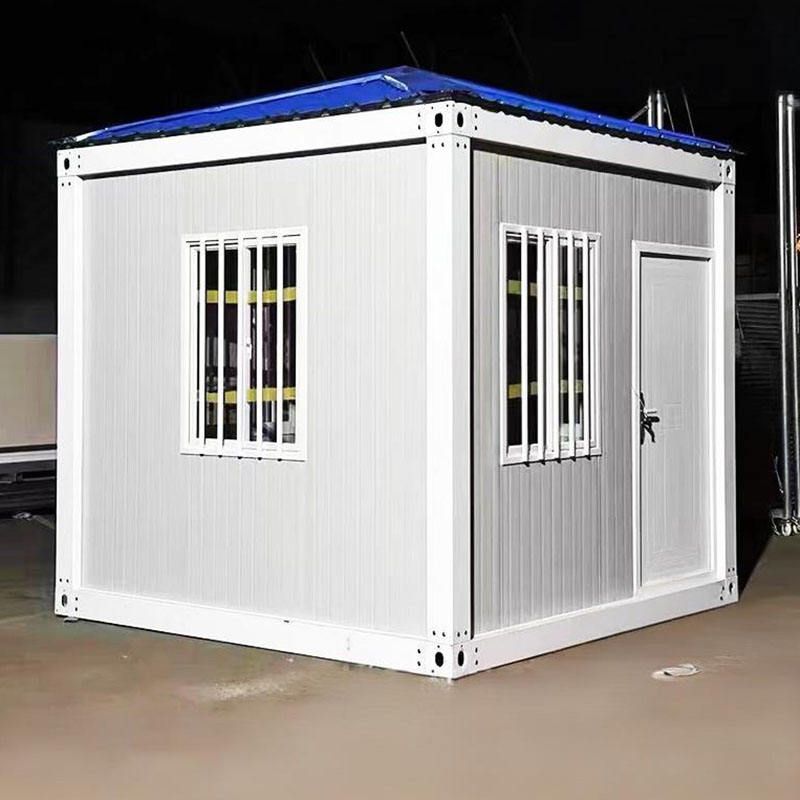
I. Design Phase
Determine the house's function based on usage needs (e.g., residential, office, commercial), and complete structural design and detailed drawings. Consider the container's specifications (e.g., limited net space in a 20-foot container, requiring combination with other containers for space expansion), load-bearing capacity (25T for a 20-foot container, 45T for a 40-foot container), and modular design requirements (e.g., multi-story stacking, horizontal splicing). Design should balance standardization and customization, such as adjusting window-to-wall ratios (conventional containers have only 10%, customizable up to 40%), and modifying curved or sloped roofs for better lighting and aesthetics.
II. Material and Structural Processing
- Steel Structure Framework: Use hot-dip galvanized cold-formed steel or square steel to weld main beams, columns, and ring beams, ensuring full and solid welding without cold welds, and apply overall galvanizing or anti-corrosion coating. For example, the chassis crossbeam of a 3m×6m residential container uses 4×8×2.0 square steel with a spacing of 35 cm, and the columns and roof ring beams use 5×5×2.0 square steel with full welding.
- Wall and Roof Panels: Select fire-resistant polyurethane, rock wool, or glass wool sandwich panels for both thermal insulation and fire resistance. Wall and roof panels typically use 50mm thick clean panels with white surfaces on both sides, equipped with 930×1000 sliding windows and specially made color steel plate doors (size 930×2000).
III. Enclosure System and Interior Decoration
- Floor Treatment: Lay 18mm thick building templates or cement fiber boards on the chassis, with a load-bearing capacity of up to 200 kg/m², and cover with high-grade floor leather for improved waterproofing and warmth.
- Pre-embedding of Water and Electricity Lines: Complete pre-installation of lighting, switches, sockets, and air conditioning holes in the factory. Lighting is usually located in the middle of the house, switches beside the door, sockets 60 cm from the ground, and air conditioning holes opposite the door diagonally.
- Decoration and Functional Expansion: Walls can be decorated with metal panels, calcium silicate boards, or bamboo-wood veneers, and integrate underfloor heating, smart home systems, etc. For example, through the "container + expansion module" mode, use hydraulic telescopic structures to expand the usable area by 100%-200%.
IV. On-site Assembly and Acceptance
- Module Lifting and Splicing: Transport the prefabricated container modules to the site, position them using lifting equipment, and connect the frameworks using bolts or welding to ensure overall stability.
- Waterproofing and Sealing Treatment: Apply glass curtain wall waterproof sealant (5-6 times more waterproof than ordinary sealant) at container joints, install anti-theft grilles on windows, and apply waterproof sealant.
- Trial Assembly and Debugging: Conduct trial assembly before leaving the factory to check component compatibility, and test water and electricity functions and structural safety after on-site installation.



