Back to blog
Article
How to Make a Portable Toilet
Admin October 08, 2026
A portable toilet can be made using a water storage tank through the following steps:
I. Building the Basic Framework
- Water Storage Tank Modification: Use an angle grinder to split the water storage tank lengthwise along its central axis, creating two semi-cylindrical tank bodies. Choose a corrosion-resistant plastic tank (such as HDPE material) and ensure the tank body thickness is ≥5mm to support structural stability.
- Mobile Device Installation: Fix universal wheels at the four corners of a wooden base plate. The wheels should be industrial-grade models with a load-bearing capacity of ≥100kg to ensure stability during movement. The base plate size should be slightly larger than the diameter of the water storage tank to provide sufficient support area.
- Height Extension: Vertically fix wooden strips along the upper edge of the tank body using self-tapping screws. The recommended height of the wooden strips is 30-40cm to form the wall frame. The spacing between the wooden strips should be ≤15cm to prevent deformation after the installation of the plastic soft board.
II. Integrating Functional Modules
- Entrance and Walls: Cut a rectangular entrance measuring 60cm×180cm on the side of the tank body. Smooth the edges and attach a sponge strip to form a door frame. Insert a transparent PVC soft board into the gaps between the wooden strips and seal the joints with waterproof glue to create a detachable wall.
- Roof System: Invert the upper half of the water storage tank and place it on top of the wooden strips, securing the joints with glass glue. The roof should have a 10cm overhang to prevent rainwater from flowing back. Drill a hole in the center of the roof and install a plastic water storage tank with a diameter of 15cm, connecting it to a shower system via a PVC pipe.
- Sewage System: Cut a sewage outlet with a diameter of 10cm at the bottom of the tank and install a 45° elbow to connect a PVC drainage pipe. Choose a portable split-design toilet with a separate water tank and toilet bowl. Seal and fix the toilet bowl below with glass glue. Connect the end of the drainage pipe to a sealed collection tank for regular pumping and disposal.
III. Configuring Auxiliary Facilities
- Water Supply System: Divert the water from the roof water storage tank through a three-way valve, with one route connecting to a shower (requiring the installation of a mixing valve to adjust the water temperature) and the other extending to the entrance as a water supply for a handwashing basin. The handwashing basin should be of a foldable design to save space when not in use.
- Ventilation and Lighting: Drill a ventilation hole with a diameter of 8cm on the side of the roof and install a rain-proof louver. Attach LED light strips inside and power them with dry batteries or solar panels to ensure safety during nighttime use.
- Decorative Treatment: Apply two coats of white waterproof paint to the surface of the wooden strips for both aesthetics and extended service life. The door body should be made of honeycomb panels spliced together, fixed to the door frame with hinges, and equipped with a latch lock to ensure privacy.
IV. Type Selection Recommendations Choose the structural form based on the usage scenario:
- Single Structure: Suitable for short-term use by 1-2 people, such as outdoor camping.
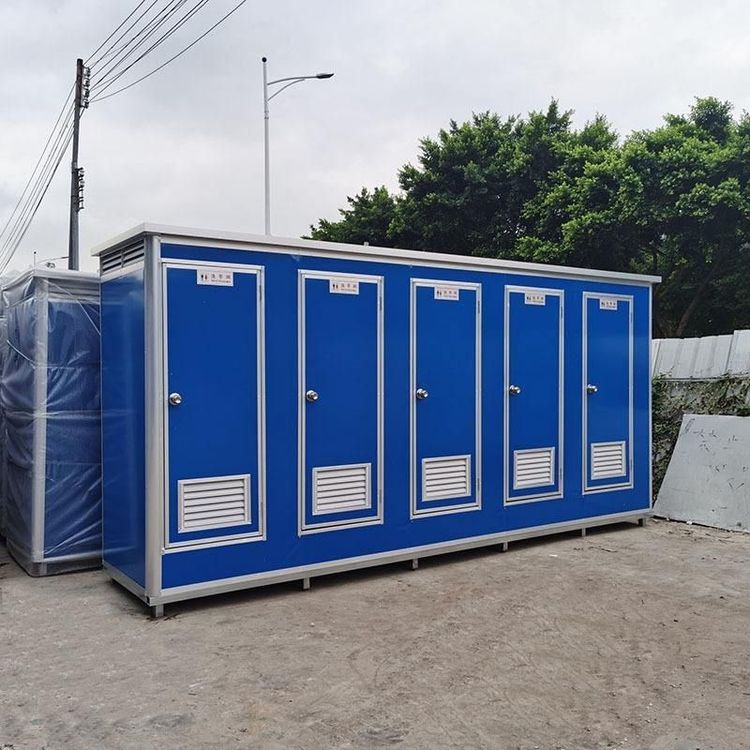
- Composite Structure: Uses a steel frame + color steel plate combination and can be expanded into multiple toilet compartments, suitable for large-scale events. For mobility, power-driven (electric drive) or towed (car-towed) types are recommended. For sewage treatment, the circulating water flushing type is preferred, which reduces water consumption through biodegradation technology.
Related