Back to blog
Article
How to Make a Home Portable Toilet
Admin October 10, 2026
A home portable toilet can be made using a water storage tank. Here are the specific steps:
Basic Frame Construction
- Water Storage Tank Processing: Use an angle grinder to split the water storage tank vertically in the middle, creating two semi-circular tank bodies. Choose a corrosion-resistant plastic water storage tank (such as PE material) and ensure there are no cracks or signs of aging on the tank body. After splitting, grind the edges to prevent cuts.
- Mobile Structure Installation: Fix universal wheels (with brake function) at the four corners of a flat wooden board to ensure stability during movement and the ability to be fixed. The size of the wooden board should be slightly larger than the diameter of the semi-circular tank body and serve as the base of the portable toilet.
- Height Adjustment: Take 4-6 wooden strips (width 5-8cm) and fix them to the upper edge of the tank body with self-tapping screws to form a circular support structure. Adjust the height of the wooden strips according to needs (usually 30-50cm) to increase the internal space.
Wall and Roof Construction
- Door Frame and Wall: Use an angle grinder to cut a doorway (width 60-70cm, height 180-200cm) on the side of the tank body. Stick foam strips on both sides of the doorway as door frame seals. Cut plastic soft boards (such as PVC boards) and insert them into the gaps between the wooden strips to form raised walls. Use waterproof glue to fix the seams.
- Roof Installation: Invert the other half of the water storage tank and place it on top of the wooden strips as the roof. Align the edges with the walls and seal them with waterproof glue. A ventilation opening (diameter 10-15cm) can be reserved on the roof to prevent stuffiness inside.
- Appearance Treatment: Paint the wooden strips and the wooden board with white waterproof paint to enhance aesthetics and extend the service life.
Functional System Integration
- Drainage System: Drill a hole (diameter 5-8cm) at the center of the bottom of the tank body and install a drain pipe (with a threaded joint) as a floor drain. The drain pipe needs to be connected to an external sewage tank (such as a sealed plastic tank) and fixed with glass glue at the joint to prevent leakage.
- Water Storage Device: Drill holes on the side and bottom of a plastic bucket, install direct joints (such as 4-point pipe joints), and place the plastic bucket on top of the roof as a water storage device. Connect it to an internal showerhead through a water pipe to achieve a simple shower function.
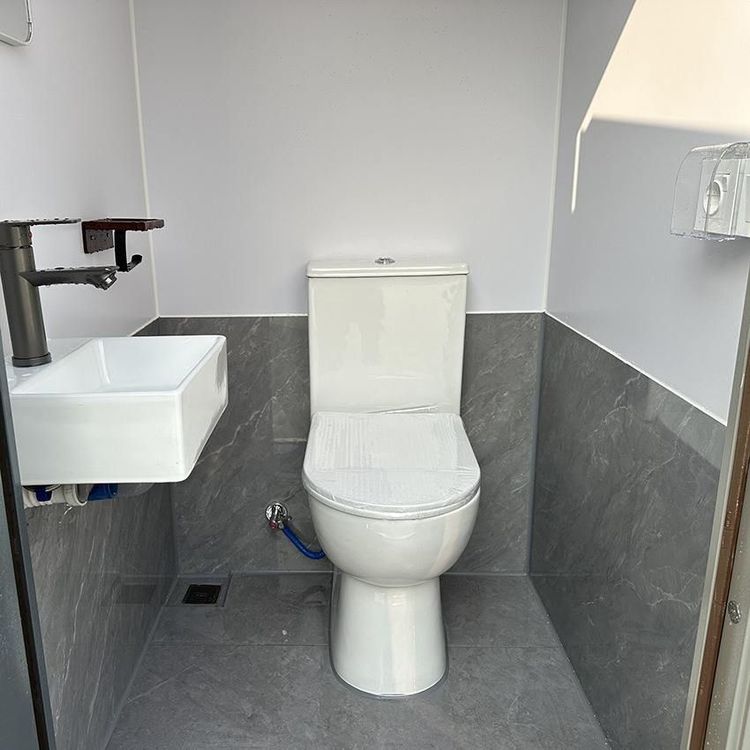
- Toilet Installation: Place a finished toilet (such as a portable squat toilet or sit toilet) above the drain pipe opening, install a water tank, and fix the edges with glass glue. The water inlet pipe of the water tank needs to be connected to an external water source or the water storage tank.
- Sink Installation: Connect a water pipe horizontally to the tee joint of the outlet pipe and extend it to the doorway as the water inlet pipe for the sink. A lightweight plastic basin can be used as the sink and fixed on the inner wall of the doorway.
Detail Optimization
- Door Production: Use foam strips to splice discarded honeycomb wooden boards, cut them, and install hinges and locks as a simple door. The door should be lightweight and have good sealing performance.
- Alternative to a Bath Heater: If heating function is required, a waterproof PTC heating sheet (power 500-1000W) can be used instead of a traditional bath heater and installed on the inner side of the roof and connected to the power supply.
- Ventilation Design: Reserve ventilation openings on the roof or walls and install small exhaust fans (power 10-20W) or insect screens to maintain internal air circulation.