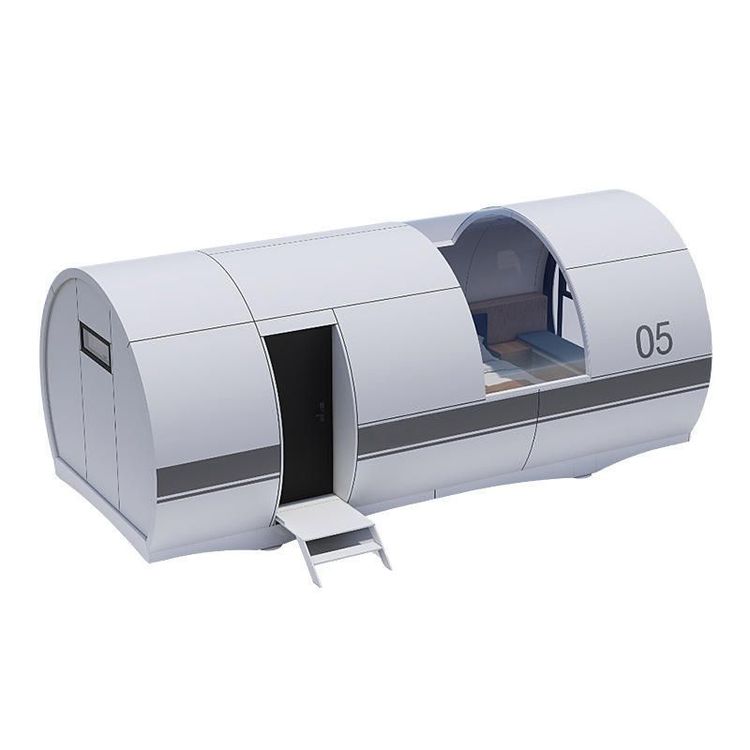
How to Install Rural Mobile Toilets
The installation method for rural mobile toilets should be selected based on the specific type, mainly divided into two categories: finished pre-installed type and conventional installation type. The specific steps are as follows:
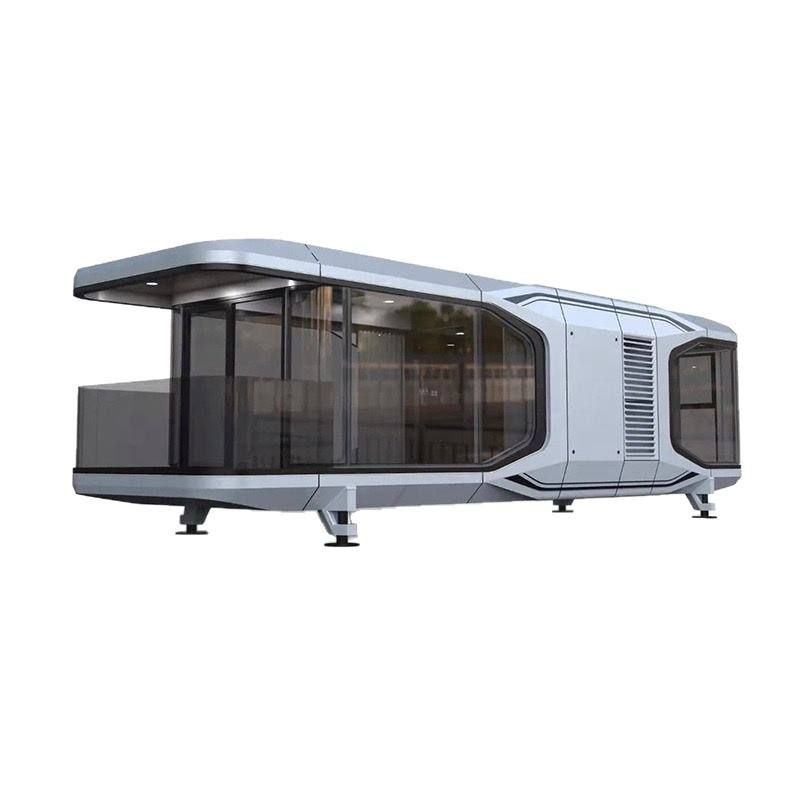
I. Installation of Finished Pre-installed Mobile Toilets These toilets usually have the internal water supply and drainage systems pre-installed at the factory and only require the connection of external interfaces for use. Before installation, the site conditions need to be confirmed:
- Foundation Preparation: Choose a flat and dry ground, avoiding low-lying areas prone to water accumulation. If it is a brick or concrete foundation, ensure that the surface levelness error does not exceed ±5mm to prevent equipment tilt or interface leakage due to uneven ground.
- Interface Connection: Check whether the external interfaces reserved on the toilet (including water inlet, sewage outlet, ventilation opening, etc.) are intact. According to the interface specifications marked in the instructions, use matching hoses or rigid pipes to connect to the municipal water supply pipeline, septic tank, or sewage discharge system. Pay attention to the tightness of the interfaces during connection. Waterproof glue can be applied or raw material tape can be wound to avoid water leakage or odor leakage.
- Power-on Test: If the toilet is equipped with lighting, ventilation, or intelligent control systems, connect it to a power supply that meets the equipment requirements (usually 220V AC power) and check whether the circuit is properly grounded to prevent the risk of electric shock.
- Function Debugging: After completing the connection, open the water valve to test whether the flushing system is normal, check whether the sewage outlet is unobstructed, and whether the ventilation equipment operates without abnormal noise to ensure that all functions meet the usage standards.
II. Installation of Conventional Installation Mobile Toilets For these toilets, users need to assemble some components by themselves, and the installation process is more complex, requiring strict adherence to the instructions or customer service guidance:
- Unpacking Inspection: After opening the package, check the parts list to confirm whether components such as the main structure, water tank, toilet bowl, pipes, and screws are complete, and check whether the outer shell is damaged or deformed.
- Main Body Assembly: Assemble the toilet frame (such as metal brackets or plastic modules) according to the steps in the instructions, use special tools to tighten the screws to ensure a stable structure; if it is a split design, fix the base first and then install the upper module.
- Pipe Installation: Connect the water inlet pipe between the water tank and the toilet bowl to ensure the correct water flow direction; the sewage pipe should be inclined at a certain angle (usually ≥2%) towards the septic tank or sewage outlet to avoid blockage; the ventilation pipe should extend outdoors to maintain air circulation.
- Sealing Treatment: Apply waterproof sealant at the pipe connections and the contact area between the toilet and the ground to prevent leakage; if it is a dry toilet type, place a feces collection bucket below the sewage outlet or connect to a biological degradation treatment device.
- Acceptance Test: After completing the installation, repeat the test steps of the finished type, focusing on checking the flushing pressure, sewage discharge efficiency, and tightness to ensure no water leakage, odor backflow, or structural looseness.
Precautions:
- Before installation, consult the local environmental protection department to confirm whether the toilet type (such as water-flush type, dry toilet, ecological toilet) meets the rural sewage discharge standards.
- If you lack installation experience, it is recommended to contact the manufacturer's after-sales service or a professional construction team to avoid equipment damage or usage safety hazards due to improper operation.