How to Install Mobile Toilets
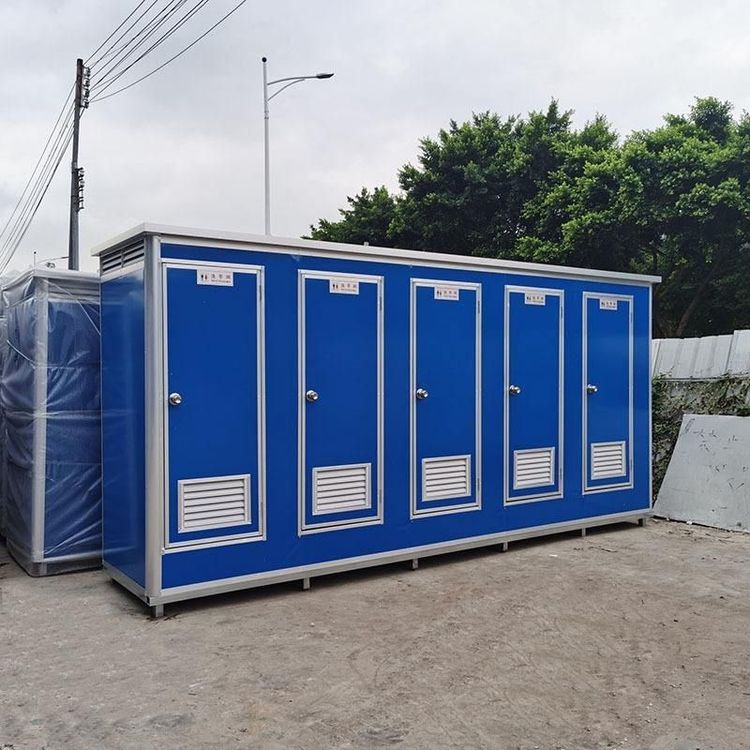
The installation of mobile toilets requires selecting corresponding steps based on the type. Common types include ordinary mobile toilets and outdoor assembled mobile toilets. The specific installation methods are as follows:

Installation of Ordinary Mobile Toilets
Inspection and Preparation of Accessories
After opening the package, check the accessory list to ensure that all components such as the toilet flange, angle valve, water inlet hose, nozzle assembly (including sealing rings), and nozzle bracket are present. If any are missing or damaged, contact the supplier promptly for replacement.Positioning the Flange and Toilet
Install the toilet flange at the sewer pipe opening, ensuring that the center of the flange is strictly aligned with the center of the sewer pipe to prevent future leaks. After alignment, place the toilet steadily on the flange and press lightly to make it fit the ground.Connection of the Water System
- Install the angle valve: Fix it at the water inlet to control the water flow switch.
- Connect the tee: Tighten the tee interface between the water inlet and the nozzle to ensure tightness.
- Assemble the water inlet hose: Connect one end to the angle valve and the other end to the toilet water inlet. Check if the hose is bent or kinked to prevent water flow obstruction.
- Install the nozzle: Tighten the sealing rings at both ends of the nozzle to prevent leaks, then connect it to the other end of the tee and secure the nozzle bracket at the top of the tee.
Water Testing and Fixing
Open the angle valve, fill the toilet with water, and flush to test. Observe whether the nozzle water flow is normal, whether the toilet drains smoothly, and whether there are any leaks at the connections. After confirming no issues, apply adhesive at the bottom of the toilet where it contacts the ground to enhance stability.
Installation of Outdoor Assembled Mobile Toilets
Preparation of Tools and Materials
Prepare tools such as an electric drill, 4.2mm drill bit, and rivet gun in advance, and check whether the toilet panels, inner corner pieces, rivets, and other accessories are complete.Assembly of the Structural Frame
- Install inner corner pieces: Fix the inner corner pieces sequentially at the corners of the panels to serve as structural support points.
- Align and drill the panels: Insert the panels into the slots, ensuring that the joints are aligned and flat. Use an electric drill with a 4.2mm drill bit to drill holes at the preset positions.
- Fix with rivets: Insert the rivets into the drilled holes and complete the fixation with a rivet gun. Check each rivet one by one to ensure it is secure and prevent structural looseness.
Installation of Functional Components
According to the design requirements, install components such as toilets, water tanks, and ventilation systems inside the frame, connect water pipes and electrical circuits (if equipped with electrical devices), and test whether each function is normal.
Precautions: Ensure the ground is level before installation. For outdoor toilets, choose an area with good drainage. If electrical or water system modifications are involved, it is recommended to be carried out by professionals.