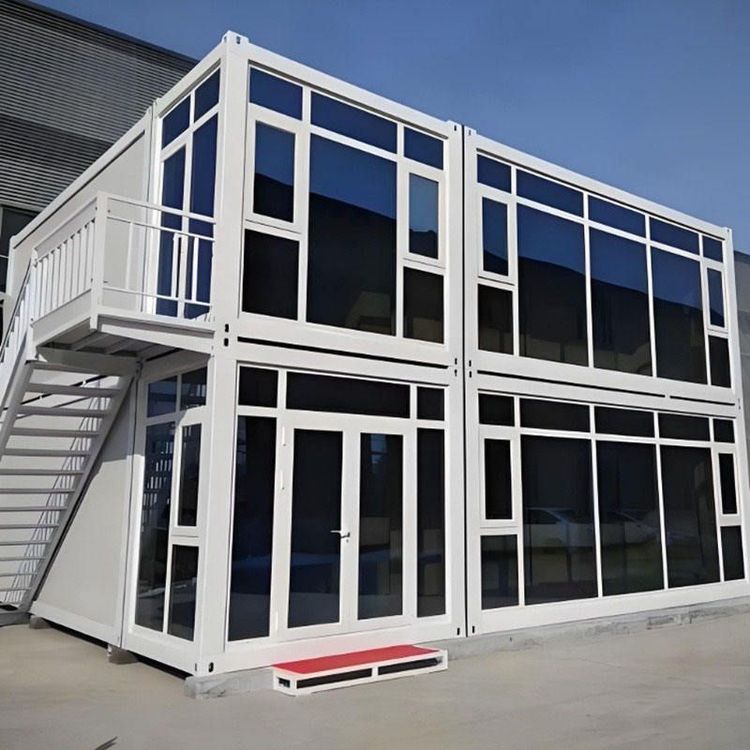
How to Install a Mobile Toilet Well
The installation of a mobile toilet should follow standardized procedures to ensure secure connections, complete accessories, and safe operation. The specific steps are as follows:
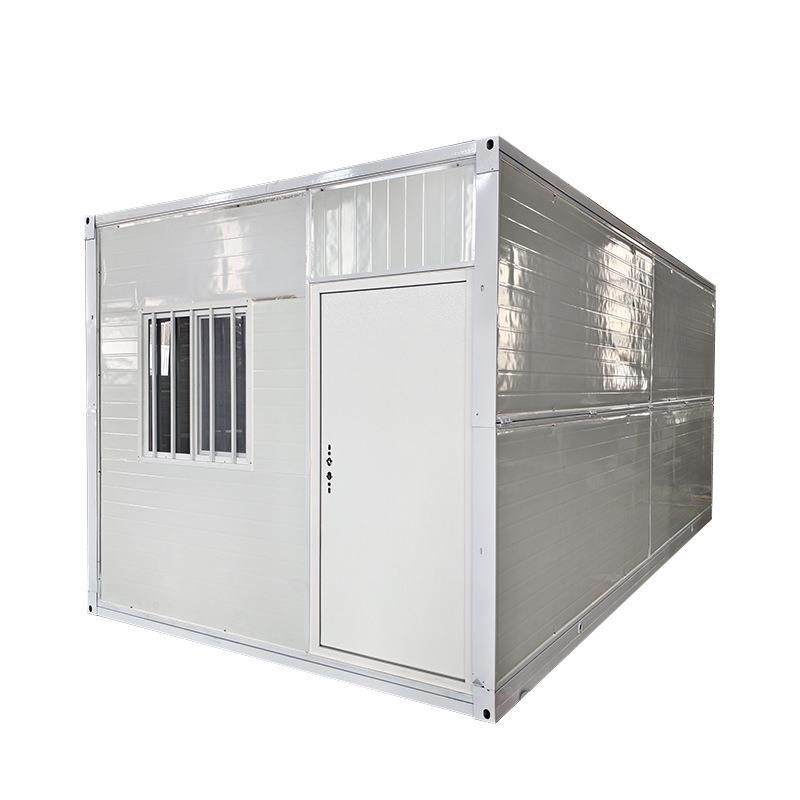
1. Pre-installation Preparation
After receiving the mobile toilet product, the first step is to unpack and check the completeness of the accessories, including key components such as sewage pipes, water inlet pipes, electrical wires, fixing screws, and sealing gaskets. If any parts are missing or damaged, immediately contact the supplier for replacements to avoid interruptions during installation. At the same time, verify the instruction manual or contact customer service for installation guidance, clarifying the functions and installation sequence of each component, especially for special models (such as those with a septic tank or intelligent flushing system), which require prior understanding of technical parameters.
2. Connection of Sewage and Water Supply Systems
The sewage outlet should be connected to the municipal sewage network or septic tank, ensuring a reasonable pipe slope (usually not less than 2%) to prevent backflow of sewage. Use dedicated sealing gaskets or waterproof tape during connection to prevent leakage. For independent mobile toilets (without external sewage pipes), a septic tank should be excavated in advance, and a cleaning port should be reserved.
The water inlet pipe should be connected to the municipal water supply network or a water storage tank. If pressure water supply is used, install a pressure relief valve to prevent damage to the equipment due to excessive water pressure; if gravity water supply is used, ensure that the tank height is above the toilet flushing device. Electrical wire connections should be performed by a professional electrician, connecting the power cord to the distribution box of the mobile toilet and installing a leakage protection device to ensure proper grounding and avoid the risk of electric shock.
3. Fixing and Commissioning
The mobile toilet should be fixed on a flat surface. If the ground is uneven, use cement or adjustable supports to level it to prevent shaking during use. Fix the toilet body to the ground with expansion screws to ensure stability. After installation, conduct water and power tests: check if the flushing system operates smoothly, if the lighting and exhaust equipment work properly, and if the sewage pipe is sealed without leakage. If any abnormalities are found, adjust the pipe angle or tighten the connections in a timely manner.
4. Safety and Maintenance Tips
The installation area should be kept away from flammable materials, and electrical wires should not be exposed; if used outdoors, install a rain cover or choose a product with a qualified waterproof rating. During daily maintenance, regularly clean the sewage pipes and septic tank (for independent models), check if the water inlet pipe filter is clogged, and clean the interior of the toilet to extend the service life of the equipment.