Back to blog
Article
How to Install a Camping Portable Toilet
Admin October 09, 2026
The installation method for camping portable toilets should be selected based on the specific type, with common types and installation steps as follows:

I. Installation of Snap-on Folding Toilets
These toilets typically feature a detachable structure, and installation should be carried out step by step to ensure stability.
- Component Preparation and Initial Assembly
Some products come with accessories such as a mobile phone toilet paper holder. First, confirm the completeness of the accessories. During installation, connect the inner corner components of the toilet one by one, usually achieving initial fixation through snap-on or slot designs. For example, insert the side panels into the bottom slots, ensuring that the joints are aligned to avoid gaps or misalignment. - Fixing and Reinforcement
After completing the initial assembly, use tools for reinforcement. If the product design includes a rivet fixing step, use a drill to make holes at the joints (the hole diameter should match the rivets), then insert the rivets and secure them with a rivet gun to ensure that all components are firmly connected. This step effectively prevents structural loosening caused by shaking during use. - Installation of Functional Components
Install additional components as needed, such as the toilet paper holder. Typically, the holder is fixed to the side or back of the toilet using screws or snap-ons. Pay attention to whether the height of the holder is convenient for use and avoid blocking other functional areas.
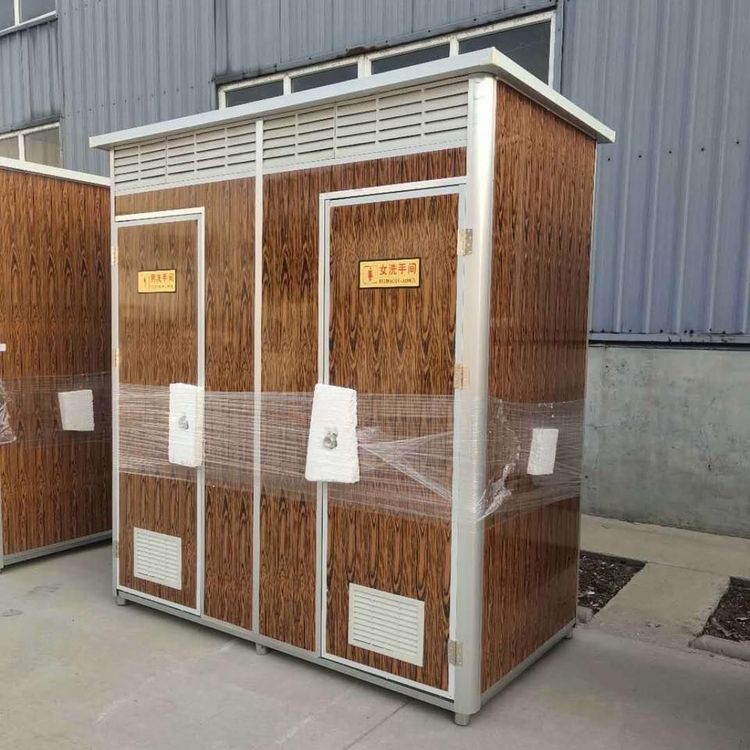
II. Installation of Rented Portable Toilets around Huangshi
The installation of rented portable toilets should be carried out by professional personnel from the rental company, and users need to confirm the site conditions in advance and cooperate with the preparations.
- Appointment and Site Confirmation
Contact the rental company 1-3 days in advance to make an appointment for installation services. Before installation, explain the situation of the event site to the company, including the site type (such as grassland, concrete ground, mountainous area, etc.), the estimated number of users, and the duration of use, so that the company can select an appropriate toilet type (such as a single toilet, a combination of multiple toilets, or a special model for specific terrains). - Site Condition Inspection
After arriving at the site, professional personnel will focus on inspecting three conditions:- Water and Electricity Supply: Some portable toilets need to be connected to a power source (for lighting, ventilation, or sewage treatment) and a water source (for flushing toilets). If there is no water or electricity at the site, inform the rental company in advance and choose a dry toilet that does not require water or electricity or prepare your own power generation/water storage equipment.
- Space Requirements: A single portable toilet usually requires an installation space of 2-5 square meters, and a combination of multiple toilets requires a larger area. Additionally, reserve passages for personnel movement and equipment transportation.
- Road Access: Ensure that the installation vehicle can directly reach the site. For special terrains such as mountainous areas or construction sites, communicate the handling plan in advance (such as using small transportation vehicles or manual handling).
- Professional Installation and Commissioning
The rental company personnel will bring equipment to complete the installation, including fixing the toilet body, connecting water and electricity (if necessary), and testing the sewage discharge or fecal storage functions. After installation, they will conduct commissioning to ensure that all functions of the toilet are normal and explain the usage precautions to the user (such as the sewage discharge cycle and emergency handling).