How to Install a Camping Portable Toilet
The installation of a camping portable toilet should follow standardized procedures to ensure safety and functionality. Here are the specific steps and precautions:

Site Confirmation Before installation, choose a flat and solid ground, avoiding low-lying areas prone to water accumulation to prevent toilet tilting or poor drainage due to foundation settlement. Reserve at least 0.5 meters of operating space around the site for easy subsequent maintenance and personnel passage. If the ground is soft soil, lay a moisture-proof pad or harden it in advance to ensure stability.
Tool Preparation Prepare basic tools according to the toilet model, such as wrenches and screwdrivers, for fixing components or connecting pipes. It is recommended to bring anti-slip gloves, a tape measure, and other auxiliary tools: gloves can prevent scratches during installation, and a tape measure is used to measure the length of the drain pipe or adjust the height of the support legs. If the toilet is equipped with electrical equipment (such as lighting and ventilation systems), additional electrical tools such as insulating tape are required.
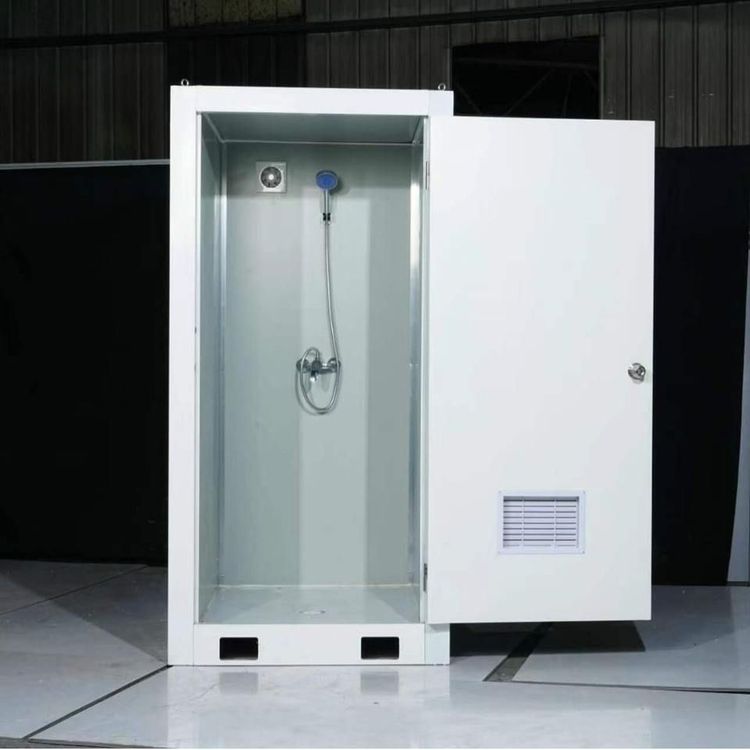
Main Body Positioning Move the toilet to the designated location by lifting or dragging, ensuring horizontal placement. If the bottom of the toilet is equipped with adjustable support legs, adjust them one by one to keep the body stable, avoiding door frame deformation or flushing system failure due to uneven ground. Handle it gently during movement to prevent collision damage to the outer shell or internal pipes.
Drainage Connection Open the drainage port at the bottom of the toilet and connect the drain pipe to the nearest drainage point (such as municipal sewers, collection tanks, or septic tanks). Ensure the tightness of the pipe connection during connection, and use Teflon tape or special clamps to fix the interface to prevent leakage. If the drainage point is far away, plan the pipe route in advance to avoid excessive bending that increases drainage resistance.
Water and Electricity Connection
- Power: If an external power supply (such as for lighting and fans) is required, it must be operated by a professional electrician. Private wiring is prohibited. The wires should be protected by conduits to avoid exposure or trampling and prevent electric shock risks.
- Water Source: If the toilet is equipped with a flushing system, connect the water inlet to a clean water source and install a filter to prevent impurities from clogging the pipes. After connection, open the valve to check if the water flow is smooth and there are no leaks.
- Internal Inspection After installation, check the following items one by one:
- Door and Lock: Ensure smooth opening and closing and that the lock can close normally;
- Flushing System: Press the flush button and observe if the water flow is stable and the drainage is thorough;
- Internal Facilities: Check if the toilet seat, handrails, etc., are secure, and remove sharp objects or debris residues to avoid scratching users or damaging the equipment.
- Post-Installation Precautions
- Cleaning and Maintenance: After installation, promptly clean the surrounding environment of the toilet, remove garbage and standing water, and place a "Cleaned" sign if necessary to enhance the user experience;
- Usage Training: If users are unfamiliar with the operation, ask the rental provider to explain the flushing method, the location of the emergency button, etc., to avoid equipment damage due to misoperation;
- Regular Inspections: During the event, it is recommended to check the toilet status daily, focusing on observing whether the drainage is blocked, the power supply is safe, and the structure is stable. If any problems are found, contact the rental provider for repairs in a timely manner.