How to Install an Air Conditioner in a Container House
When installing an air conditioner in a container house, it is necessary to select the installation method according to the type of air conditioner and pay special attention to the installation location, fixing method, and ventilation and heat dissipation conditions.
1. Select the Appropriate Air Conditioner Type
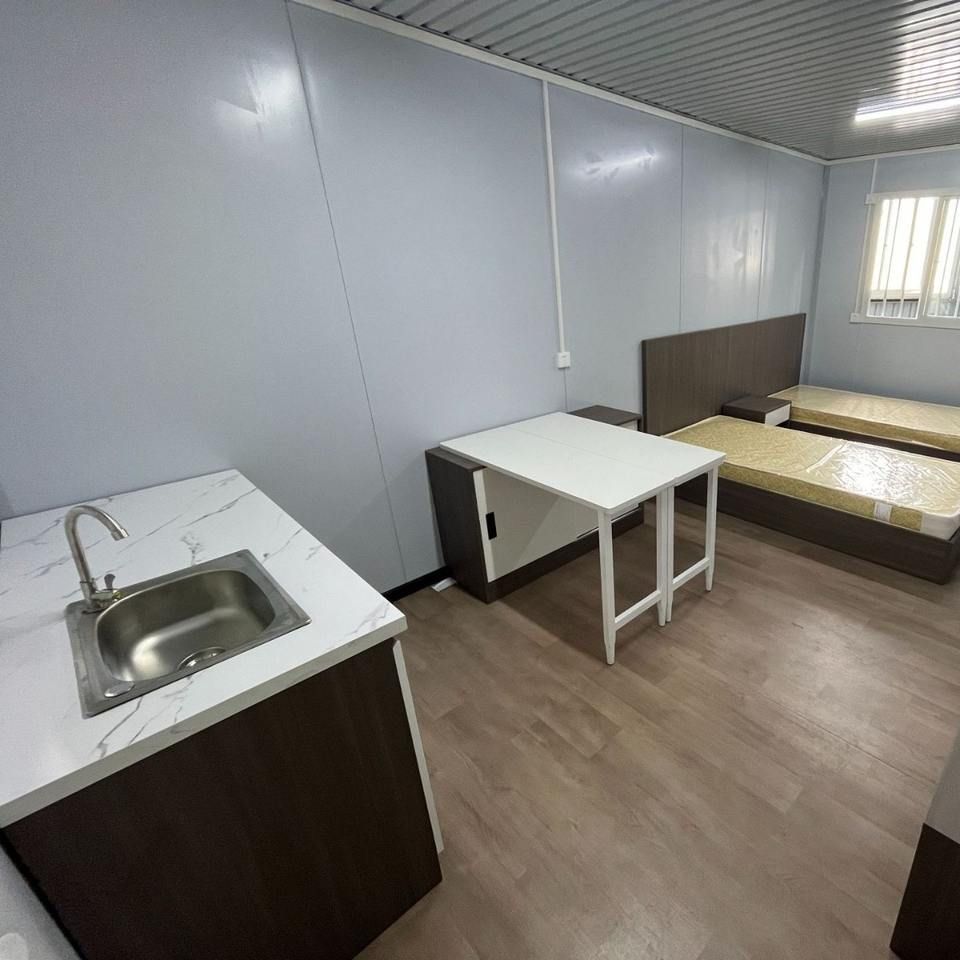
Container houses typically use container wall-mounted air conditioners, which are designed for fixed locations and are compatible with container structures. If the house needs to be moved, suspended air conditioners or vehicle-mounted container air conditioners can be chosen, but the decision should be based on the actual usage scenario.
2. Determine the Installation Location
- Indoor Unit: Avoid direct-blowing areas such as beds and sofas to prevent discomfort caused by cold air blowing directly. There should be no tall furniture or thick curtains blocking the air outlet within 1 meter in front of it to ensure proper cold air diffusion. The top of the return air outlet should be at least 15 centimeters from the ceiling, and the distance from the side walls on both sides should be between 12 and 50 centimeters to ensure smooth return air flow and prevent incorrect temperature sensing that could lead to intermittent cooling.
- Outdoor Unit: It should be installed in a well-ventilated and open area, with the back 20 - 30 centimeters away from the wall, no obstructions within 1 meter in front of the air outlet, and a clear height of at least 30 centimeters on the top. Avoid west-facing sun exposure, enclosed balconies, or fully enclosed louvered windows to prevent hot air circulation that could cause the compressor to shut down due to high-temperature protection. If space is limited, refer to the solutions for large flat-floor houses, such as improving ventilation (e.g., adjusting the angle of the louvered windows or installing exhaust fans) or using long connecting pipes (which require adding refrigerant) to solve the heat dissipation problem.
3. Fix the Installation Brackets
- Indoor Unit: Fix the installation plate at the predetermined location, use a level to calibrate it to be horizontal, and have at least 4 - 6 fixing holes. The outer side of the bracket should be 6 - 10 millimeters lower than the inner side to ensure smooth drainage.
- Outdoor Unit: Use expansion bolts or long bolts to fix the bracket. The bolt diameter should be no less than 10 millimeters, and there should be at least 6 fixing points that can withstand four times the combined weight of a person and the machine. The bracket should be kept horizontal to prevent vibration or noise.
4. Connect the Pipes and Drainage
- Pipes: When connecting the indoor and outdoor units, connect the low-pressure pipe first and then the high-pressure pipe to ensure airtightness. When bundling the pipes, place the power cord and signal wire on top, the connecting pipe in the middle, and the water pipe at the bottom to avoid cross-interference.
- Drainage: Determine the drainage direction according to the on-site situation to ensure that the condensed water is discharged smoothly and avoid water accumulation that could cause corrosion or breed mosquitoes. If a condensed water spraying design is adopted, the noise problem needs to be addressed.
5. Test Run and Inspection
After installation, power on and conduct a test run. Check the cooling effect, the temperature difference between the inlet and outlet air (generally, a difference greater than 8℃ is normal), and the drainage situation. After confirming that there are no abnormal noises or vibrations, the installation is complete.