How to Install a Portable Toilet at Home
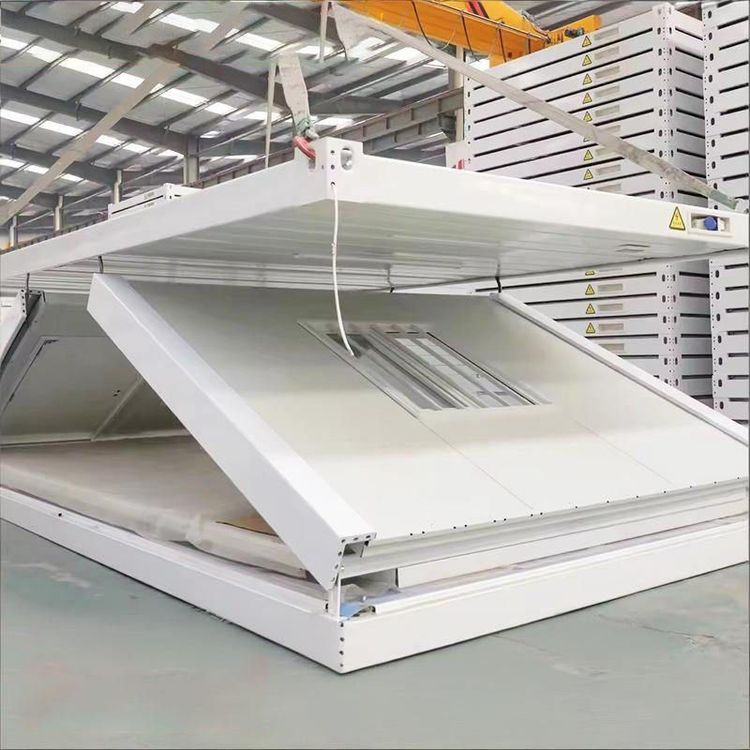
The installation of a portable toilet requires consideration of product characteristics and basic construction requirements. The specific steps and precautions are as follows:

I. Pre-Installation Preparation
Check Components and Tools
After opening the package, verify that all components are present, including the toilet body, flush tank, exhaust fan, light bulb, socket, air outlet components, and fixing screws. If any items are missing or damaged, contact the merchant promptly for replacements. Also, prepare tools such as wrenches, screwdrivers, and spirit levels to ensure a smooth installation process.Determine Installation Location
Based on the dimensions of the portable toilet (typically 1.1 meters in length and width, and 2.3 meters in height), select a well-ventilated area with sufficient space, avoiding proximity to bedrooms or dining rooms. If adjusting the toilet position, note that small-scale displacement (10-30 cm, not exceeding 40 cm) can be achieved using a displacement device, but a slope of 1%-3% must be reserved to prevent sewage backflow during flushing.
II. Main Structure Installation
Assemble the Toilet Body
Follow the six-step installation process provided in the product manual or by customer service. First, secure the toilet base to ensure stable contact with the ground. If the ground is uneven, adjust it by raising the floor, but consider the特殊性 (special characteristics) of the portable toilet. It is recommended to prioritize using the product's配套 (matching) anti-slip mats or adjustable feet.Connect the Flush Tank and Pipes
Align the flush tank with the toilet's water inlet and wrap the connection with a sealing ring or PTFE tape to prevent leaks. If it is an electric flushing system, connect the power supply and test whether the flushing function operates normally.Install Ventilation and Lighting Systems
Install the exhaust fan and air outlet on the top or side wall of the toilet to ensure air circulation. Simultaneously, secure the light bulb and socket, paying attention to electrical safety to avoid short circuits in humid environments.
III. Detail Adjustment and Acceptance
Check Sealing and Stability
Pour water into the toilet and observe for any leakage after flushing. Also, check that all components are firmly connected. If any looseness is found, retighten the screws or adjust the position.Test Functional Integrity
Turn on the exhaust fan, lighting, and flushing system sequentially to confirm that all functions are operating correctly. If the flushing force is insufficient, check whether the slope meets requirements or if the pipes are blocked.
Precautions: The installation details of portable toilets vary by product model. If there are unclear operations in the steps (such as specific methods for raising the ground), it is recommended to refer to the product manual first or contact customer service for targeted guidance to avoid affecting usage effectiveness due to misoperation.