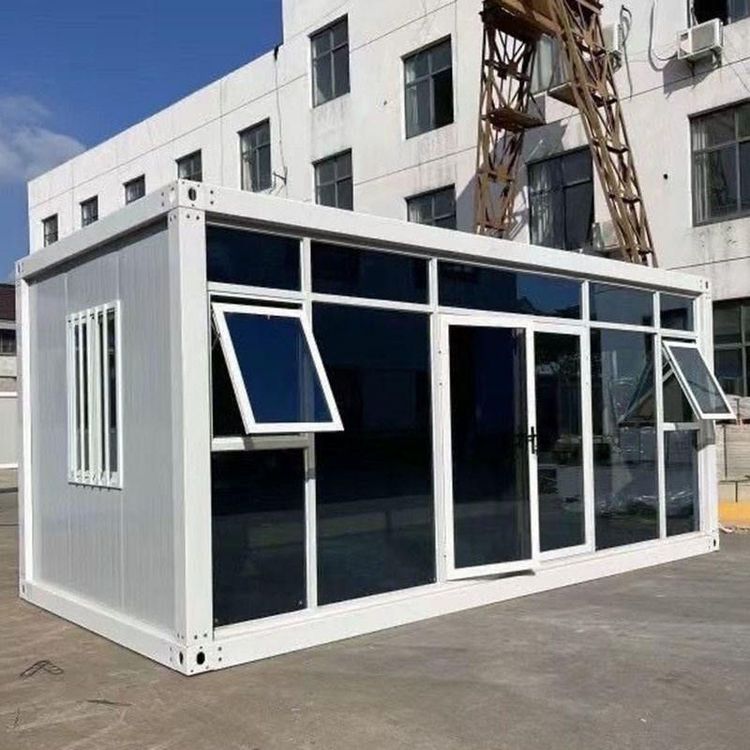
How to Install a Portable Toilet
The installation of a portable toilet can refer to the following steps, and specific operations should be combined with the product manual or consult the manufacturer to ensure accuracy:

I. Basic Tool Preparation
After receiving the goods, you need to prepare tools such as an electric drill, a 4.2-millimeter drill bit, and a rivet gun in advance. These tools are used to fix the main structure of the toilet to ensure installation stability. If water and electricity connections are involved (such as for a portable toilet with a马桶 (toilet bowl)), additional accessories such as angle valves, water inlet hoses, and sealing gaskets are also required.
II. Main Structure Installation
Inner Corner Fixation
First, install the inner corner components of the toilet frame. Determine the positions of each inner corner according to the design drawings. Use an electric drill to drill holes at the marked points (the hole diameter should match the rivets). Insert the rivets and fix them with a rivet gun. This step requires ensuring the perpendicularity of the inner corners to avoid misalignment during subsequent assembly.Panel Assembly
Insert the side panels, top panels, and other components of the toilet into the slots one by one. Align the edges and then drill holes at the assembly points with a drill bit (it is recommended to space the holes 20-30 centimeters apart). Insert the rivets and fix them. Pay attention to the flatness of the panel surfaces to avoid water leakage or air leakage due to excessive gaps.
III. Special Installation for Portable Toilets with Toilet Bowls (if applicable)
Flange Alignment with the Sewer
If the toilet includes a portable toilet bowl, first install the toilet flange. Ensure that the center of the flange is strictly aligned with the center of the floor sewer pipe to prevent sewage leakage. After fixing the flange, place the toilet bowl and slightly adjust its position to make it stable.Water Circuit Connection
Install an angle valve to connect to the water inlet and divert the water through a tee to the water inlet hose of the toilet bowl and the sprinkler head. When assembling the sprinkler head, tighten the sealing gaskets at both ends. Connect it to the other end of the tee, and then forcefully insert the sprinkler head bracket into the top of the tee to ensure that the angle of the sprinkler head is adjustable.Sealing and Testing
Before testing the toilet bowl with water, check that all connections are tight. After confirming that there is no leakage, apply sealant at the contact point between the bottom of the toilet bowl and the floor to prevent odor diffusion.
IV. Inspection and Adjustment
After installation, a comprehensive inspection is required:
- Test the functions of accessories such as door locks and ventilation systems;
- Confirm that there are no leaks in the water and electricity connections;
- Check the overall stability (you can test it by gently shaking).
If any problems are found, contact the manufacturer in a timely manner or make adjustments according to the manual.
Tip: The designs of portable toilets from different brands may vary. The above steps are for general reference. The actual installation should be based on the product manual or the manufacturer's guidance to avoid affecting the safety of use due to improper operation.