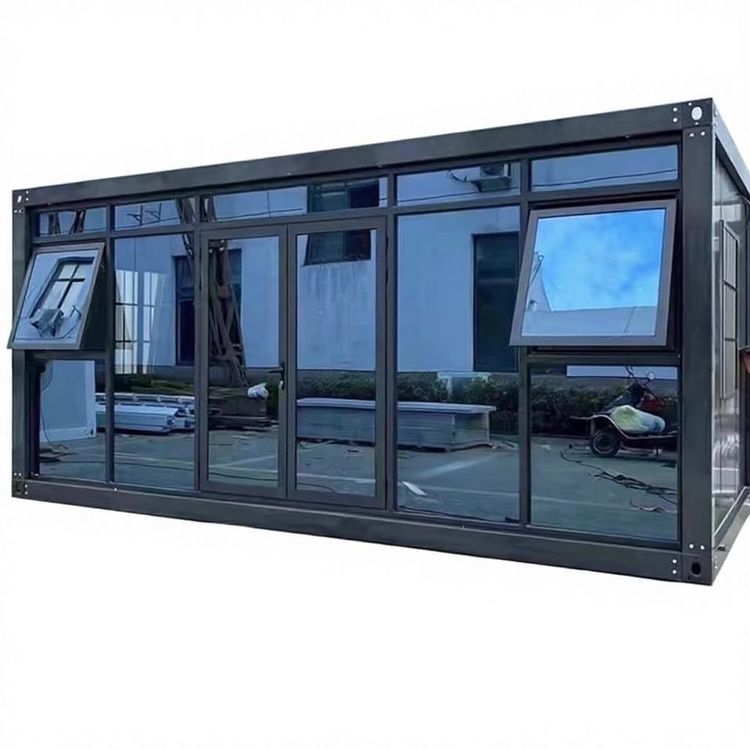
How to Fix Mobile Toilets
The method for fixing mobile toilets should be selected based on their type (such as integrated mobile toilets, mobile toilets, etc.). Here are the common fixing steps:
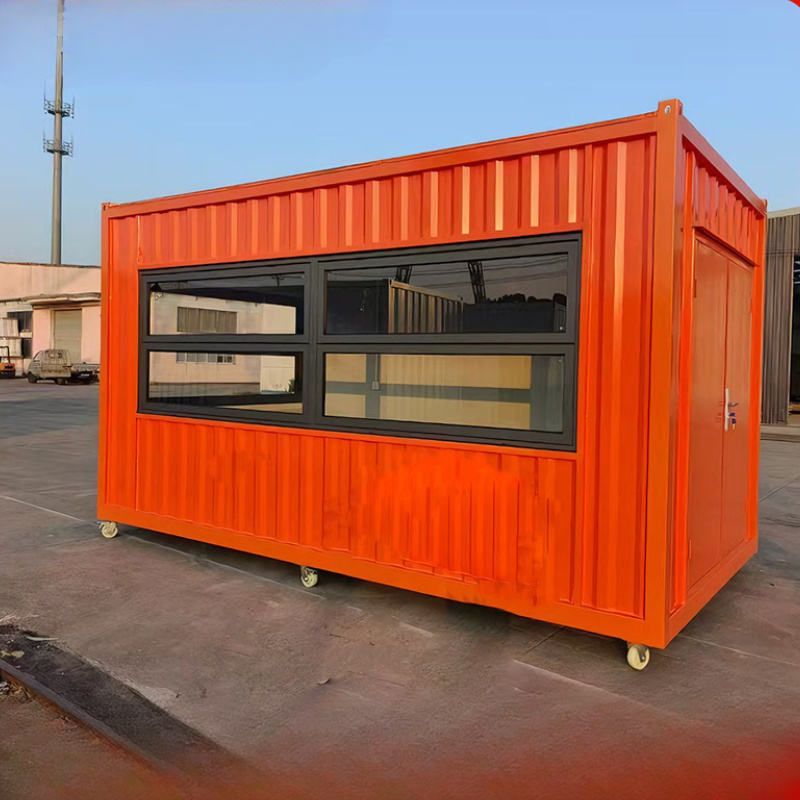
I. Fixing Integrated Mobile Toilets (Similar to Sentry Box Structures)
Prepare Tools and Materials
You will need an electric drill, a 4.2-millimeter drill bit, a rivet gun, expansion bolts (optional), and matching rivets. If the ground is made of concrete or a hard material, it is recommended to prepare expansion bolts to enhance stability; for soft ground (such as muddy ground), rivets can be used first for fixing.Install the Frame Structure
- Fix Inner Corners: Align the inner corner pieces (such as L-shaped connectors) of the toilet frame according to the design position, and drill holes at the connections using an electric drill (the hole diameter should match the rivets or bolts).
- Assemble Panel Bodies: Insert the wall panels, roof panels, and other components of the toilet into the frame slots, ensuring that the joints are aligned without gaps. Then, drill holes at the panel connections using an electric drill again.
Fix Connectors
- Rivet Fixing: Insert rivets into the drilled holes and use a rivet gun to complete the preliminary fixing, ensuring that all components are tightly connected.
- Expansion Bolt Reinforcement (Optional): If long-term fixing is required, drill holes at the bottom of the frame where it contacts the ground, insert expansion bolts, and tighten them to enhance wind resistance.
Check and Adjust
After fixing, check whether the toilet is level overall and whether all components are stable. Adjust the tightness of the rivets or bolts if necessary.
II. Fixing Mobile Toilets (Standalone Type)
If the mobile toilet includes a standalone toilet, refer to the conventional toilet installation method:
Align with the Sewer Pipe
Align the flange (drainage interface) at the bottom of the toilet with the center of the sewer pipe reserved on the ground, ensuring that the toilet is placed straight and the distance from the wall meets usage habits (usually leaving 20-30 centimeters on the side).Preliminary Fixing and Water Testing
- Gently press down on the toilet seat to make the flange tightly fit with the sewer pipe, preventing water leakage.
- Connect the water inlet hose and test the flushing to check whether the drainage is smooth and whether there is water leakage at the flange.
Sealing Treatment
After the water test is problem-free, apply a circle of mold-resistant glass glue at the contact area between the bottom of the toilet and the ground. After the glue cures, a sealing layer is formed to prevent odor leakage and enhance stability.
III. Precautions
- Product Differences: The structures of mobile toilets designed by different manufacturers may vary. Before fixing, carefully read the instruction manual and prioritize using the fixing method recommended by the manufacturer.
- Ground Conditions: For hard ground, it is recommended to use expansion bolts; for soft ground, anti-slip mats should be added or the fixing area should be enlarged.
- Safety Inspection: After fixing, regularly check whether the rivets and bolts are loose, especially after frequent movement or in windy weather.
You may also like
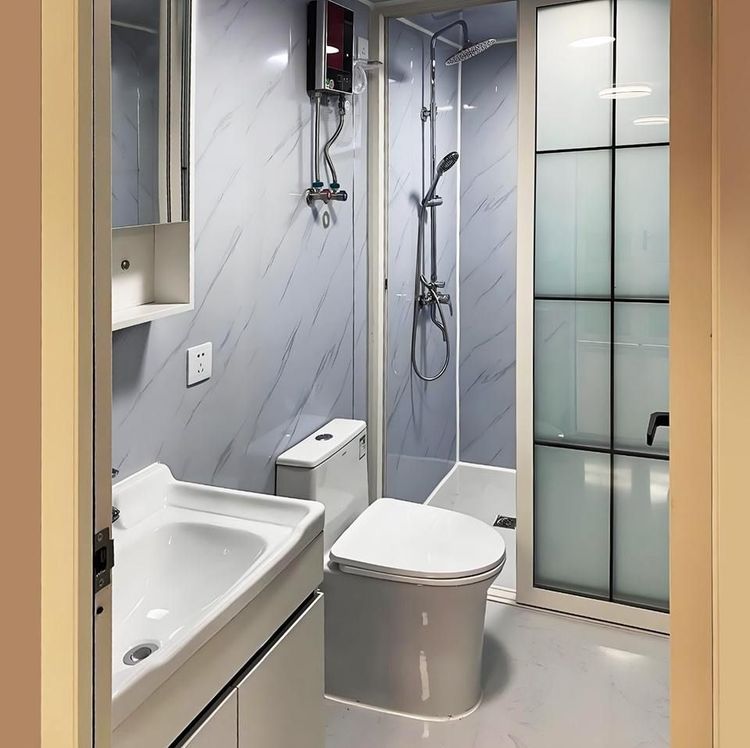
Portable Toilet Eco-Friendly: MOQ, Samples & Quotation Guide
Read More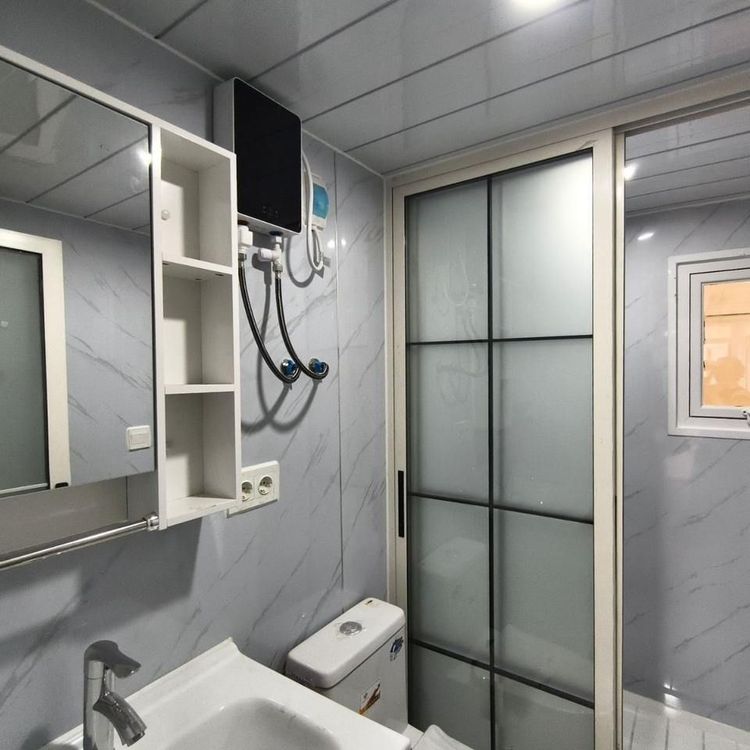
Top Portable Toilet Color Steel Manufacturers: How to Choose a Factory Partner
Read MorePortable Toilet Picture: Types, Features & Buying Tips
Read More