How to Edge Finish Container Houses
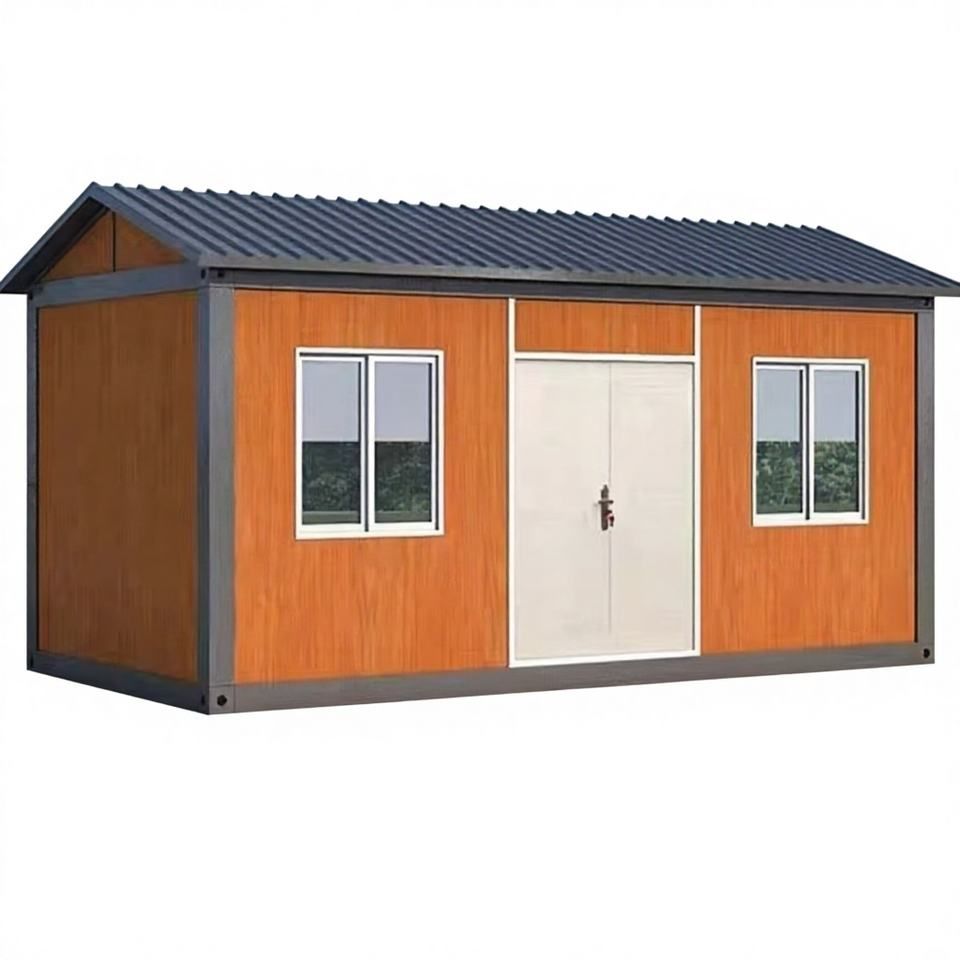
When edge-finishing container houses, it is essential to focus on key areas such as doors, windows, joint seams, and roof gutters. Waterproof sealing and durability can be achieved through sealant treatment, structural optimization, and regular maintenance.
I. Key Edge-Finishing Areas and Treatment Methods
Around Doors and Windows
The gaps between door and window frames and container walls should be filled with weather-resistant sealant to form a flexible waterproof layer. The sealant should be compatible with steel, glass, or metal panels and should be regularly cleaned of dust and have aging rubber strips replaced (typically every 5-7 years). For example, Erdos Hanjiang packing boxes use an integrated pre-installed door and window system, reducing on-site edge-finishing errors through factory-based sealing treatment.Container Joint Seams
When combining multiple containers, double sealing should be applied to joint seams:- Structural Layer: After welding, grind the seams, apply epoxy primer + anti-rust topcoat to prevent rusting that could compromise sealing effectiveness.
- Waterproof Layer: Apply butyl rubber waterproof tape on the exterior of the joint seam and fill the interior with polyurethane foam sealant, creating a dual waterproof barrier. In Hubei container customization, Wuhan Jinxiang Light Steel Houses use an integrated galvanized frame + corner fitting tightening technology to reduce the number of joint seams and lower leakage risks.
Roof Gutters
The roof should be designed with a drainage slope (usually ≥5%). Drainage outlets should be reserved at the gutters and fitted with stainless steel filters to prevent leaf blockages. The joints between gutters and roof panels should be coated with waterproof paint, and accumulated water should be regularly cleared (as water accelerates steel plate corrosion). For example, Fogang County Fire-Resistant Grade A Mobile Board Houses use an integrated welded roof, reducing edge-finishing needs through structural drainage.
II. Material and Process Requirements
Sealing Materials
Silicone sealant or polysulfide sealant with UV resistance, aging resistance, and good elasticity should be selected. Avoid using ordinary glass glue (which is prone to cracking). In coastal or high-humidity areas, mold-resistant sealant should be used.Structural Corrosion Protection
All cut and welded areas should be ground to St3 standard and coated with zinc-rich primer (dry film thickness ≥80μm) + epoxy mica intermediate coat + aliphatic polyurethane topcoat (dry film thickness ≥120μm) to form a composite anti-corrosion layer. The recoating cycle is 8-12 years in inland dry areas, 7-10 years in southern humid areas, and 3-5 years in coastal areas.Waterproof Nodes
Rounded corners (radius ≥50mm) should be made at the junctions of roofs and walls to avoid stress concentration caused by right angles. Wall-penetrating pipelines should use dedicated waterproof sleeves, with the gaps between sleeves and pipelines filled with bituminous hemp or sealant.
III. Maintenance and Management
Regular Inspections
Inspect welds, wall corners, bottoms, eaves, and other rust-prone areas annually. Immediately grind and repaint any small rust spots found; check sealant strips for cracking or detachment and replace them promptly.Drainage System Cleaning
Clear roof leaves and debris every quarter to ensure smooth drainage; check gutter filters for blockages to prevent water backup.Structural Reinforcement
After long-term use, check if corner fitting bolts are loose, especially for multi-story stacked containers. Regularly tighten connectors to prevent structural deformation that could cause edge-finishing cracks.