
How to Disassemble an Outdoor Portable Toilet
The disassembly of an outdoor portable toilet should be carried out step by step according to its type and design, with the core processes including tool preparation, cutting off water and electricity, dismantling components, and cleaning and organizing. Special structures require professional handling.
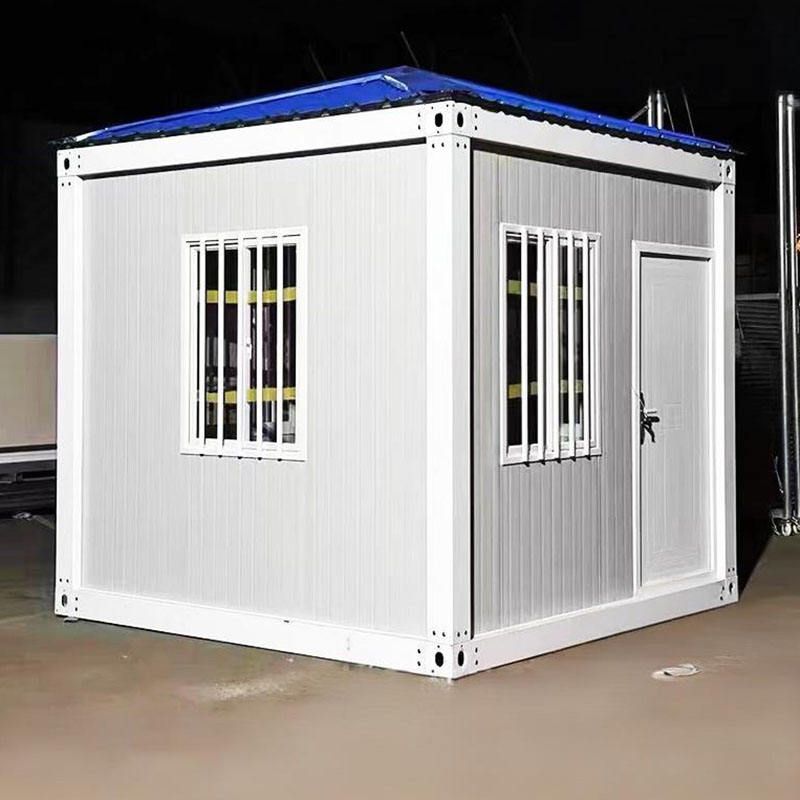
I. General Disassembly Process
Prepare Tools and Protective Gear
Equip yourself with basic tools such as wrenches, screwdrivers, and hammers. Wear gloves, goggles, and protective clothing to avoid scratches or contact with contaminants during operation. If the toilet has been in long-term use, its components may be rusty, so it is advisable to prepare lubricants in advance to assist with disassembly.Cut Off Water and Electricity Supply
Close the inlet valve and power switch of the portable toilet, and drain any residual water from the water tank and pipes to prevent water leakage and electric shock during disassembly. For toilets with shower areas, prioritize draining the accumulated water in the shower area to avoid overflow and environmental pollution during disassembly.Dismantle Connecting Components
Use a wrench or screwdriver to remove connecting parts such as water pipes, drainage pipes, and power cords. Mark the positions of the wires for easy reassembly later. Be sure to retain small accessories such as nuts and washers to avoid difficulties in restoration due to loss.Dismantle Modular Components
- Shower Area: Disconnect the wastewater pipe, remove the fixed slots or screws, and take down the entire shower enclosure. If there is sealant on the floor, use tools to clean up the residue.
- Dressing/Storage Area: Separate the connecting structures between modules, and dismantle components such as walls and floors in an “outside-in” order. Handle them gently to prevent deformation.
- Toilet/Commode: Use a wrench to remove the nuts connecting the seat ring and water tank, then flip and take down the main body. For embedded toilets, remove the surrounding fixed frame first.
Clean and Organize
Store the dismantled components in categories (such as metal parts, plastic parts, and electronic components), and clean up any residue in the work area to avoid contaminating the soil or water sources. If the toilet has been in long-term use, it is recommended to disinfect the components.
II. Precautions for Special Types of Toilets
- Toilets with Embedded Equipment: For toilets equipped with ventilation systems or sewage treatment devices, contact the manufacturer or professional personnel for disassembly to avoid damaging core components.
- Large and Complex Toilets: If the toilet includes multiple functional areas (such as accessible restrooms and baby care rooms), develop a disassembly sequence. Prioritize dismantling non-load-bearing structures before dealing with the main frame.
III. Factors Affecting Disassembly Time
- Scale and Complexity: Small toilets (for 1-2 people) can be disassembled in about 1-2 hours, while large toilets (with water and electricity systems) may take 3-5 hours.
- Environmental Conditions: Narrow spaces, rusty or stuck components can prolong the operation time. It is advisable to clear surrounding obstacles in advance.
- Worker Proficiency: Professional teams can complete the task 1-2 hours faster than novices. Non-professionals are advised to refer to instruction manuals or video guides for operation.
Safety Tip: Follow operational procedures strictly during disassembly to avoid damaging components or causing personal injury due to forced disassembly. If you are unfamiliar with the structure, it is advisable to contact the manufacturer or a professional service team first.



