Back to blog
Article
How to Connect Water Pipe for Mobile Toilet
Admin September 27, 2026
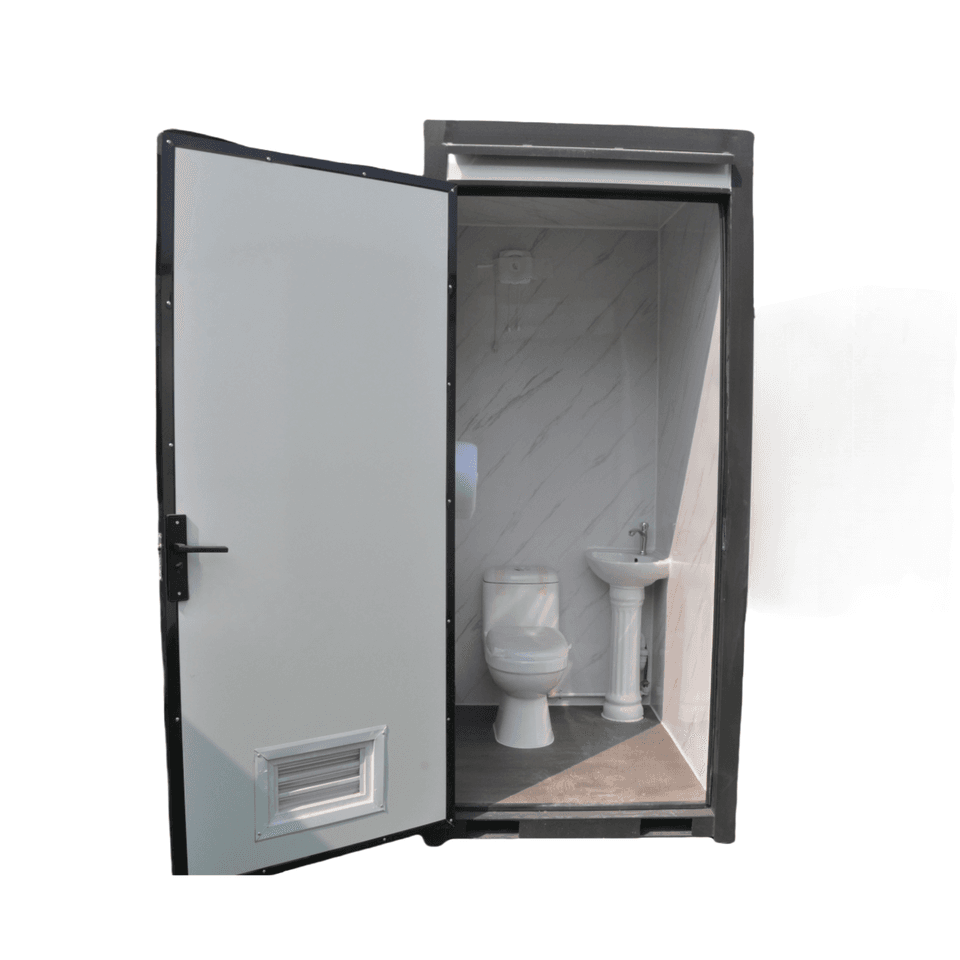
Connecting water pipes for a mobile toilet requires standardized operations according to the different requirements of the inlet pipe, water supply system, and outlet pipe. The specific steps and precautions are as follows:
Inlet Pipe Connection Steps
- Plan the Water Route: Communicate with the installation technician to determine the specific route of the inlet pipe based on the installation location of the mobile toilet and the on-site environment, ensuring a reasonable layout and easy subsequent maintenance.
- Fix the Pipe Clamps: Use an electric hammer to drill holes in the wall or floor and firmly fix the clamps. The spacing should comply with pipeline installation specifications to prevent the pipes from sagging due to gravity or water flow impact.
- Hot-Melt Connect the Pipes: Use a professional hot-melt machine to heat PPR and other hot-melt pipes. Once the pipes and fittings are melted, quickly connect them to ensure there are no gaps at the joints and prevent future leakage.
- Pressure Test: Use a pressure testing pump to apply 1.5 times the working pressure (usually 0.8-1.0 MPa) to the connected pipeline and maintain it for more than 30 minutes. Observe whether the pressure gauge is stable and confirm there is no leakage before proceeding to the next step.
- Clean the Site: After the test is completed, clean up the debris and tools around the pipes to keep the installation area tidy.
Water Supply System Connection Precautions
- Material and Burial Depth: The water supply pipe should be made of pressure-resistant and freeze-resistant materials (such as PPR pipes). The burial depth should be below the local frost line to prevent freezing and cracking in winter.
- External Water Tank Management: If a water tank is used for water supply, select the capacity according to the number of users (such as 50-200L) and regularly check the water tank's tightness to prevent sewage backflow or water quality contamination.
- Valve Installation: Install a stop valve at the connection between the water pipe and the toilet inlet to facilitate cutting off the water supply during subsequent maintenance or component replacement.
- Water Flow Check: After the first water flow, focus on observing whether there are leaks at the valves and joints. Confirm there are no abnormalities before putting it into use.
Outlet Pipe Connection Points
- Location Selection: The outlet pipe should be installed in a well-ventilated and easily drained area, ensuring there is enough space around the pipe opening for maintenance.
- Joint Matching: Select the appropriate outlet pipe joint according to the size of the mobile toilet's sewage outlet (such as DN110 or DN160), ensuring that the type (such as PVC pipes) and material are compatible.
- Sealing Treatment: Apply sealing glue (such as PVC special glue) evenly at the joint. The application thickness should cover the entire contact surface to prevent sewage leakage.
- Slope Control: The outlet pipe should be kept vertical or horizontal, with a slope not exceeding 5% (i.e., a drop of no more than 5 cm per meter) to avoid poor drainage or blockage.
- Regular Cleaning: Use a high-pressure water gun to flush the outlet pipe every month to remove residual dirt and prevent odor or blockage problems.
Related