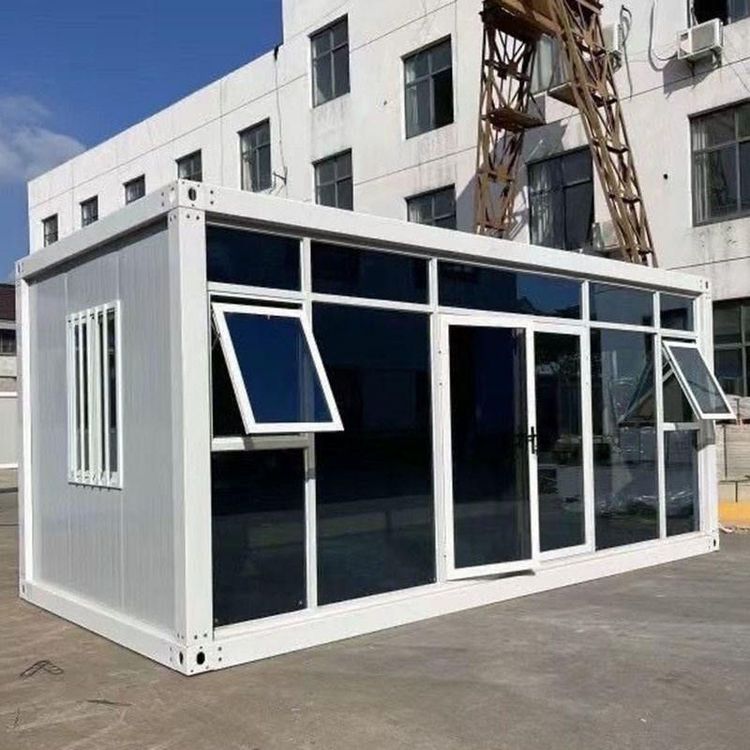
How to Connect the Sewer Pipe for Mobile Toilets
Connecting the sewer pipe for mobile toilets requires following standardized procedures to ensure smooth drainage and prevent leaks. Here are the specific steps:
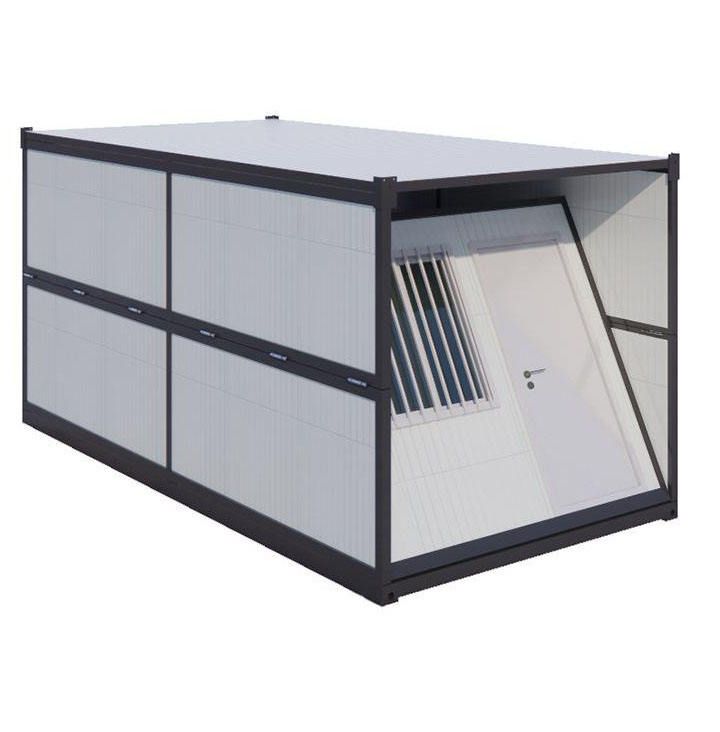
Select the Installation Location and Plan the Path The sewer pipe should be installed in a well-ventilated and easily drained area, ensuring sufficient operating space around the pipe opening. Plan the main pipe route according to the layout of the mobile toilet, prioritizing straight or gently curved paths to reduce resistance. If the pipe needs to pass through walls or floors, pre-drill holes and ensure proper waterproofing.
Connect the Sewage Outlet to the Sewer Pipe After confirming the location of the sewage outlet, select an interface that matches the size of the sewer pipe (e.g., PVC pipes should have the same diameter). For ground-connected PVC drainage pipes, evenly apply PVC-specific adhesive to the outside of the pipe insert and the inside of the fitting socket, quickly insert and rotate 90 degrees to distribute the adhesive evenly, and maintain pressure for 10-15 seconds for initial fixation. Note: The adhesive should be applied evenly to avoid blockages caused by excessive thickness or leaks due to insufficient thickness.
Seal the Interfaces and Secure the Pipes Use sealant to close all connections (including between the sewage outlet and sewer pipe, main pipe and branch pipes, etc.). Ensure the sealant covers the entire contact surface and press firmly until both sides are tightly bonded, leaving no gaps. The main pipe should be installed with a slope of 2%-5% (i.e., a drop of 2-5 cm per meter) and secured to the wall or floor with pipe clamps or expansion bolts to prevent sagging or deformation.
Connect Branch Pipes to Sanitary Fixtures
- Toilet Installation: Connect to the drainage outlet using a flange ring (wax seal or rubber material), ensuring the flange ring is fully bonded to the toilet and floor. This is a critical step for preventing leaks.
- Sink and Floor Drain: Use hoses or PVC pipes to connect to branch pipes, adding rubber gaskets at the interfaces and tightening with pipe clamps to prevent loosening and leaks.
- Branch Pipe Connections: Use tees or other fittings to drill holes in the main pipe and connect branch pipes according to fixture locations. All connections should be coated with adhesive and tightened.
Inspect and Test After installation, visually inspect all interfaces for integrity and check for pipe deformation or twisting. Conduct a water test: slowly fill the sanitary fixtures with water and observe whether the drainage is smooth and whether there are any leaks at the interfaces. If backflow or ponding is detected, adjust the pipe slope or reseal the interfaces.
Key Tip: The sewer pipe must remain vertical or horizontal. Excessive tilt can cause sewage to not drain properly or result in backflow. If environmental constraints make it impossible to avoid tilting, ensure the slope meets standards through professional calculations.