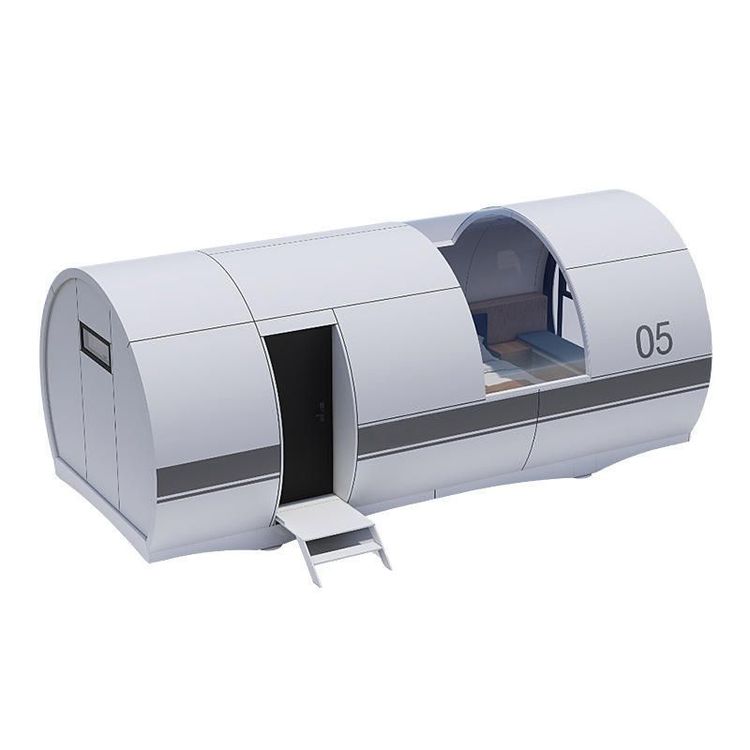
How to Assemble Container Houses
The assembly of container houses should be carried out according to standardized procedures based on specific types (such as foldable, quick-assembly, and packing-box types), with core steps including foundation preparation, main body hoisting, component assembly, fixation, and acceptance. Strict adherence to safety regulations and construction standards is required.

1. Foundation Preparation and Measurement
Before assembly, ensure that the foundation meets the requirements. For example, the Zhongnan Steel Structure plan requires that the deviation in the wall foundation axis dimensions should not exceed ±25mm, and the deviation in wall height should not exceed 10mm. Trenching, concrete pouring, or brick foundation construction should be carried out according to the drawings. Some light steel frame houses require the pre-embedding of the frame and fixation with expansion screws to ensure a flat and stable foundation.
2. Main Body Hoisting and Unfolding
- Foldable Containers: Check the stability of the steel wire ropes. Use a crane to smoothly hoist and unfold the main frame, placing support rods in the middle of the container to maintain stability. When hoisting to the predetermined position, ensure that no one is around before lowering it.
- Packing-Box Houses: If transported as a whole box, hoist directly upon arrival at the site; if transported in pieces, first assemble the chassis (e.g., welding a frame with channel steel) and then hoist the main structure.
3. Component Assembly and Fixation
- Steel Structure Assembly: Tighten square tube columns, steel beams, and other components with screws or bolts, checking for verticality and flatness. For example, quick-assembly container houses are assembled like building blocks using standardized components without welding, while traditional container houses require welding of corner fittings to ensure stable force transmission during stacking.
- Wall and Roof Panel Installation: After reserving positions for doors and windows, install rock wool, glass wool, or polyurethane sandwich panels. Use U-shaped thin steel to form an overall enclosure structure. The roof requires the installation of a waterproof layer (e.g., glass curtain wall waterproof adhesive) to ensure sealing.
- Stacking and Fixation: For multi-story combinations, fix the upper and lower containers with angle steel gusset plates or corner fitting bolts, ensuring that the corner columns are aligned and locked tightly to avoid misalignment.
4. Detail Handling and Acceptance
- Doors, Windows, and Waterproofing: After installing doors and windows, check for sealing. The gaps between the window frames and wall panels should be waterproofed; reserve air conditioning holes on the roof and seal them.
- Internal Facilities: Lay floor leather, install lighting and sockets, and reserve air conditioning hole positions.
- Safety Inspection: Confirm that all screws/bolts are tightened without looseness; check that the verticality of steel beams and component dimensions meet standards; ensure that the roof and wall surfaces are flat, and the ridge lines are straight.
5. Safety Regulations
Non-professionals are prohibited from entering the installation area; ensure that no one is around during hoisting; use fire-resistant Class A rock wool/glass wool to fill wall panels, with a fire resistance limit of ≥0.5 hours in crowded places; seismic fortification should be ≤8 degrees, with a maximum of 6 stories and a height of ≤24 meters.
You may also like
Portable Toilet Rental for Construction Sites: What to Consider
Read More
Portable Toilet Rental Price Guide: Budget, Mid-Range & Premium
Read More
Portable Toilet Color Steel: A Practical Buyer's Guide
Read More