How to Assemble a Portable Toilet
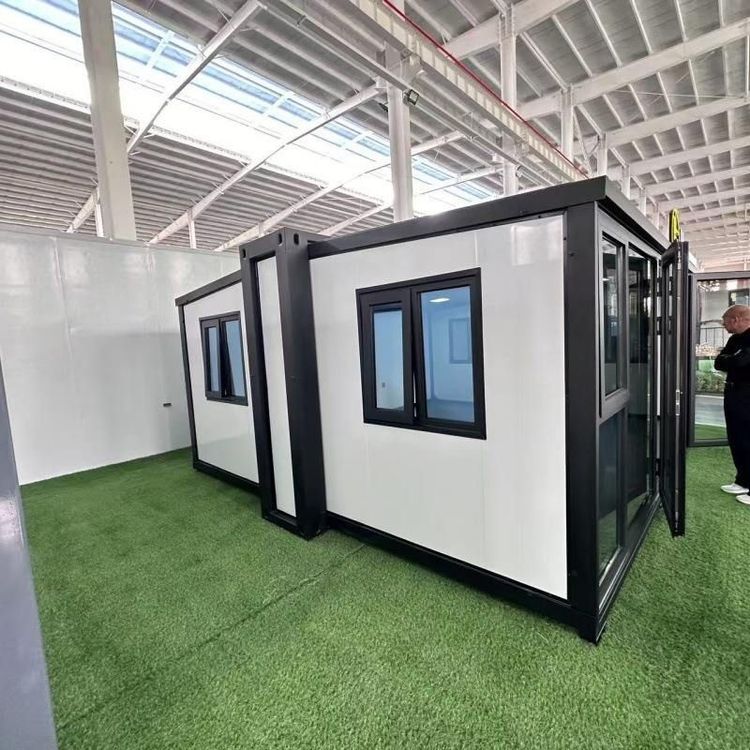
The assembly of a portable toilet requires selecting the appropriate process based on the specific type and scenario, with core steps including tool preparation, component assembly, secure installation, and functional testing. Specific operations should be carried out in accordance with the product manual or confirmed by consulting the rental provider.
I. General Assembly Steps (Applicable to Basic Portable Toilets)
Tool Preparation
After receiving the goods, prepare tools such as an electric drill, a 4.2-millimeter drill bit, and a rivet gun in advance. The electric drill is used for drilling holes, and the rivet gun is used for securing components. Ensuring all tools are available can prevent interruptions during assembly.Frame Assembly
Install the inner corner pieces (frame connectors) sequentially into the designated positions to form the main frame of the toilet. The inner corner pieces must be aligned with the slots to ensure structural stability and avoid deviations during subsequent assembly.Panel Installation
Insert the wall panels, floor panels, and other components into the frame slots. After aligning them, drill holes at the connection points using the drill bit. The drilling positions should refer to the product manual, typically located at the edges of the panels or preset holes, to ensure secure fastening later.Rivet Fastening
After inserting the rivets, use the rivet gun to secure the connection points between the panels and the frame one by one. The rivets must be fully embedded to prevent loosening. After fastening, check all connection points for flatness and absence of gaps.
II. Assembly Process for Portable Toilets at Exhibitions (Requires Professional Team Operation)
Site Survey and Positioning
The rental provider must survey the installation location in advance to ensure the ground is flat and drainage is smooth, avoiding toilet tilting or water accumulation due to terrain issues. If water and electricity connections are required, confirm the availability of power and water supply interfaces nearby.Professional Assembly and Inspection
A professional team should carry tools for assembly, focusing on checking the firmness of components, especially the frame connections and door locks, which are prone to loosening. After assembly, perform a shaking test to ensure overall structural stability.Functional Testing
Test the water and electricity connections (if required), flushing system, lighting, and ventilation equipment. The flushing system should be tested for water flow pressure and drainage speed, and the door lock should be repeatedly opened and closed to ensure no jamming, ensuring all functions operate normally.Cleaning and Acceptance
Thoroughly clean the interior of the toilet to remove dust or stains generated during assembly and spray deodorizer to eliminate odors. Finally, the rental provider and the user should jointly inspect and accept the toilet, confirming no issues before delivery for use.
III. Supplementary Assembly Steps for Portable Toilets (Applicable to Some Models)
Flange Installation
Align the toilet flange with the center of the drainpipe, place the toilet correctly, and press gently to ensure the flange fits tightly with the drainpipe, preventing leaks.Angle Valve and Three-Way Connection
Install the angle valve and connect the three-way for the water inlet and spray head. The angle valve must be tightened to prevent leaks, and the direction of the three-way must align with the spray head to ensure smooth water flow.Hose and Spray Head Assembly
Tighten the water inlet hose of the toilet, assemble the spray head, and connect it to the three-way. The hose should have some slack to prevent breakage due to stretching, and the angle of the spray head should be adjusted to a suitable position.Water Testing and Fixing
Turn on the water supply for testing, checking the flushing effect, the water inlet hose, and the angle valve for leaks. After confirming no issues, apply adhesive at the contact point between the bottom of the toilet and the ground to prevent displacement.