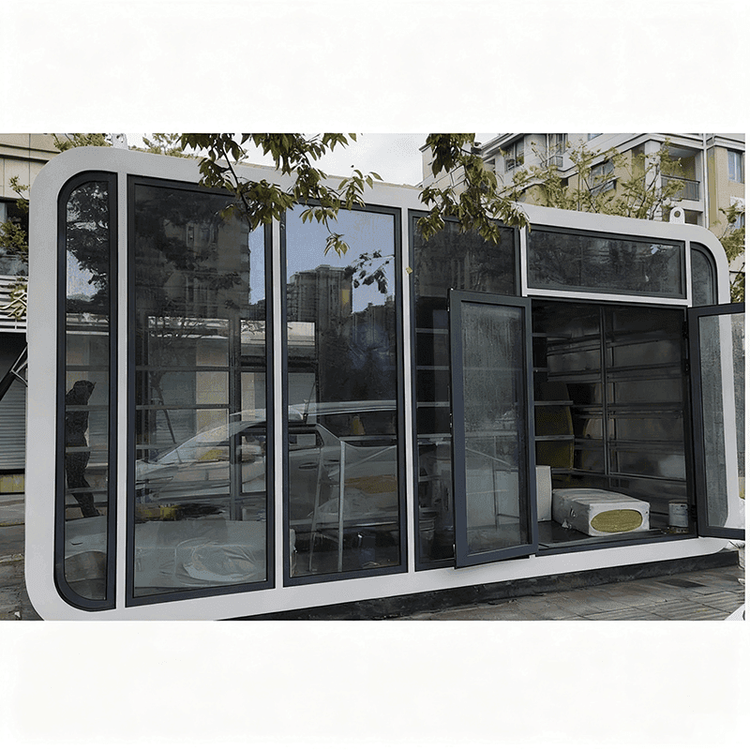
Home Outdoor Portable Toilet Installation
The installation methods for home outdoor portable toilets vary depending on the type. Here are the installation methods for common types:
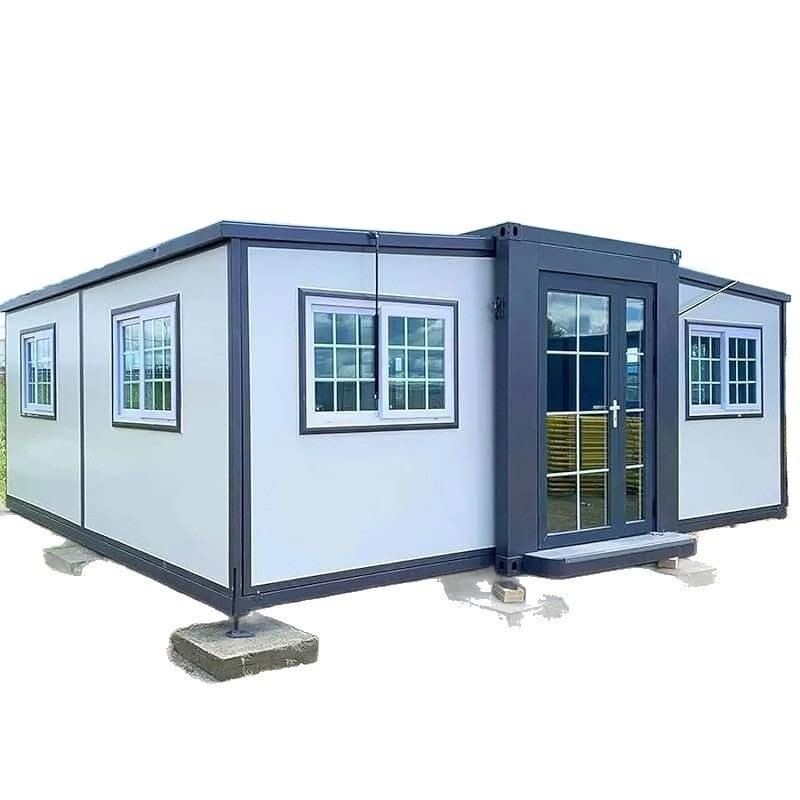
Installation of Assembled Outdoor Portable Toilets
Assembled outdoor portable toilets feature a modular design that allows for quick on-site assembly. Their core structure includes walls and floors: the walls are typically 50mm thick sandwich panels, providing thermal insulation and soundproofing; the floors can be made of non-slip patterned stainless steel or marble, balancing durability and slip resistance. In terms of functional modules, users can choose from sit-down toilets, squat toilets, or shower facilities based on their needs, offering high flexibility. During installation, modules should be assembled in order, ensuring that all components are aligned before being secured, making it suitable for scenarios requiring high installation efficiency.
Installation Steps for General-Purpose Portable Toilets
For non-assembled general-purpose portable toilets, refer to the following standardized process:
- Tool Preparation: After receiving the goods, prepare tools such as an electric drill, a 4.2mm drill bit, and a rivet gun to ensure a smooth installation process.
- Corner Installation: Install the corner components first to provide a stable framework for subsequent assembly.
- Panel Assembly: Insert the panels into the slots, align the top and bottom edges, then drill holes at the joints, insert rivets, and secure them with a rivet gun. This step requires ensuring that the panels are tightly connected to prevent structural looseness due to gaps.
- Functional Module Debugging: After completing the main structure, install sit-down toilets, squat toilets, or shower facilities, and check whether the drainage and ventilation systems are functioning properly.
Simple Installation Method for Portable Toilets
For small portable toilets, a "six-step method" can be used for quick installation:
- Unpacking Inspection: After opening the package, check the accessory list (such as the toilet body, fixing bracket, sealing ring, etc.) to ensure nothing is missing or damaged.
- Contact for Guidance: If unfamiliar with the installation process, contact customer service for video or graphic instructions, or refer directly to the manual for operation.
- Body Fixing: Choose a fixing method (such as expansion screws or adhesive) based on the floor material to ensure the toilet is stable and does not wobble.
- Pipe Connection: Connect the water inlet and outlet pipes, and check the tightness of the joints to prevent leaks.
- Function Testing: After turning on the water and electricity, test whether the flushing and drainage functions are working properly.
- Detail Adjustment: Adjust the height or angle of the toilet according to usage habits to ensure comfort.
Precautions: Before installation, ensure the site is level to prevent structural tilting due to uneven ground; after installing functional modules, conduct a leak test to ensure safety during use; if electrical connections are involved, it is recommended to have them performed by a professional.