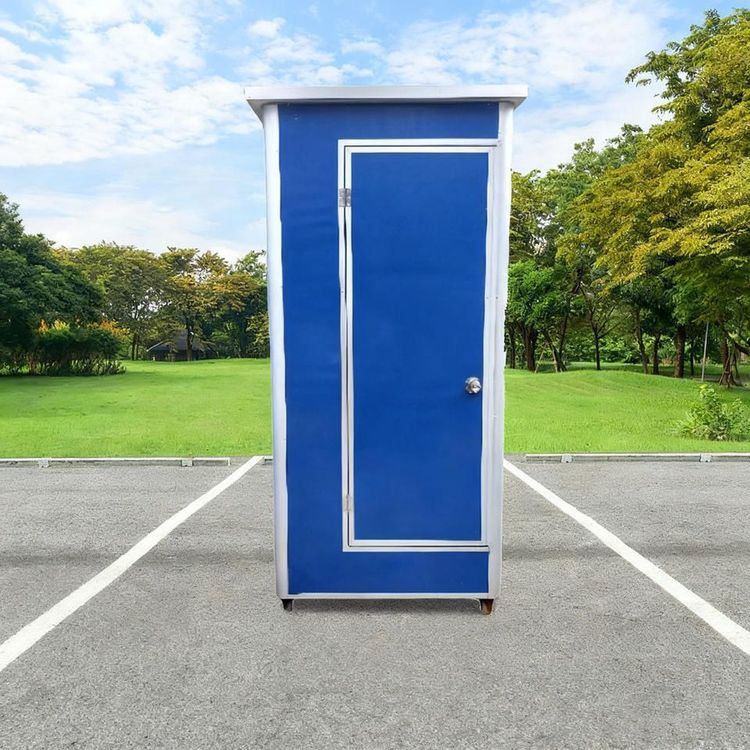
Guilin Outdoor Mobile Toilet Installation
The installation of outdoor mobile toilets in Guilin should follow the steps below to ensure installation quality and usage effectiveness:

1. Comprehensive pre-installation inspection
Before installation, conduct a strict inspection of the site and foundation conditions. First, confirm the smoothness of the sewage pipes, removing any mud, waste paper, or other debris that may be present in the pipes to avoid blockage risks. Second, check the flatness of the ground where the toilet will be installed. If there are obvious slopes or unevenness, use a bedding layer or leveling treatment to ensure a level surface, providing a stable foundation for subsequent installation.
2. Determine the center of the sewage pipe and position the toilet
Turn the toilet over to its back and mark the center point at the sewage outlet, drawing a cross-center line that should extend to the edges of the toilet's bottom feet, serving as the installation reference. At the same time, align it with the center of the on-site sewage pipe to ensure that the toilet's sewage outlet coincides with the center of the pipe, avoiding seal failure or poor drainage due to misalignment.
3. Accurately position the feet and pre-embed screws
Based on the positions of the screws at the bottom of the toilet, use an impact drill to make holes in the ground. The depth of the holes should match the length of the expansion screws. After drilling, clean up the debris and pre-embed the plastic sleeves of the expansion screws, ensuring a tight fit between the sleeves and the hole walls to provide stable support for subsequent screw fixation. This step requires strict measurement of the spacing to avoid unstable toilet installation due to positional deviations.
4. Bottom sealing treatment
Sealing is a crucial step to prevent leakage. A dedicated sealing ring can be installed at the toilet's sewage outlet to achieve sealing through elastic compression. Alternatively, glass glue can be applied around the sewage pipe to form a continuous sealing layer. If cement mortar is used, mix cement and sand in a 1:3 ratio, fill it in, compact it, and smooth it out to ensure no gaps. The sealing material should cover the entire contact area between the sewage outlet and the pipe, and the toilet should not be moved before the sealing material dries.
Precautions: Wear protective gloves during installation to avoid contact between glass glue or cement and the skin. If installing in a humid environment, wait for the sealing material to fully cure before use. Typically, glass glue requires 24 hours and cement mortar requires 48 hours. After installation, test the drainage function to ensure there is no leakage and the flushing is smooth before putting it into use.