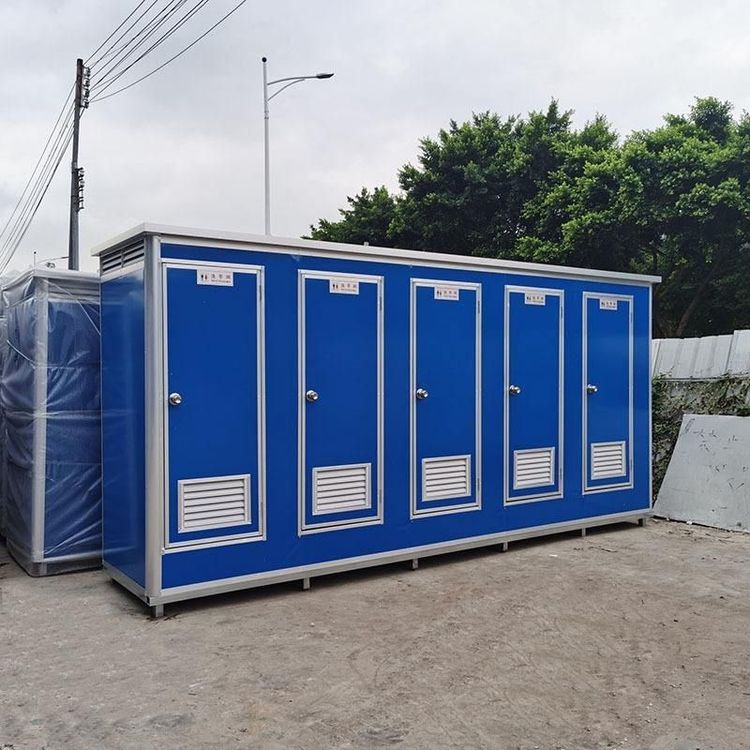
Guangdong Small Mobile Toilet Installation
The installation of small mobile toilets in Guangdong can refer to the general installation steps for mobile toilets, as follows:

The installation of mobile toilets (commodes) generally follows a standardized process. Although detailed installation guides specific to the Guangdong region or particular models may not be available, common installation methods can be adapted for use. Before installation, it is necessary to confirm the product type (such as the H77 basic model, H80 basic model, etc.), as installation details may vary among different models, though the core steps are generally applicable.
Step 1: Unpacking Inspection and Parts Verification After opening the package, verify each item against the parts list to ensure all components are present and undamaged. Common parts include upper and lower toilet bodies, buckles, seals, tissue holders, screws, and installation tools. If any parts are missing or damaged, contact the supplier promptly for replacements to avoid delays in the installation process.
Step 2: Basic Model Installation (Taking H77 as an Example) For the H77 basic model, follow its specific instructions. Typically, start by securing the base structure, ensuring the installation surface is level and stable. Then, align the main body with the base and secure it initially using screws or buckles. During installation, apply even pressure to avoid deformation or loose connections due to excessive force.
Step 3: H80 Basic Model Installation Details For the H80 model, focus on aligning the upper and lower toilet bodies and securing them with buckles. The specific steps are as follows:
- Align the upper and lower toilet bodies vertically, ensuring no misalignment at the joints;
- Press down on the buckles until you hear a “click” sound, then firmly pat the side of the toilet body to confirm the buckles are fully locked;
- Check that the buckles are secure by gently shaking the toilet body to test stability;
- Align the tissue holder with the pre-drilled holes, tighten the screws, and close the lid to ensure a neat appearance and proper functionality.
Step 4: General Sealing and Testing After installation, check the sealing of all connections, especially the interface between the sewage outlet and the pipe, to prevent leaks. Pour a small amount of water to test if the drainage is smooth and observe for any signs of leakage. If issues are found, readjust the buckles or seals until everything is confirmed to be correct.
Precautions The installation environment should be dry and well-ventilated, avoiding operation on damp or uneven surfaces. If you have any doubts about the installation steps, it is recommended to contact the manufacturer's technical support or refer to the product manual to ensure compliance with standards.