
Back to blog
Article
How to Install a Flush Mobile Toilet
Admin October 08, 2026
The installation of a flush mobile toilet should follow a scientific process, mainly divided into four stages: preliminary preparation, foundation construction, equipment hoisting, and pipeline connection. Here are the specific steps and precautions:
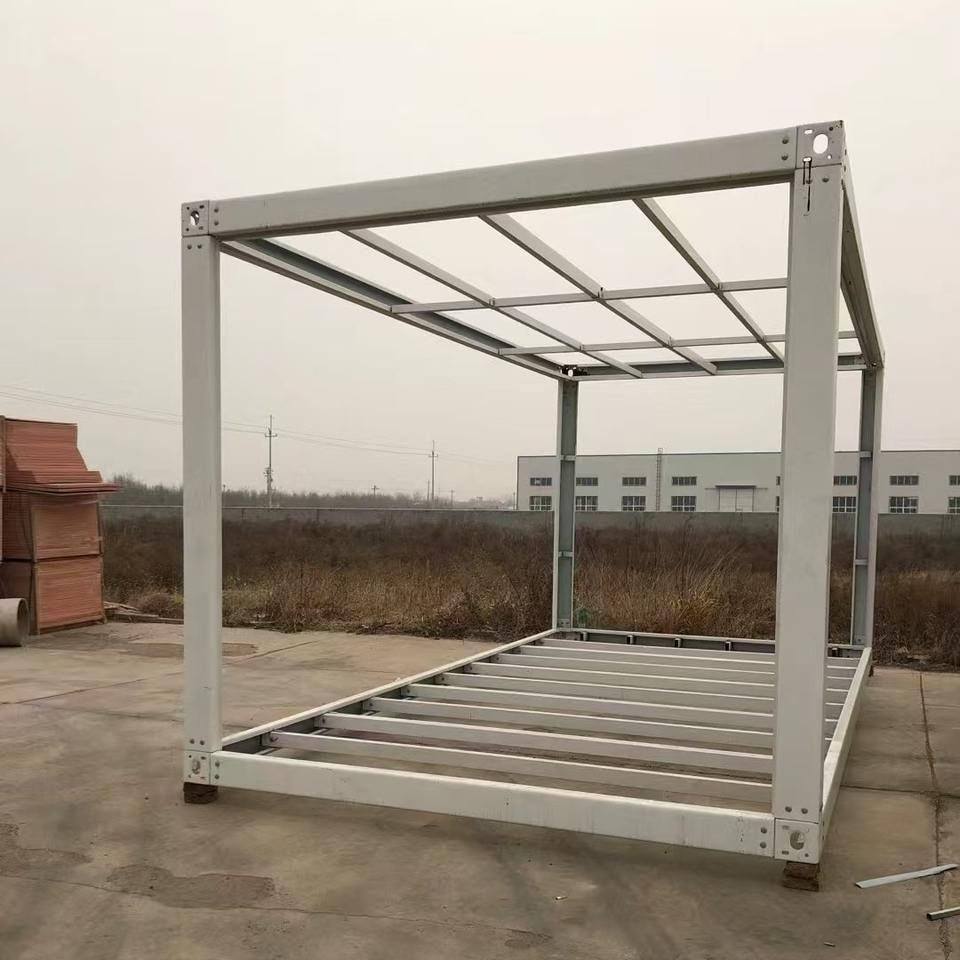
I. Preliminary Preparation
- Site Survey Evaluate the terrain flatness, soil bearing capacity, and surrounding environment. If the site is low-lying or has soft soil, foundation reinforcement (such as piling or soil replacement) should be carried out in advance to prevent equipment settlement. If the site is close to water sources, power connections, and drainage networks, confirm the nearest distances to ensure a reasonable distance between the water supply point and the toilet, and maintain a continuous slope for the drainage pipes (to avoid sewage stagnation).
- Equipment Planning Determine the number and layout of equipment based on the estimated foot traffic: It is recommended to control the service radius of a single toilet within 50-100 meters, and cluster layouts can be adopted in areas with dense foot traffic. The ratio of male to female toilet stalls should be adjusted according to the characteristics of the user group (for example, a ratio of 1:1.5 can be configured in scenic spots). Special occasions require the addition of barrier-free units. A maintenance passage of 0.8-1.2 meters should be reserved between equipment, and the entrance direction should avoid the prevailing wind direction (to reduce odor diffusion).
II. Foundation Construction and Pipeline Embedding
- Site Leveling and Foundation Pouring Level the site according to the design drawings and compact the soil layer by layer using compaction machinery. The thickness of the concrete foundation should meet the bearing requirements (generally not less than 20 cm), and the positioning error of embedded parts should be controlled within ±5 mm. During foundation curing, keep it moist and warm. Add antifreeze for construction in winter.
- Pipeline Embedding
- Water Supply Pipes: Select pressure-resistant materials (such as PPR pipes). The burial depth should be below the local frost line and wrapped with thermal insulation materials. It is recommended to install a filter device and a pressure reducing valve at the water inlet end.
- Drainage Pipes: The pipe diameter should be larger than the equipment outlet size (usually ≥110 mm). Cleanout openings should be set every 5-10 meters, and the pipe slope should be uniform (slope ≥1%).
- Cable Pipes: Select corrosion-resistant materials (such as PVC pipes). Strong and weak current lines should be laid separately, and the pipe openings should be temporarily sealed to prevent foreign objects from entering.
III. Equipment Hoisting and Positioning
- Hoisting Operation Use professional hoisting equipment and confirm that the hoisting points match the load-bearing structure of the equipment. Move slowly and evenly during hoisting. Pause when the equipment is 30-50 cm away from the foundation, and then have a guide person correct the orientation before lowering it into place.
- Positioning and Anchoring The equipment base should be in full contact with the embedded parts of the foundation. Use a level to check the flatness (deviation ≤2 mm/m). If the deviation is too large, adjust it with steel plate shims. Anchor the equipment immediately after positioning. Tighten the bolts in stages and in a diagonal order. The steel structure foundation should be repainted with anti-rust paint, and the concrete joints should be filled with sealant.
IV. Pipeline System Connection
- Water Supply System Flush the main pipeline before connection, confirm that the water quality meets the standards, and then connect it to the equipment water inlet. The water pipe joints should adopt anti-loosening designs and be wrapped with thermal insulation layers. After completion, conduct a 24-hour water flow test to check for interface leakage.
- Drainage System Ensure that the pipe slope is uniform and reduce the number of elbows. Each drainage unit should be equipped with a separate trap (water seal height ≥50 mm), and flexible joints should be used at the connections to compensate for displacement. After completion, conduct a drainage load test to observe the flow rate and sealing performance.
- Electrical System Operated by a professional electrician, the cable colors should be distinguished according to regulations (for example, the live wire is red and the neutral wire is blue). The main circuit should be equipped with an independent leakage protector, and the lighting and power circuits should be laid separately. The grounding resistance should be ≤4 Ω.



