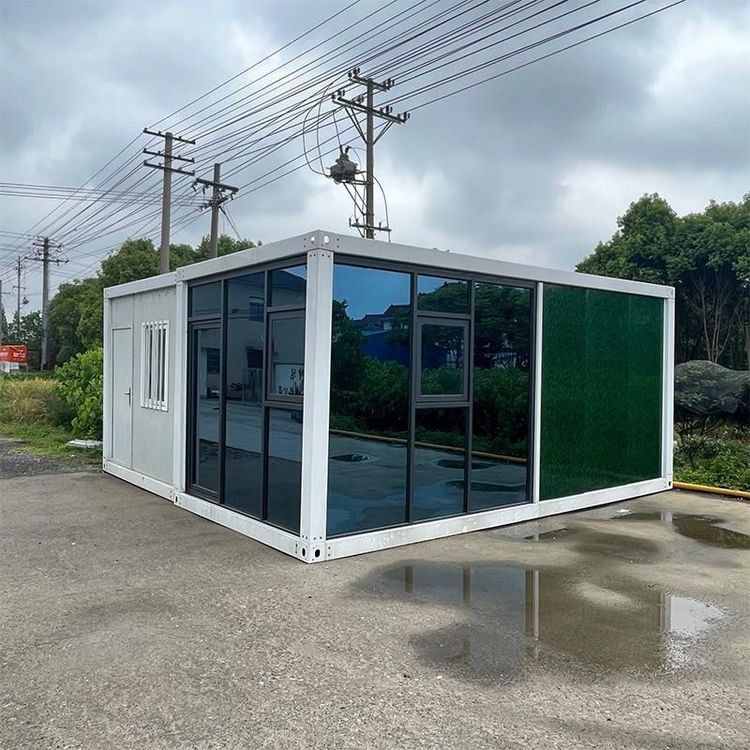
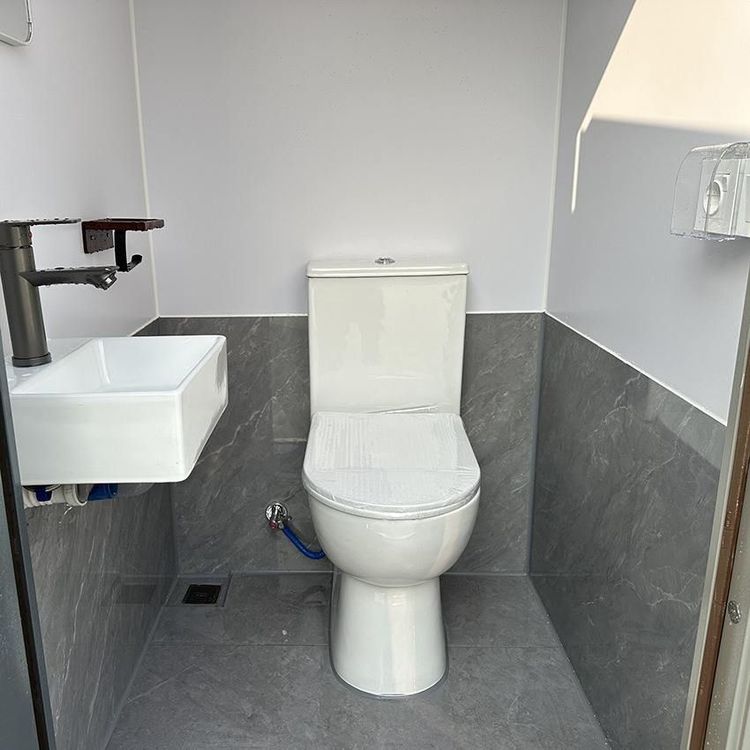
Family Portable Toilet Installation
The installation of a family portable toilet can be carried out following these steps:

Step 1: Check the Components
Upon receiving the portable toilet package, open it immediately to check if all components are present. Typically, this includes the toilet body, flange, angle valve, water inlet hose, tee joint, spray head assembly (including sealing rings), spray head bracket, and caulking tools. If any components are missing or damaged, contact the merchant promptly for replacements to avoid disrupting the installation process.
Step 2: Install the Toilet Flange
The flange is a crucial component that connects the toilet to the sewer pipe. Align the center of the flange with the center of the sewer pipe on the floor, ensuring the flange is placed flat on the pipe opening. Pay attention to the seal of the flange during this step; if the flange is installed crookedly or not tightly against the pipe, it may lead to sewage leakage or odor emission.
Step 3: Connect the Water Inlet System
- Install the Angle Valve: Fix the angle valve to the pre-reserved water inlet on the wall, ensuring the valve operates smoothly and does not leak.
- Connect the Tee Joint: Use the tee joint to connect the water inlet to the toilet spray head. One end of the tee joint connects to the angle valve, and the other end is reserved for the spray head connection.
- Tighten the Water Inlet Hose: Connect one end of the toilet water inlet hose to the angle valve and the other end to the water inlet of the toilet tank. When tightening, avoid excessive force that could damage the threads.
Step 4: Assemble and Install the Spray Head
- Assemble the Spray Head: Tighten the sealing rings at both ends of the spray head to ensure there are no gaps at the connections, preventing water leakage.
- Connect to the Tee Joint: Attach the assembled spray head to the reserved connection on the tee joint, also checking for a proper seal.
- Secure the Spray Head Bracket: Forcefully snap the spray head bracket onto the top of the tee joint, ensuring the bracket is stable and the spray head can be adjusted flexibly.
Step 5: Water Test
After completing the above steps, conduct a water test:
- Open the angle valve and observe if the water inlet to the toilet tank is smooth and if there are any leaks.
- Press the flush button to check the water pressure of the spray head and whether the drainage is unobstructed, while also confirming that the sewer pipe is not blocked.
- If any leaks or drainage abnormalities are found, immediately turn off the water supply and check if the connections are tight or if the sealing rings are damaged.
Step 6: Apply Caulk for Fixing
If there are no issues during the water test, apply a circle of waterproof caulk around the edge where the toilet base contacts the floor. Ensure the caulk is applied evenly, avoiding breaks or air bubbles. After the caulk has fully cured (usually takes 24 hours), it will enhance the stability of the toilet and prevent odor leakage.
Precautions: Before installation, ensure the floor is flat and dry, and the sewer pipe is free of debris. If you are not familiar with plumbing and electrical operations, it is advisable to contact a professional for installation to avoid safety hazards caused by improper operations.