
Back to blog
Article
Diqing Container House
Admin September 10, 2026
Installing a container house in Diqing follows a systematic process covering design, construction, and acceptance. The main steps are as follows:
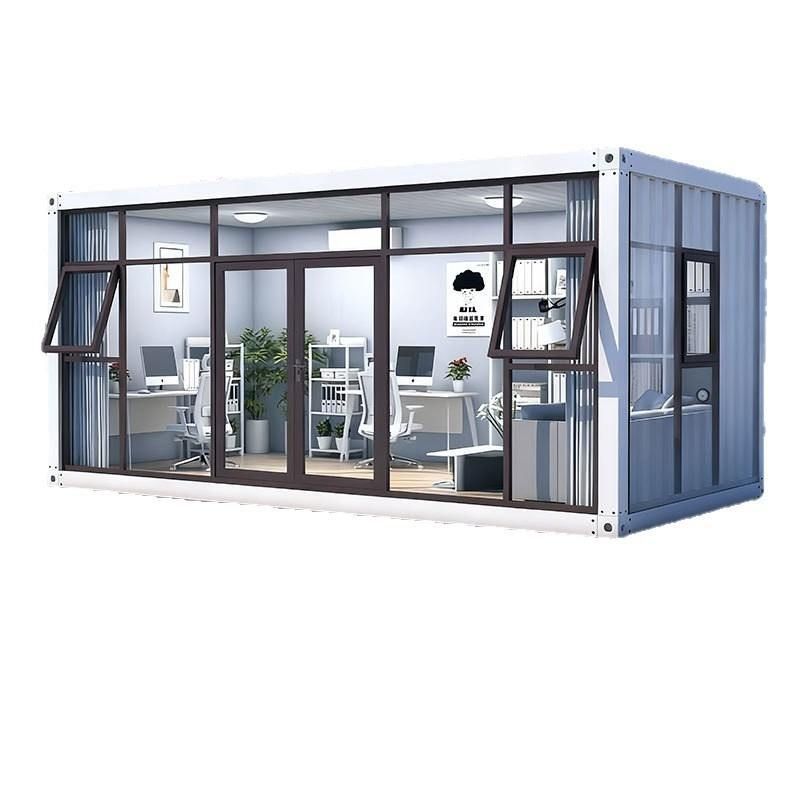
1. Preparation stage
- Requirements and design: Define the functional layout based on the intended use (living, office, or storage), and specify the number of containers, sizes (standard boxes are 20 ft or 40 ft), and configuration (single-story or multi-story combinations). Design must account for local climate—for example, Diqing’s high-altitude conditions call for stronger insulation and wind resistance.
- Container selection and inspection: Choose ISO-standard containers and check structural integrity, rejecting units with deformation, rust, or cracks. For containers that need modification (windows, door openings), pretreat in advance so cut edges are clean and given anti-corrosion treatment.
- Tools and materials: Provide professional equipment (welding machines, gas-cutting tools, levels) and connectors (high-strength bolts, angle steel), plus sealant, waterproof coatings, and other auxiliaries. Use only tools that have passed inspection.
2. Foundation work
- Site preparation: Choose higher ground with good drainage, clear debris, and level the surface to reduce settlement risk.
- Foundation type: Match the foundation to ground conditions—soft soil typically needs reinforced-concrete isolated or strip footings; rock sites can be simpler but must be level; frost-prone areas need deeper embedment to prevent frost heave.
- Pouring and curing: Compact concrete in layers; keep surface flatness within ±5 mm. Cover and moist-cure for at least 7 days, and install containers only after strength reaches 75% of the design value.
3. Container installation and fixing
- Lifting and positioning: Use a truck crane to place each container on the foundation, then adjust plumb and level with a laser level so deviation does not exceed 3 mm.
- Structural connections: For bolted joints, tighten in stages to the design torque; for welded joints, prefer fillet welds with adequate penetration and apply rust protection afterward. Multi-story stacks need steel beams or columns for overall stability.
4. Systems installation and commissioning
- Electrical: Route wiring to code, protect circuits with flame-retardant conduit, keep outlet grounding resistance ≤4 Ω, and mount luminaires at safe heights.
- Plumbing: Design supply and drainage slopes to meet drainage needs (e.g., bathroom slope ≥5%); pressure-test pressure pipes at 1.5 times working pressure.
5. Acceptance and maintenance
After installation, test airtightness, watertightness, and structural safety, focusing on connection nodes, door/window seals, and circuit insulation. Regular upkeep (for example, checking bolt tightness every six months and recoating anti-corrosion paint yearly) can extend service life beyond 20 years.



