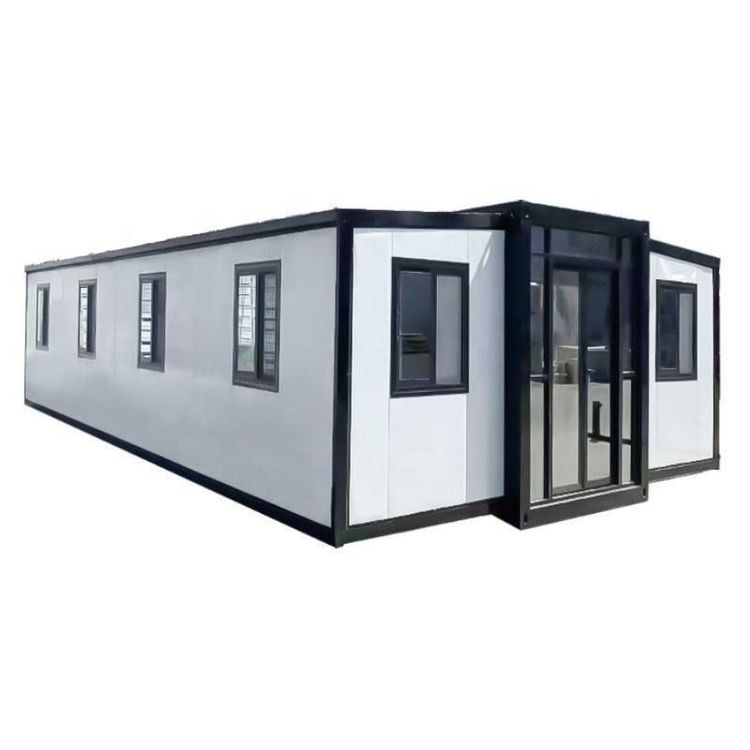
Container House Floor Installation
The installation of the floor for a container house should follow the steps below to ensure structural stability and construction quality:

1. Bottom Frame Installation and Leveling Assemble the bottom frame on a flat ground or workbench. Initially connect the bottom corners of the container to the bottom beams using hexagon socket bolts, without fully tightening them yet. Use measuring tools to adjust the diagonal differences of the bottom frame, ensuring that the error is ≤3mm before fully tightening the bolts. This step is fundamental for ensuring the verticality and stability of the overall structure.
2. Secondary Beam and Base Plate Fixation Install the π-shaped secondary beams according to the positioning holes on the long beams and secure them with M5.5×19 self-tapping screws. The top of the secondary beams should be reinforced with ST4.8×16 round-head self-drilling screws to the bottom beams. Lay the floor base plates (such as magnesium oxide boards) along the 6-meter direction. The pre-punched base plates at both ends should be cut at an angle according to the chalk line to fit the structure.
3. Floor Panel Installation and Marking Mark the centerline of the π-shaped beams to provide positioning references for floor panel splicing. Start laying the floor panels from one end, ensuring that the splices align with the centerline of the π-shaped beams. After laying, snap chalk lines along the centerline (two chalk lines are required at the splices, each offset 20mm from the centerline). Secure the floor panels with ST4.2×38 cross-recessed flat-head self-tapping screws, with a nail spacing of 300-350mm, to ensure strong connections.
4. Floor Treatment and Floor Adhesive Application Sand the entire floor, focusing on the panel seams. Apply PVC-specific floor adhesive and wait for 10-15 minutes before laying the floor adhesive layer. Use specialized tools to remove air between the floor adhesive and the base plate. If possible, weld the seams of the floor adhesive layer to enhance waterproofing.
5. Concealed Works and Inspection During installation, simultaneously complete concealed works such as the embedding of water and electricity pipelines and moisture-proof and waterproof treatments. After completion, inspect the floor flatness, panel seams, and the tightness of the fasteners to ensure there are no loose or depressed areas, meeting standards such as the "Code for Acceptance of Construction Quality of Steel Structures" (GB50205-2020).