Container House Door Lock Assembly
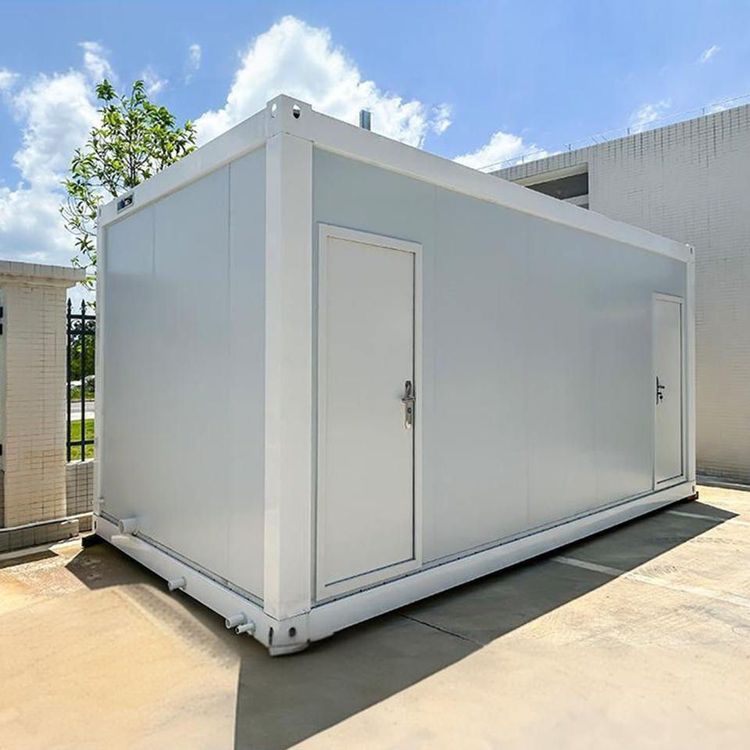
The assembly of door locks for container houses should be carried out step by step according to the type of lock and the list of accessories. The core steps include preparing accessories, positioning the lock rod, installing the lock head and lock base, fixing the brackets, and conducting functional debugging.

I. Confirm the List of Accessories and Prepare Tools
Container door locks are usually supplied in sets. Taking the products of Cangzhou Xinhe Container Manufacturing Co., Ltd. as an example, each set includes a lock head (left), a lock base (right), two large brackets with sleeves, two small brackets with small sleeves, a door handle, a lock catch, and a positioning ring. Before assembly, check the quantity of accessories and prepare tools such as screwdrivers, wrenches, and electric drills. Ensure that the length of the lock rod conforms to the size of the door frame (which needs to be customized separately and quoted).
II. Position the Lock Rod and Pre-drill Holes
Measurement and Marking: Determine the installation position of the lock rod according to the height of the door frame. Usually, the lock head and the lock base should be symmetrically distributed. Use a tape measure to measure the distance between the upper and lower edges of the door frame and mark the fixing hole positions for the lock head and the lock base.
Pre-drilling Holes: Use an electric drill to drill holes at the marked positions. The hole diameter should match the screws of the lock accessories (usually M6 or M8). If the door frame is made of steel, use a center punch to locate first to avoid hole deviation.
III. Install the Lock Head and the Lock Base
Fix the Lock Head: Align the lock head (left) with the hole position on the left side of the door frame, pass the screw through the lock head base and fix it to the door frame, and tighten the nut to ensure that the lock head is perpendicular to the door surface.
Install the Lock Base: Align the lock base (right) with the corresponding hole position on the right side of the door frame and fix it with screws in the same way. Adjust the angle of the lock base so that it fits snugly with the lock head when closed to avoid gaps that may cause poor locking.
IV. Assemble the Brackets and the Lock Rod
Install the Brackets: The large brackets are used to support the middle part of the lock rod, and the small brackets are used for auxiliary fixing. Slide the bracket sleeves onto the lock rod, then align the brackets with the preset hole positions on the door frame and fix them with screws. The spacing between the brackets should be evenly distributed according to the length of the lock rod to ensure balanced force on the lock rod.
Connect the Lock Rod: Insert one end of the lock rod into the hole of the lock head and the other end through the bracket sleeves and then fix it to the lock base. Adjust the length of the lock rod to ensure that the lock head and the lock base fully engage when locked.
V. Functional Debugging and Acceptance
- Switch Test: Open and close the door lock repeatedly to check whether the lock head and the lock base engage smoothly and whether the lock rod is free of jamming or looseness.
- Safety Check: Confirm that the gap between the door leaf and the door frame is even after locking, with no warping or deformation. If poor locking is found, readjust the position of the brackets or the length of the lock rod.
- Anti-corrosion Treatment: If the door lock is exposed to the outdoor environment, apply anti-rust paint on the screws and metal contact surfaces to extend the service life.