Container House Construction Method
The construction of container houses involves steps such as design planning, foundation construction, container modification and assembly, installation of supporting systems, and acceptance and maintenance. Details are as follows:

I. Design and Planning Phase
It is necessary to clarify the purpose (residential, office, or commercial), functional zoning (bedrooms, living rooms, bathrooms, etc.), and spatial combination methods. For example, the splicing of 2-3 containers can form a flat layout of approximately 100 square meters, including a living-dining room, two bedrooms, and a bathroom with a bathtub; staggered stacking can create three-dimensional space, with a leisure courtyard or aisle area reserved on the ground floor. At the same time, lighting and insulation designs need to be considered. Large floor-to-ceiling windows and roof skylights can be installed to enhance indoor transparency. Inner insulation layers (such as polyurethane sandwich panels) can be added to the walls and roof, and triple-glazed windows can be selected to improve thermal insulation performance.
II. Foundation Construction Phase
Choose an independent foundation or an elevated foundation according to the site conditions. For an independent foundation, the site needs to be leveled and concrete pile foundations need to be poured to ensure that the container is elevated above the ground to avoid moisture erosion; for an elevated foundation, ground screws or steel piles are used for support, which is suitable for sloping land or soft soil foundations. Approval procedures need to be completed before construction. For rural homesteads, structural drawings need to be provided and comply with local building regulations. For leased land, only temporary construction is allowed.
III. Container Modification and Assembly Phase
- Container Treatment: After cutting the door and window openings, the cut edges need to be polished and painted with epoxy primer + topcoat for rust prevention. The welds should be inspected and repainted annually.
- Structural Reinforcement: Use 5×10 channel steel to weld the upper and lower bottom frames. The thickness of the columns should be no less than 1mm to ensure overall load-bearing performance (a 20-foot container can bear 25 tons, and a 40-foot container can bear 45 tons).
- Combination and Assembly: Expand the space through horizontal container splicing (transverse connection) or vertical container stacking (corner fittings aligned and locked). For cantilevered structures, diagonal braces need to be added and holes should be avoided.
IV. Installation of Supporting Systems Phase
- Water and Electricity Systems: Pre-bury water supply and drainage pipelines, connect to municipal water supply or set up a rainwater collection system; the electrical circuit adopts a combination of solar power generation + backup batteries to meet off-grid usage requirements.
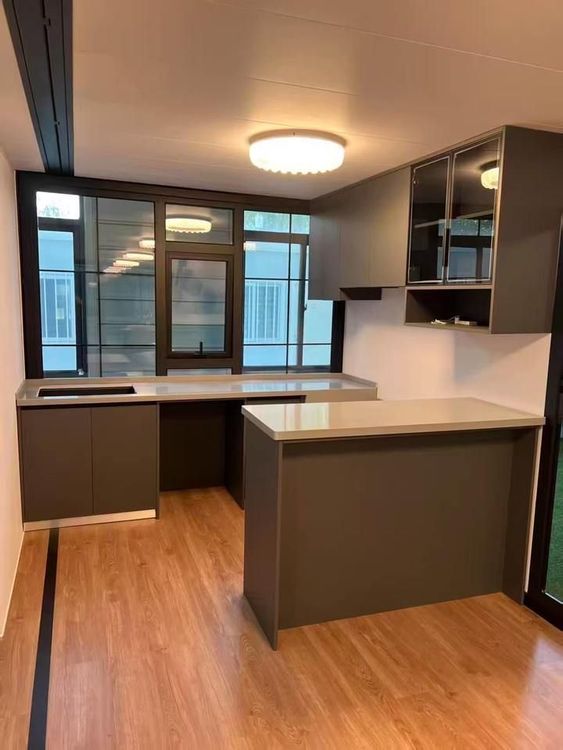
- Interior Decoration: Lay cement fiber boards or steel-wood composite floors on the ground, use metal panels or calcium silicate boards for the walls, and match them with folding furniture to improve space utilization.
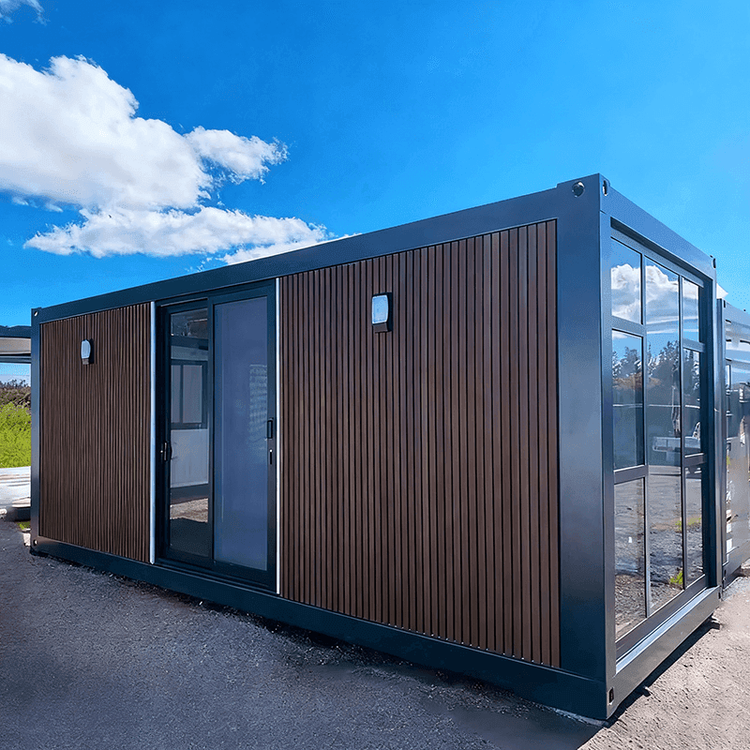
- Exterior Beautification: Spray environmentally friendly paint on the exterior facade, install glass curtain walls or wooden hanging panels, and add eaves or sunshades on the roof to prevent sun exposure.
V. Acceptance and Maintenance Phase
After construction is completed, check the airtightness of doors and windows, structural stability, and fire resistance (A-grade rock wool filling is required for places with a large number of people). The focus of later maintenance includes: replacing sealant every 5-7 years, repainting anti-corrosion paint every 3-10 years (adjust the cycle according to environmental humidity), and regularly cleaning fallen leaves from the roof to prevent water accumulation.