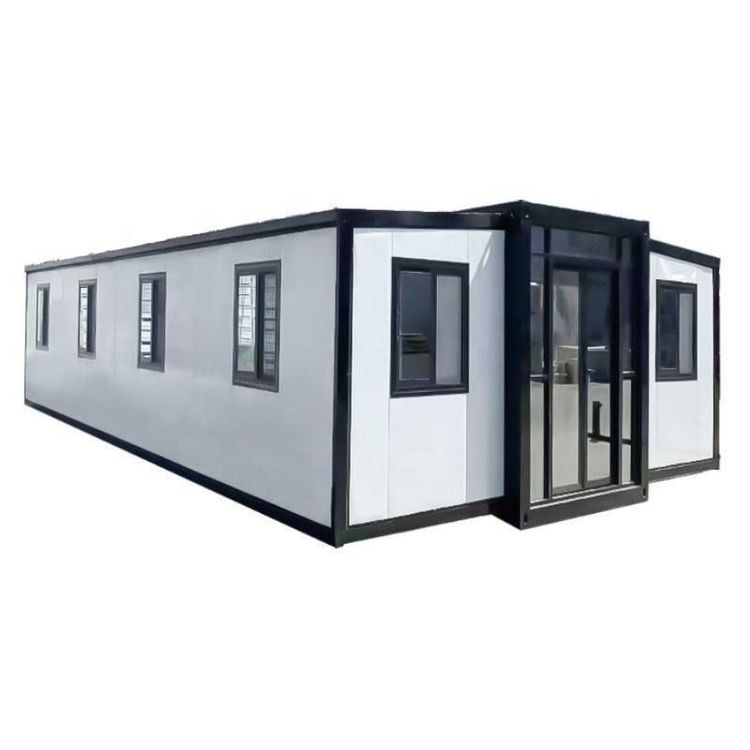
Container House Construction Flow Chart
The construction process of container houses is mainly divided into four stages: foundation construction, main structure installation, roof and ancillary system installation, and interior decoration and acceptance. The specific operations and technical points are as follows:

I. Foundation Construction
- Setting Out and Positioning: Based on the design drawings, use a chalk line to mark the installation position lines. Employ the Pythagorean theorem to ensure squareness and mark relative elevation points around the foundation (no fewer than 2 points per ground beam) to provide a reference for subsequent installation.
- Foundation Trench Excavation and Concrete Pouring: Excavate foundation trenches according to design requirements and pour C15 concrete foundation ground beams and ground concrete cushions to ensure foundation bearing capacity and flatness.
II. Main Structure Installation
- Ground Beam Installation: Hoist the ground beams onto the foundation, adjust their positions according to the position lines (allowable deviation ≤ 3mm), and use a spirit level to calibrate the elevation to ensure the ground beams are level.
- Column Installation: Erect the columns, insert the column bottom clamps into the lowest-level ring beams, and weld the corner columns and intermediate columns into shape to ensure structural stability.
- Floor System Installation: When laying floor panels, apply cement mortar (i.e., 'sitting gray'). Cracks between panels are not allowed, and the surface must be densely compacted and polished to avoid defects such as peeling and cracking.
- Wall Installation: Calibrate the first wall panel according to the panel layout drawing, seal the corners with corner aluminum, and connect the panels with I-shaped aluminum to ensure consistent verticality and joint depth, preventing rainwater leakage.
III. Roof and Ancillary System Installation
- Roof System: Adopt a structural waterproofing design. When installing roof panels, ensure airtightness. Apply waterproof adhesive at the joints of roof gutters and install downspouts vertically and securely.
- Door and Window Installation: Cut out door and window openings and install plastic-steel windows. Check for smooth opening and closing, ensuring no obstruction and that the glass is clean and crack-free.
- Canopy and Walkway System: Add decorative accessories such as canopies according to the design. Walkway brackets can be installed simultaneously with the columns to enhance overall coordination.
IV. Interior Decoration and Acceptance
- Interior Partition Walls and Ceilings: After installing interior partition wall panels, proceed with PVC ceiling construction, paying attention to joint treatment.
- Floor Treatment: Lay floor base panels (such as magnesium oxide boards), mark along the centerline of the π-shaped beams, and then fix the floor panels. Snap chalk lines at the joints and nail them (spacing 300-350mm). Finally, sand, apply adhesive, and lay floor coverings.
- Cleaning and Acceptance: Clean the site and conduct a completion acceptance, focusing on checking the verticality of walls, the neatness of panel joints, and the smoothness of door and window operation to ensure compliance with standards.
Precautions: Fasteners must comply with GB5782 regulations. Bolts should be installed accurately in position and fitted with washers. Connecting bolts between components must be tightened firmly. Areas where the primer has peeled off during on-site welding and transportation should be touched up with anti-rust paint, and exposed parts should be painted with two coats of finish paint.