Back to blog
Article
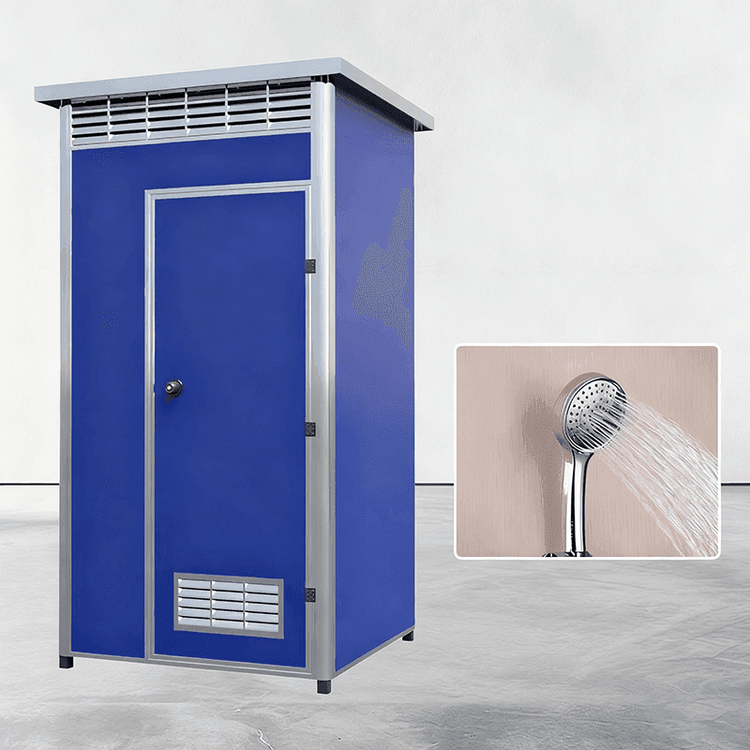
Color-Steel Mobile Toilet Installation Guide
Admin October 22, 2026
The installation of a color-steel mobile toilet should be carried out in accordance with five standardized steps: foundation treatment, structural assembly, pipeline connection, electrical configuration, and inspection and debugging. The specific process is as follows:

I. Pre-installation Preparation
- Foundation Treatment
- The ground must be level, with a levelness error of less than 5 millimeters. The surface compaction should be able to withstand the pressure of the supports, and a simple drainage slope should be set up around the perimeter.
- In sandy soil areas, a combination of concrete foundations and ground anchors should be used; in permafrost zones, the foundation depth should be increased; in grasslands or sandy areas, it is recommended to lay a gravel layer to distribute the load.
- Module Preparation
- The toilet consists of four independent units: wall panels, roof frame, base supports, and internal sanitary fixtures. Standardized processing has been completed before leaving the factory, with uniformly sized bolt holes and positioning slots reserved at the joints.
II. Structural Assembly
- Base Support Installation
- Unfold the base supports and level them to ensure stability.
- Wall Panel Installation
- Insert the wall panels into the support slots. The wall panels are connected through internal slots, and the external joints are sealed with weather-resistant adhesive strips to prevent water leakage.
- Roof Frame Installation
- Install a slightly arched roof frame to enhance load-bearing capacity and direct rain and snow runoff; check the integrity of the weather-resistant eave sealant strips to prevent rainwater infiltration.
- Fixed Connection
- All connection points should be fixed with galvanized bolts, with uniform tightening force to avoid local deformation of the color-steel panels.
III. Pipeline System Connection
- Pipeline Interfaces
- Quick-connect design: Blue-marked pipes are for water supply lines, and black-marked pipes are for sewage lines; the sewage pipes should maintain a downward slope of five thousandths.
- Pipeline Material
- High-density polyethylene pipes should be selected to adapt to environments with large temperature variations and reduce interface leakage caused by thermal expansion and contraction.
- Filtration Device
- Install a filter valve before connecting external water sources to prevent sand and gravel from clogging the solenoid valve.
IV. Electrical System Configuration
- Lighting System
- Use 12-volt low-voltage waterproof LED lights, with sealed push-button switches for control.
- Exhaust Fan Installation
- Install the exhaust fan at the highest point of the roof to enhance air circulation using the chimney effect.
- Wire Protection
- Fix the wires with flame-retardant corrugated pipes and use waterproof junction boxes at the joints; install a leakage protection device at the power access point.
V. Post-installation Inspection and Debugging
- Rainproof Inspection
- Confirm that the weather-resistant eave sealant strips on the roof are not damaged.
- Pipeline Inspection
- Check that the pipelines are not twisted and that the slope of the sewage pipes meets the requirements.
- Electrical Testing
- Test that lighting, exhaust fans, and other equipment are operating normally to ensure there are no electrical leakage hazards.